Last year, my niece and her daughter made us some very cute marbleized coffee mugs as Christmas gifts. And they were made with nail polish!!!
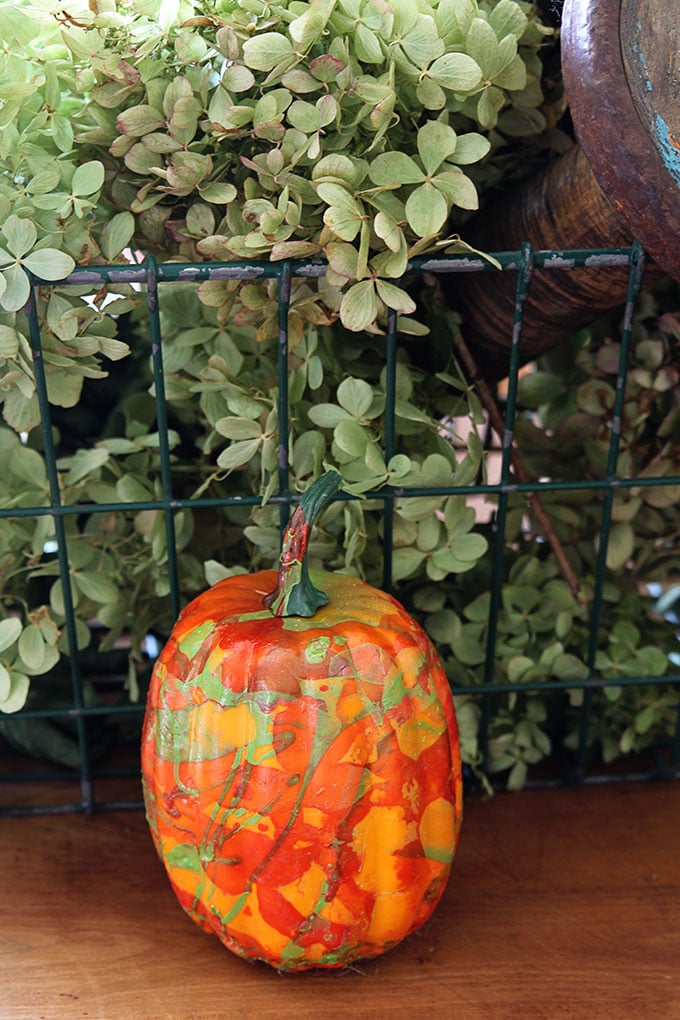
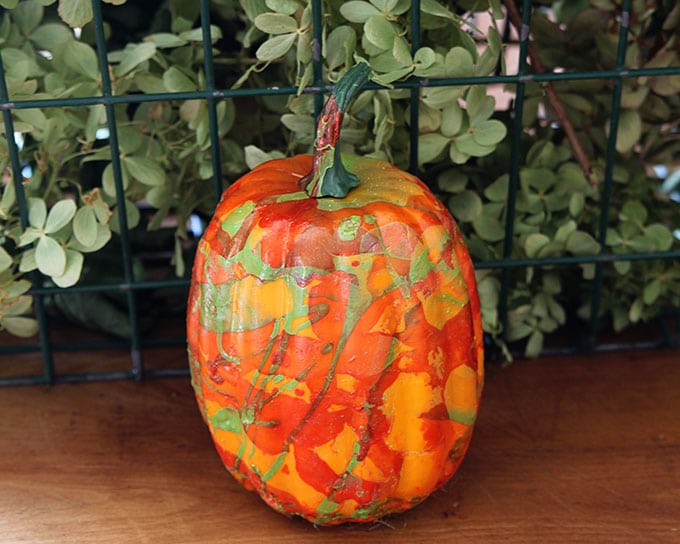
So for fall this year, I thought I would try my own hand at this oh-so-trendy nail polish trick and make a marbleized pumpkin.
Now, when I try to be all trendy and hip and cool it normally backfires in my face.
Clogs in high school. Nearly broke my ankle.
Big hair in the 80's. Too many hairspray in the eyeball incidents for me.
Skinny jeans. Let's just say the muffin top struggle is real.
But I was undeterred by past trend-setting follies, so off I went to the dollar store to buy some cheap pumpkins . . .
How To Make A Marbleized Pumpkin With Nail Polish
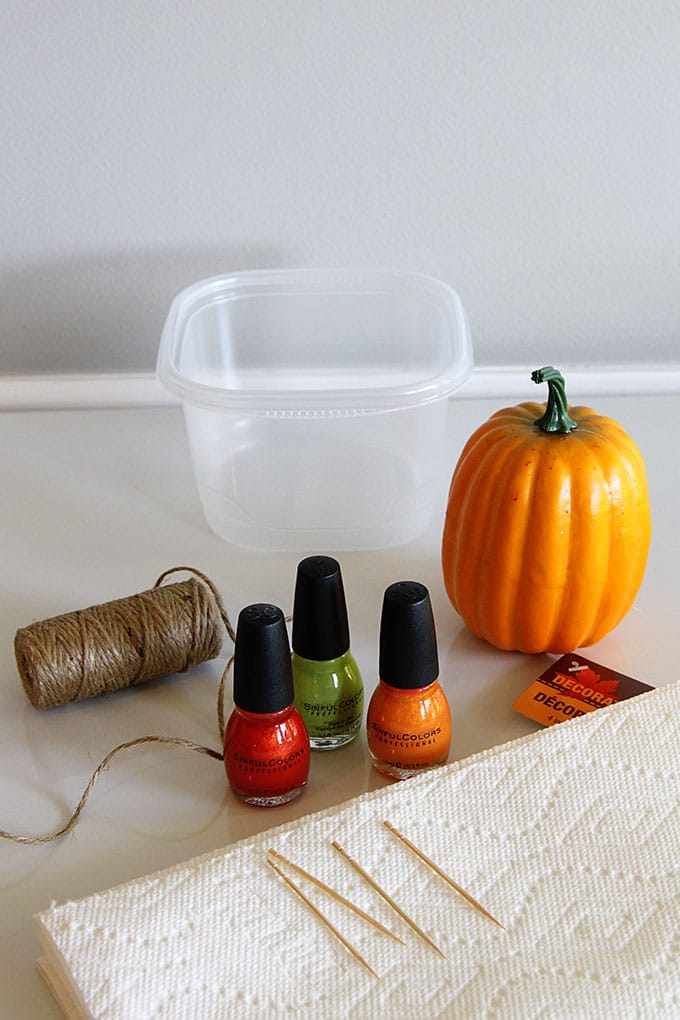
Supplies:
- dollar store pumpkin
- disposable bowl tall enough to submerge pumpkin in
- Water - very warm
- A few bottles of nail polish
- paper towels
- toothpicks
- twine
Instructions:
- Fill bowl with very warm water. The warmer the better, but if you're fond of your fingers, not boiling.
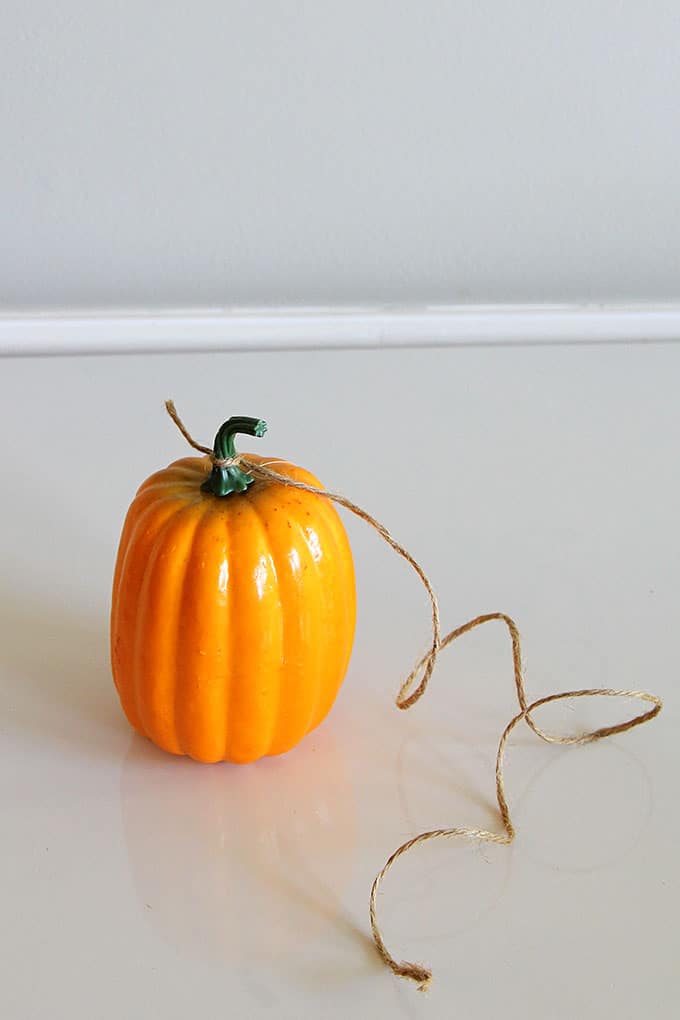
- Tie twine around the stem of the pumpkin, so you don't get your fingers all goopy.
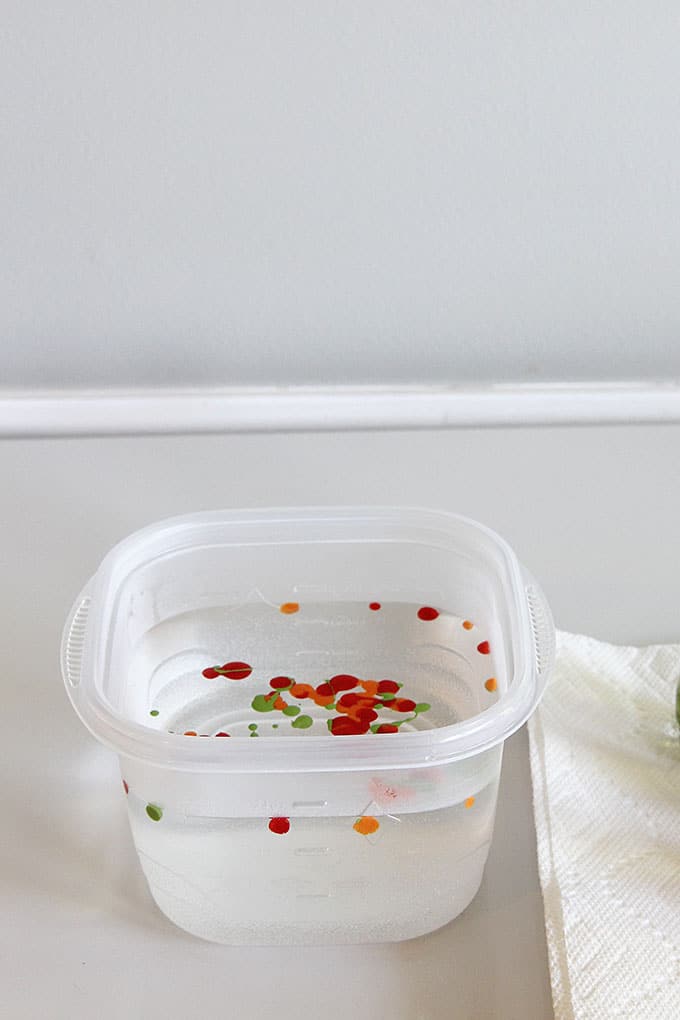
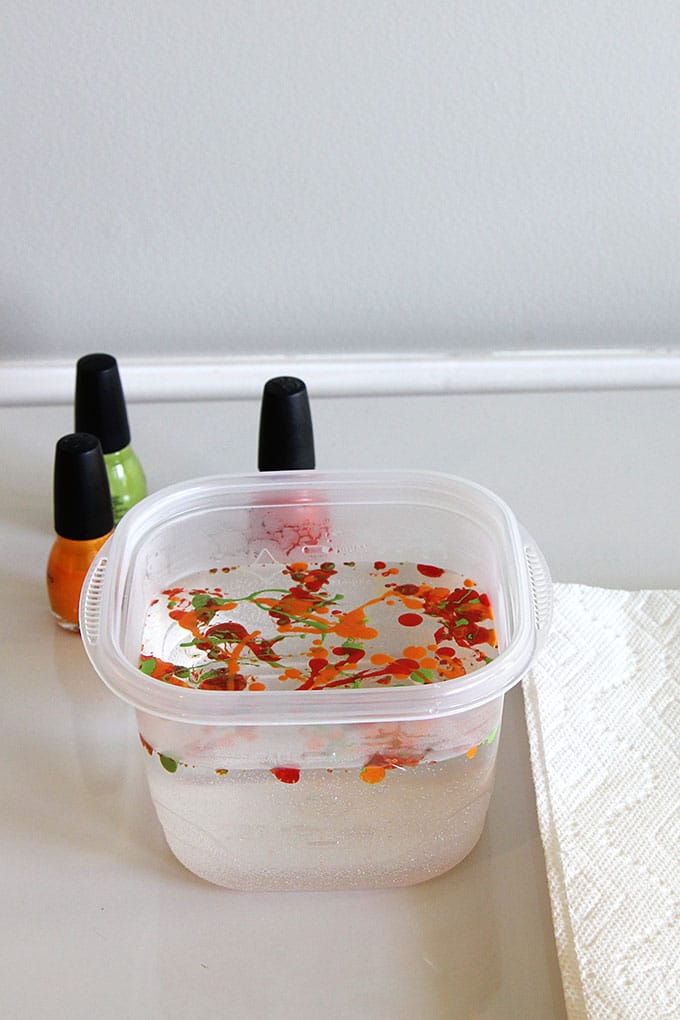
- Add a few drops of each color of nail polish in the water.
And run a toothpick through the water to swirl up the nail polish a tad.
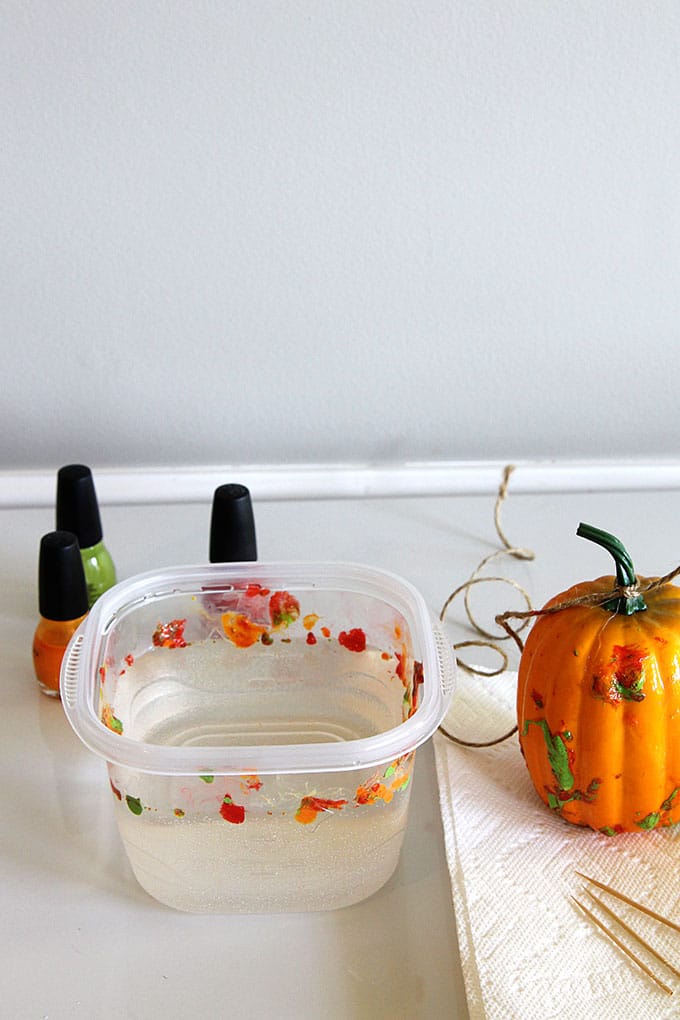
- As quickly as humanly possible, submerge your pumpkin into the water and bring it right back out. Seriously, the key is to add your nail polish and almost immediately dunk the pumpkin. If you dilly dally around, the nail polish will start to harden and you will end up with gloppy spots on your pumpkin.
- Set your pumpkin on the paper towel to dry.
- If you want to dunk it again for more color, take a paper towel and wipe off any nail polish setting on top of the water. Add more fresh nail polish, swirl with toothpick and dunk away.
OK, confession time.
I almost called this project a big old CRAFT FAIL. Why?
Exhibit A - This whole project is STINKY. Hot nail polish fumes will smell up your house for a few hours, so you may want to do this project outside (and hope the neighbors don't think you're running a meth lab).
Exhibit B - I dunked that little pumpkin four times before I got it looking anywhere near what I was picturing in my head (notice the globs-o'-polish in the 2nd to last photo).
Exhibit C - The pumpkin I bought at the Dollar Tree was BRIGHT ORANGE. If I did the project over again, I would probably use a white one so the marbleizing would look fancier
Exhibit D - And probably the biggest reason is . . . I'm not sure if I like the look??? I'm pretty much of a traditional orange and black vintage Halloween kind of girl. So swirly marbleing is outside of my vintage loving comfort zone.
What do you think?
Fail?
Or The Most Fantastic Pumpkin Craft EVER?


 And run a toothpick through the water to swirl up the nail polish a tad.
Jordan.Daisy
When there is no retreat, the potential will be exerted.
Pamela McCall
I love this idea and think yours turned out great! I just found your blog today and may be wasting? a lot of time today reading everything in it!
Grams
I'm going to try to find some Puffy Hearts & try this with Shades of Red & Pink & maybe White Marbeling for Valentine's Day.
Pam
Pam, I actually picked one very closely colored like yours from a pumpkin patch this
weekend! I like traditional too, but that mottled look is kinda cool! Craft on girl and
thanks for sharing.
Colleen
I love your project for fall - not necessarily for Halloween. Since my kiddos are grown and gone, I do more of the autumn decor and leave the spooky stuff for my grand-kids' houses.
Donna
OH, and meant to say...you did a good job with this one. AND....I'd been missing you, wondered where you were.
Donna
I think this is a project where you have to have access to all sorts of colors and extra bowls along with extra pumpkins in all the colors and shapes to dip before you find your comfort zone...er...colors. Maybe black and purple with silver on the orange pumpkins and lime with a pearly beige on the white. Why leave out those moldy blue colored ones...what colors could you dip those in to fancy them up??
Shelley
clogs.....I fell off and broke my foot....
some projects are just a fail....I love the Pinterest Fails....lol....
turned out well.....I am an orange and black Halloween fan too....all the white is just blah, to me....
chris aka monkey
well pam, I like the look a lot, it looks fally to me .... I am sure iffen you use black and dark purple it would look more traditional xx
Robyn
I think it turned out super cute!! Great job!
Pam
Thanks!!!
Karen Steinmann
I'm like you. I like the orange and black Halloween stuff. But you tried and didn't waste a lot of money on the supplies. Keep up the good work on de cluttering, then you can come do mine. But I like my stuff so I keep it around. Even decorated our camper and site this weekend in Cliffty Falls IN. My husband thought I was nuts, which I probably am, but I love holidays
Pam
Uh, oh. You're moving on from decorating your house to the trailer and then what's next?
Valerie
I like it. It is not my style either but I think the colors make it pop. Looks like something I could do for people at work and they would keep it. BTW - thanks for sharing your clever ideas with all of us. I admire your honesty about the good things and bad. Lastly - power to the muffin top!
Pam
We muffin tops need to form a union or something, so we can tell the jean companies how to make jeans that fit!
Paulette
I love it! So do the globs flatten out more each time you dunk it? I want to try this. Wouldn't you know, I just threw out a whole tray of nail polishes because I hadn't used them in forever.
Pam
The globs did smooth out when I dunked it again. If you can do it really fast then you don't get globs to begin with 🙂
Audrey
You never know if something is going be fabulous, or a fail. I'm not a fan of this project - not that it looks bad, it's just not my style. Maybe if the colors were more 'earthy' and like you said you started out with a white pumpkin (with beige, gold, light tan polish?).
Pam
That's what I was thinking. White pumpkin with maybe some golds and beiges on it! To tell you the truth though, the smell was enough to make me not want to try another one right now 🙂 It is a windy day outside, so maybe . . .