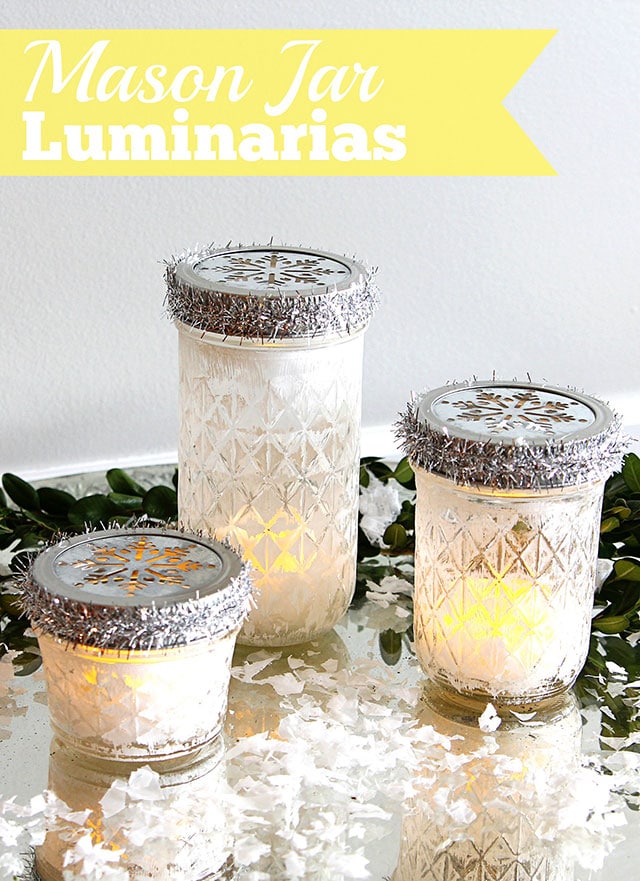
These mason jar luminarias are a super easy five-minute craft for the holidays. And they make cute DIY hostess or teacher gifts.
I've been loving these Ball quilted mason jelly jars lately, so I decided to turn some into festive votive holders for Christmas. Or luminarias for the fancy folk.
There's just something about the quilting on the jars that make them extra fun and perfect for painting.
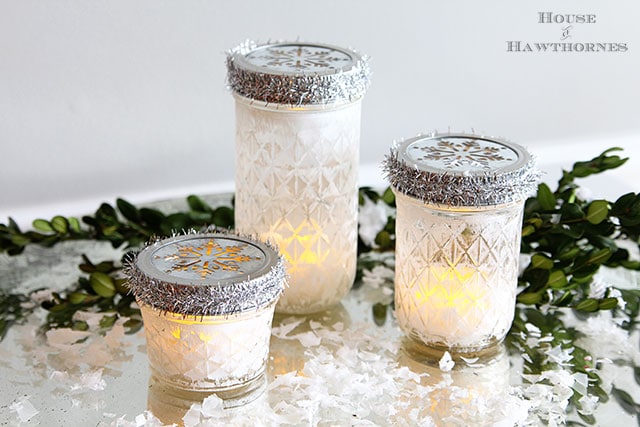
And they only take about five minutes to make. This time of year, if a craft can't be completed in one sitting or I can't eat it when it's done, it's just not happening at my house.
Now I got so into making these that I didn't take step by step photos, but they're easy and you're smart so I'm sure you can just follow the instructions and manage just fine.
(This post contains some affiliate links for your convenience. You can read my full disclosure policy here.)
Mason Jar Christmas Luminarias
Supplies needed:
- Ball quilted mason jelly jars
- White paint (chalk paint works well, but isn't mandatory)
- Cheap paint brush
- Buffalo snow (comes in a bag at the craft store, no need to drive to Buffalo to get it)
- Fancy mason jar lid inserts (you can find the snowflake lids HERE)
- Battery operated tea lights
- Ribbon, washi tape or tinsel garland for embellishment
- Glue
Instructions:
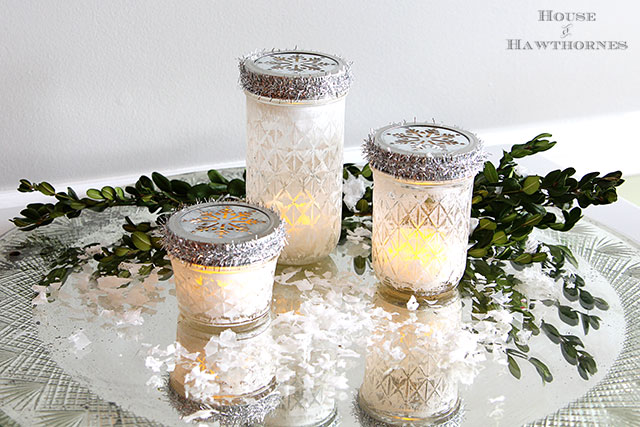
Step 1 - Paint the outside of the quilted jar with the white paint. I used Americana Decor's Chalky Finish Paint in their Lace color.
Step 2 - When it's dry either use a piece of sand paper or a piece of wet paper towel to knock off the paint from the ridges. You want this to look rustic and non-perfect, so throw caution to the wind and just go for it.
Step 3 - Put a ½"-1" layer of snow in the bottom of the jar.
Step 4 - Add tea light. If you buy the tea lights with the remote controls, you win a prize for thinking ahead.
Step 5 - Screw your lid on.
Step 5.5 - Embellish the rim with ribbon, washi tape or tinsel garland. Oh, I just thought you could use baker's twine also!!!
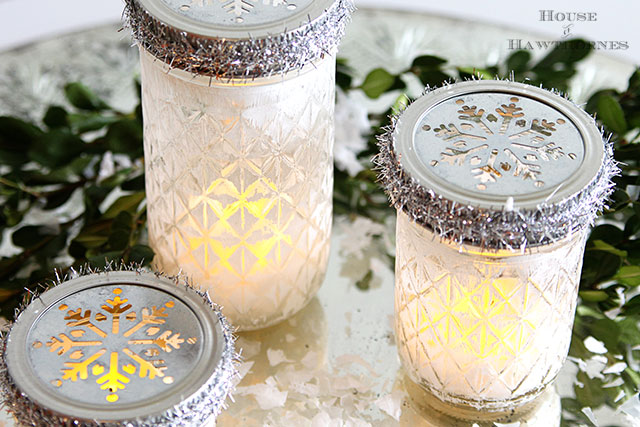
The snowflake lids are super cute, but if you can't find them you can use the daisy ones used for drinking straws or the flower frog ones.
Please DO NOT put real tea lights in these. You may set the snow on fire and the metal lids will get really hot.
And next thing you know you'll pick up the jar and have a snowflake permanently branded onto your hand. Could be cute in December. Not a good look in June!
Other holiday projects you may enjoy:
DIY Simmering Potpourri Mason Jar Gift (with Free Printable gift tag)
How To Make Cloved Oranges For The Holidays
Retro Diroma Christmas Ornaments


Linda Ruckdeschel
How much do you estimate the per piece cost for these luminarias ? I know prices will vary depending on where folks are located; a ballpark will be fine. Thanks.
Pam
I would estimate it at less than $5 per. And it would depend how many you wanted to make. You can buy the jars by the case and they are MUCH cheaper than buying one by one. I think a case of 12 of the jars is under $10. And for instance the buffalo snow might be $5 a bag, but you could make a whole slew of jars with just bag. So just off the top of my head, I would estimate at under $5 per jar and the more you make, the less it would come out to be.
Linda Ruckdeschel
Thanks, I can live with $5.00/ea. plus or minus to make these. Will have to catch those 40% coupons from Joann's, Michaels or Hobby Lobby for the lid inserts. They usually come only 2 per package, and run about $3.00, unless I find them on-line in bulk somewhere else.
Pastor Pam
I make something similar, but I use Epsom salts as my "snow." It is inexpensive and allows me to use real candles plus it shimmers like snow!
Pam
That's a great idea! It would probably have less static than this stuff too!
julie moyna
Brilliant and I'm in need of 12 gifts and they all love masons! Thank you!!!!!
gigi girl
So very cute! I have everything except the lid insert. I am going to call Joann's and see if they have any, f worst comes to worst, I will get out the hammer and nail and make my own snowflake design!
Missy Somers
Love this!