

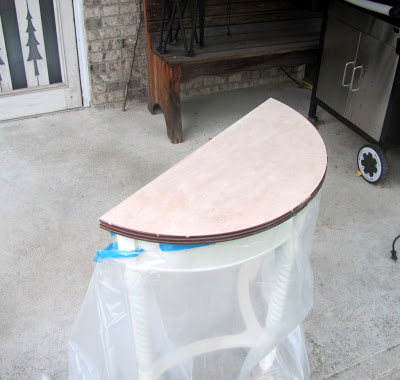
Last weekend I found this console table at this garage sale.
It was only $5.00 so I had to buy it. It's almost like they were giving it away!
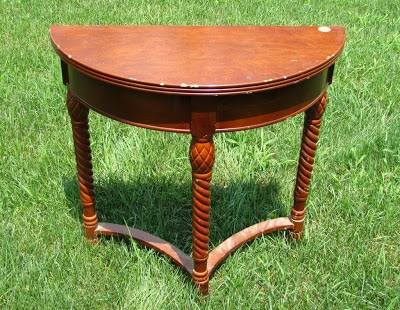
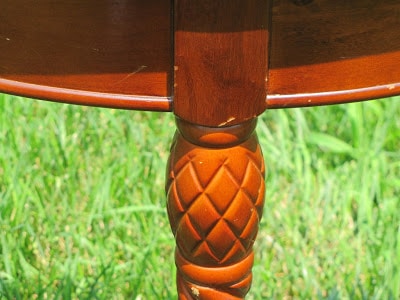
I liked the pineapple detail on the legs
and the top had a wonderful wood grain,
So I taped off the top and painted just the legs.
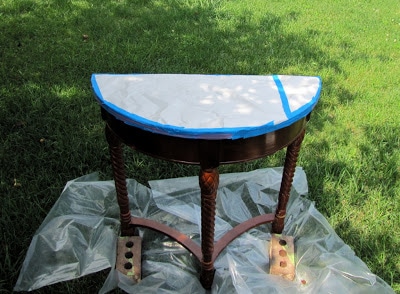
I started off with Rust-Oleum's Painter's Touch Ultra Coverage white spray primer and then when that dried sufficiently I applied two coats of their Ultra Coverage Heirloom White satin spray paint.
Now, I don't think I have ever spray painted furniture before, but after painting my black chair with the spindles and thin legs by hand I wasn't looking forward to the crippling hand cramps that would come with painting this by hand, so I opted for the spray paint.
After I painted the legs I worked on the top. In retrospect, I think I should have started with staining the top and then went on to painting the legs. I had some stain drip onto the legs, so I had to touch up the paint. And then when I touched up the painted area, I got paint on the stained area and around and around I went. Oh well, lesson learned.
I sanded the top with my Black & Decker Mouse Sander.
Then I stained the top with Minwax Wood Finish in English Chestnut. I used two coats of stain and topped that with two coats of Minwax Polycrylic in Clear Gloss.
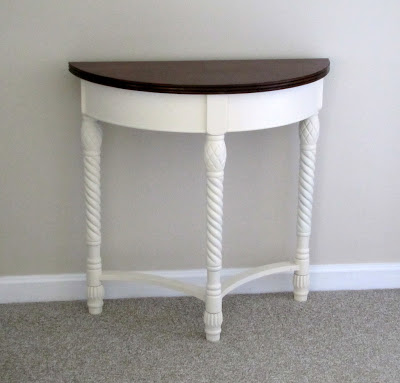
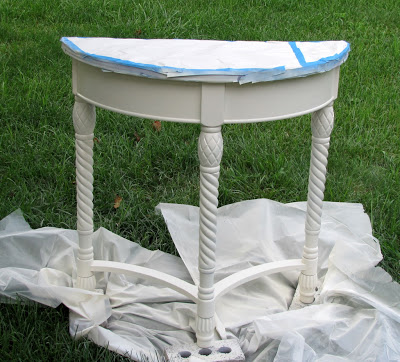
And this is the semi-finished product.
I had originally thought I would do a glaze or stain over the paint to give it an aged character. But after I had painted it the Heirloom White I was having a little bit of anxiety over doing the next step. I lived with it as is for a few days and decided that the current color was too crisp and didn't fit with the stained top which sort of insinuated that it was an older piece that had gone through some different transformations over the years. At least that is what I think of when I see the stained/painted pieces.
So I decided to go ahead and rub some English Chestnut stain over the Heirloom White paint to give it the aged look I had originally planned on. I don't have a photo of that step because it looked like heck. Seriously U.G.L.Y.! The stain adhered way too much to the piece even though I only left it on for a few seconds and was way too dark and splotchy for me.
So I contacted Cassie at Primitive & Proper and she so very graciously helped me with the problem. She suggested using a lighter Golden Oak Minwax to get the look I was trying to achieve.
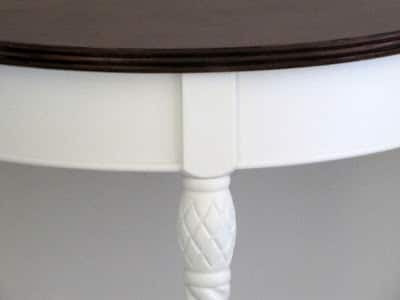
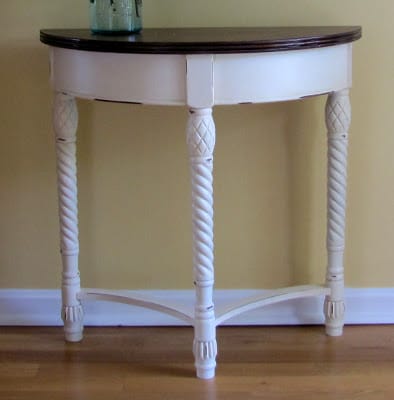
Genius! Although these photos don't do it justice, the stain did make a huge difference.
It gave it a nice glazed affect and warmed up the Heirloom White.
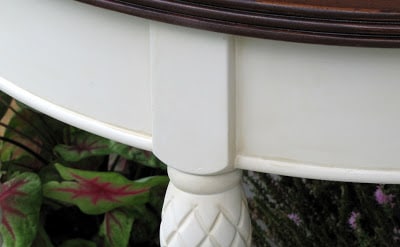
And brought out the detail of the pineapples nicely. Thank you Cassie!

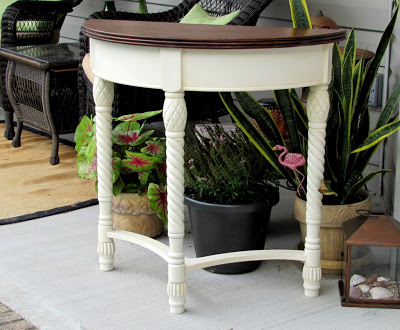
So then you would think I would be done. Nope, I still thought it looked a little too new to me, so I distressed it.
Here is the final, final, final product.
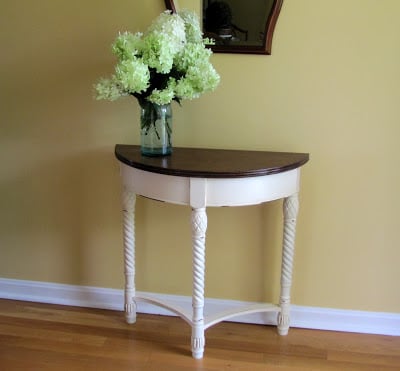
The distressing was done by my handy dandy mouse sander. After doing the distressing I used the English Chestnut stain to highlight the distressed marks.
I tried to distress it in the areas that would have been dinged or handled a lot over the years if it really was an antique.
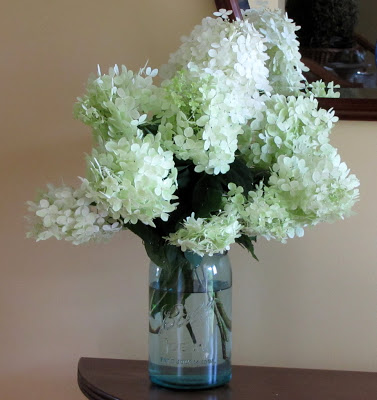
I just love the off-white and light green tones of the flowers.
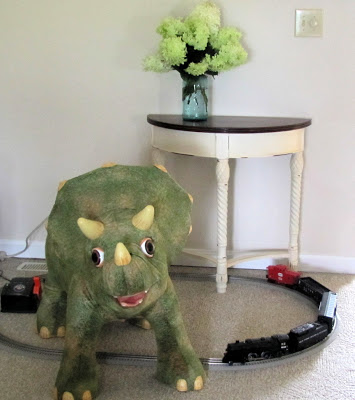
But in reality this is where the table has landed. It's in our dinosaur area of the living room. Yep, I spent hours painting, staining, distressing and staining some more so it would like nice paired with the dino.
At least the train can clear the legs of the table!
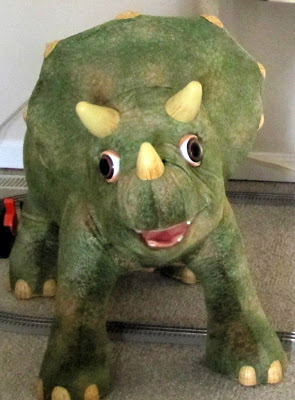
"Come back soon!" (You'll have to imagine him waiving goodbye since his hands don't move).
WiiZii
That is BEAUTIFUL! What a great bargain.
Bunny Jean
Hi Pam!
I've been checking out some of your old posts. This color combo is exactly what I will be doing to some of my furniture.
I have used the heirloom white in the past and would rather spray paint than use a brush. I also will try out the English Chestnut. I want a dark stain for the top that will blend with existing furniture. Thanks for sharing this.
xoxo Bunny Jean
Lisa
Beautiful job! Love the top left natural.
The Polka Dot Closet
That is beautiful, heirloom white is my new love! at $5.00 I would have had my heart beating o fast!
Carol
Centsible Savings
I am LOVING this finish! Love the stained top and white legs. Think I might use this on my guest room furniture I plan on redoing soon.
Great job!
- Brittany
LOL! The dinosaur really brings out the aged look of your table. Seriously, very beautiful and thanks for the tip on the English chestnut. I need to try that next time as well since I also used the darker wood stain color on a recent project and had the same issues you did.
Debbie
This is an unbelievable project...it really turned out fantastic....I can't believe the table was only 5.00 you where right it was like here take it off my hands...oh if they could see it now. Not everyone has the vision...however,you sure did. Thanks for joining in on the party. Debbie
LDH
Your table turned out beautifully! Very nice job and great how-to photos! A joy stopping by to visit with you!
Kindly, ldh
Ali@Honey and Maple Syrup
I love the look of the painted furniture with stained top. It looks great!
Deborah
Great job Girl. I love the way the minwax changed the look of the heirloom paint. I have so much to say. 1. I love spray paint too especially that heirloom white 2. I get you with the hand paint and waiting for the paint to dry (ack!!) 3. I had the same problem with the two finishes: messing up one while trying to put the other on. I now know why so many people just do everything white!! 4. Love your hydrangeas -wish we could grow them here.
Debbie@Debbie-Dabble
I absolutely love how this sweet table came out!!
I think it looks lovely!!
Debbie