I know some of you will look at this photo and think I've gone nuts, but this really is a very easy to make fall planter and very beginner-friendly.
Honestly.
Table Of Contents
Why Fall Planters Are Perfect For Beginners
As a matter of fact, if you are new to container gardening, fall porch pots are a great place to start!
You don't have to care as much about light requirements, heat requirements, watering requirements. Or just about any requirements at all, because it's fall and all the normal "rules" sort of go out the window when there are cooler temperatures and shorter days.
This planter is made for instant autumn curb appeal first and foremost!
Where To Buy Your Supplies
All the plants used in this porch pot can be found at your local nursery or big box hardware store. Some grocery stores even carry these plants (my local Krogers carries all these, although not in lots of color choices).
I purposefully used very common, readily available fall plants.
As for the "pumpkins" at the base of the planter, I bought those in the vegetable section of the grocery store for less than $2 per gourd/squash. They are turban squash and used in cooking. Of course, you could also buy them at the pumpkin patch.
Traditional orange or white real pumpkins or faux pumpkins would look good also.
Fall Porch Planter Directions
What You'll Need
- Large Urn, Pot or Container
- Potting Soil
- Gardening Gloves and Small Trowel (aka spade or hand shovel)
- 1 Garden Mum
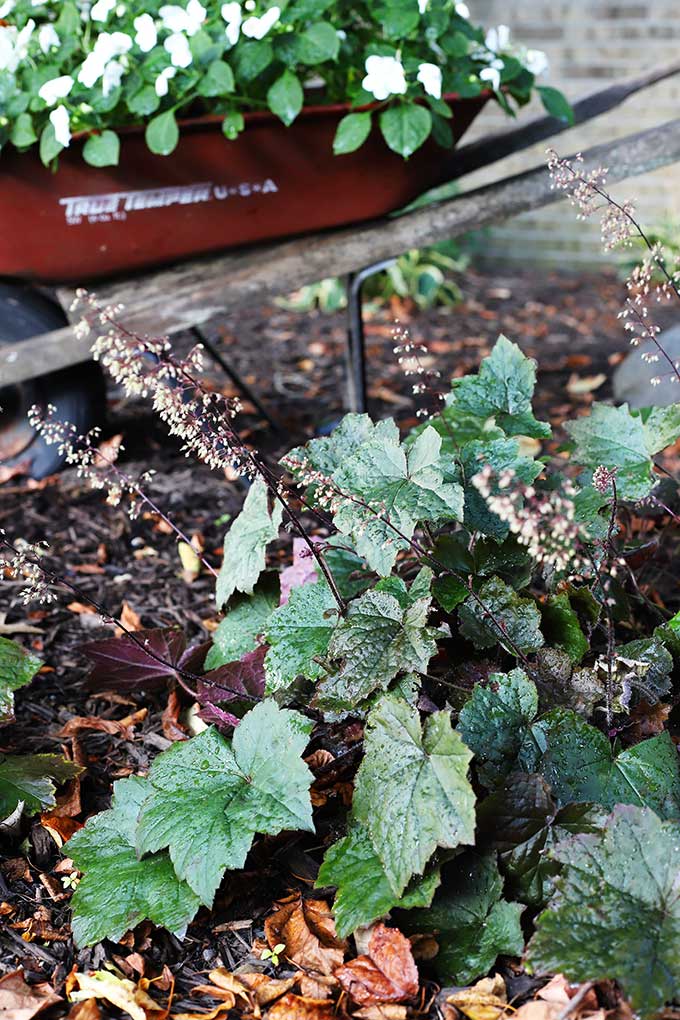
- 1 Coral Bells (Heucherella)
- 1 Flowering Kale or Cabbage
- 1 Large Celosia
- 3-6 Pansies
- 1 Mini Pumpkin
- 3 Assorted Pumpkins, Gourds or Squash (optional)
My red Radio Flyer wagon came in handy for toting my supplies around.
Step By Step Instructions
Time needed: 20 minutes
Step-By-Step
- Gather Your Supplies
Going clockwise, I purchased a Garden Mum (Miranda Orange), Celosia (Ice Cream Yellow), a mini pumpkin, 3 Turban squash, Pansies (Matrix Orange), Flowering Kale (Glamour Red) and Coral Bells (Heucherella - Sweet Tea).
- Prepare The Pot
Fill your container with potting soil, leaving 2-3 inches at the top. We are going to be jamming quite a few plants in here, so you'll need the extra space to work with.
I purchased this plastic planter (yes, it is plastic) 5 YEARS ago and it has held up amazingly well. It's 19" wide and has a very classic design.
You can see other ways I've used it in my How To Make Outdoor Christmas Planters article (super easy holiday look) or Easy Holiday Front Porch Planters article (shows how to easily convert these to a holiday look).
- Spread Out Plant Roots
As you're planting each of these plants, spread their roots out a bit on the bottom.
99% of the time the plants have gotten a little root bound by this point in the season and could use a little loosening up so they grow into the surrounding soil better. Don't worry about breaking the roots when you're spreading them out, the plant will survive and will enjoy being able to stretch out. - Plant The Mum
Use the trowel to scoop out some soil from the back of the urn to make a hole big enough for the root ball. Place your mum in the hole.
Push soil back over the root ball. Gently push the mum down into the soil, so it firmly supports the plant. - Plant The Celosia
Do they same for your celosia, tucking it firmly up beside the mum.
Did I mention we're going to jam a lot into this pot? - Plant The Kale Or Cabbage
Next comes your kale or cabbage on the other side of the mum.
Just remember each time you put a new plant in you are going to do 5 Quick and Easy Steps:
1. Spread out the plant roots
2. Dig a small hole by pushing the soil to one side
3. Place your plant in the hole
4. Push dirt back up over the root ball
5. Gently push the plant down into the soil - Plant The Coral Bells
And just when you thought you could fit no more, plant your coral bells right beside the celosia. #stuffitinthere
- Plant The Pansies
The pansies come last. Tuck them into the very small space in the front, hanging them over the edge a little bit if they are tall enough.
Since the pansies come with such a small root ball, I normally just use my fingers to dig out a little hole for them instead of using a trowel. - Place The Pumpkin As An Accent
Take your little pumpkin and wedge it in somewhere around the pansies wherever you can find room. Extra points if you have a pumpkin with a fun curly stem!
- Watering
Once all your plants are in the soil, water the container. You want to give them a good soaking without drowning them. I used roughly ½ gallons of water for the planter. (I have additional watering tips in the FAQ section down below).
- (Optional) Pumpkins, Gourds or Squash
If you want to add additional fall goodness to your planter you can always add some pumpkin, gourds or squash at the base. I used three turban squash. The one on the right bottom of the photo looks exactly like a huge acorn!
Other Readily Available Fall Flowers For Containers
There are many other fall flowers you can find this time of year, some of which are:
- Asters
- Purple Fountain Grass and other Tall Grasses
- Ornamental Peppers
- Coleus
- Crotons
- Sunflowers
- Black-eyed Susan
- Daisies
Frequently Asked Questions:
A fall planter will retain its moisture much longer than a summer one that is subjected to much higher air temperatures for longer periods of time. You can water them just whenever the top 2-3 inches of soil feels dry to the touch (just go ahead and stick your finger in the dirt), normally about once a week.
Since it is fall and these plants are not going to "grow" a whole lot in the next 2-3 months (at least not like they would if you planted up a spring planter in May), you can easily pack quite a few plants in here. You are going for instance impact, color and pizazz, so make it full and showy!
When you get ready to plant your urn up with greenery for the holidays, you can plant the mum and the coral bells in the ground. They are perennials and will come back year after year. As a matter of fact, I have quite a few patches of coral bells throughout my flower beds. They all started in fall planter planters, moved to the flower beds after Thanksgiving and then start reproducing themselves from there.
Celosia is a tender perennial and usually grown as an annual in my part of the country. Unless you live in Zones 10-11 (basically the southern tips of Florida and California) they won't be able to survive in the ground in the winter. You can try to dry the plumes if you wish for dried flower arrangements though.
Flowering Kale (aka Ornamental Cabbage) will actually last fairly long, possibly throughout the winter, although the stems tend to get very long and the plants lose their attractiveness after a while (they have their best show of color in full sun in the late summer and early fall). Most gardeners treat these as fall annuals and toss them after fall and start anew the next year.
Pansies can go either way. Most people plant pansies as annuals only in the spring or the fall. They really enjoy the cooler temperatures. Although pansies can survive a frost and even harsh winter weather and possibly still bloom again in the spring, it's not a sure bet. You might want to try to overwinter them in the ground and just see what happens.
Maybe. If you don't want to use the flower pot for a holiday arrangement for the porch you can try to just keep everything together in the pot and see what, if anything, survives the winter.
You would bring the pot into an unheated garage and let it live out the winter there for the best chance of survival, but honestly it's not super easy (or beginner-friendly) to overwinter mums in pots, let alone the other plants. Mums overwinter nicely in the ground, but a hard freeze can quickly kill their roots in a pot because they don't have as much soil to surround and insulate them.
So basically, I don't advise it, but it doesn't hurt to prove me wrong.
So in summary, YOU CAN DO THIS! Making a fall planter is definitely something a budding gardener can do! Grab a large pot, some potting soil and a few plants and let's pretty up that porch of yours!
Check out the web story version of this article HERE.Other Posts You May Enjoy:
Making A Fall Foliage Planter (No Mums In This One)
Carolyn Dinger
Like the step by step, including how many flowers to buy.
Great job.
Pam Kessler
Thanks!!!