I sort of missed the tattoo phase in my life. When I was in college they weren't a "thing" yet. It was more of something an old WWII Navy veteran would have.
By the time they became mainstream, I was full on into motherhood and totally too much of a wuss to get one.
But today I summoned up my courage and took the plunge.
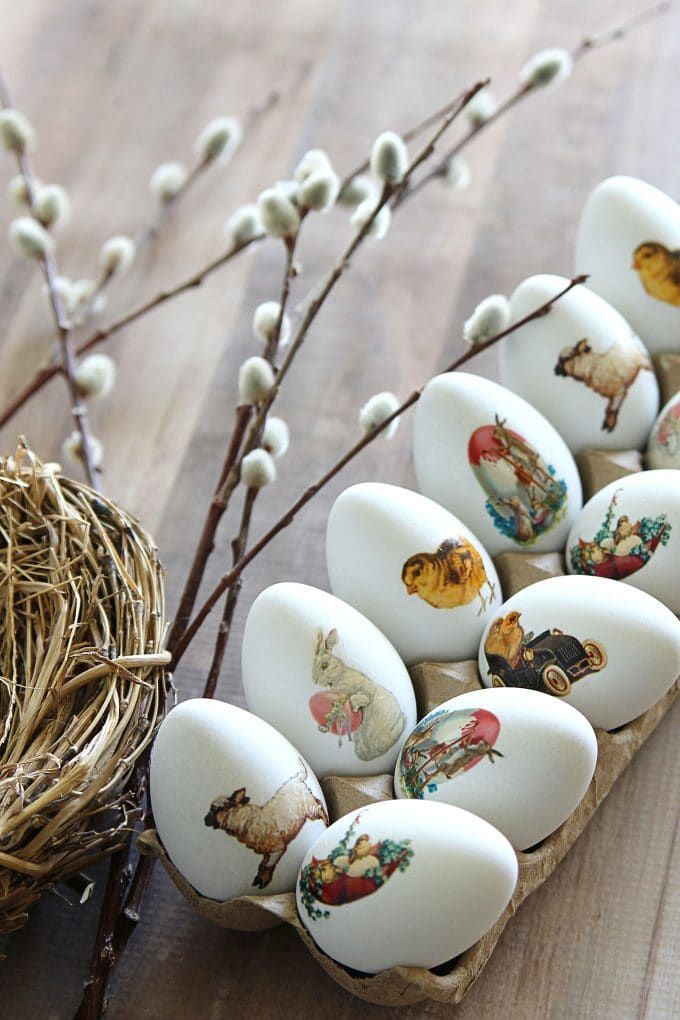
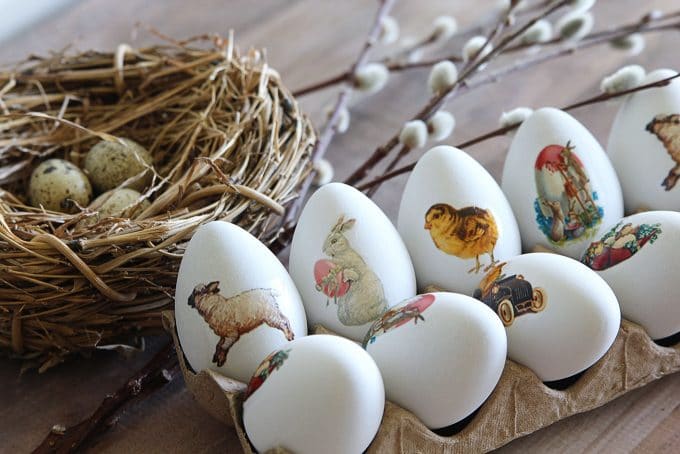
OK, so I tattooed an Easter egg, not my butt.
That still makes me hip and trendy, right?
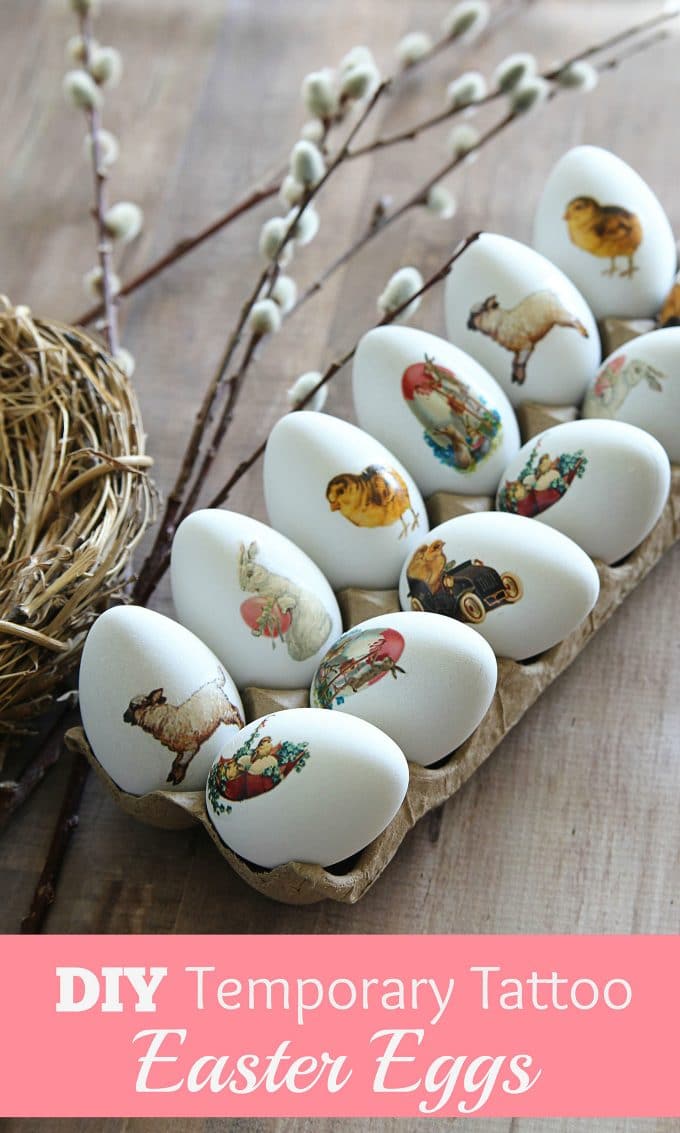
DIY Easter Egg Temporary Tattoos
Supplies:
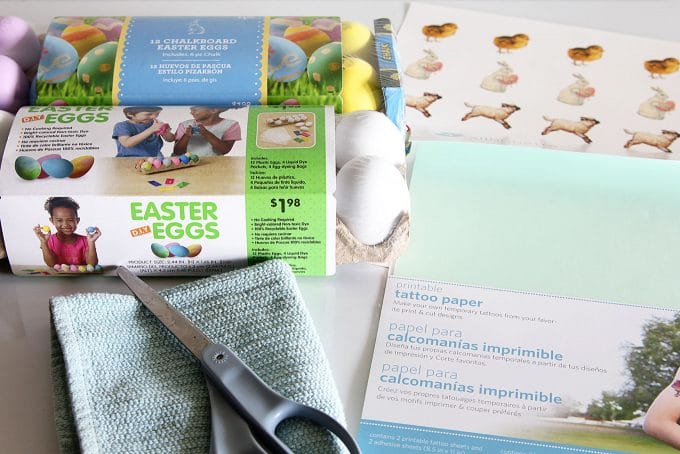
- Faux Easter eggs or real eggs boiled, dyed and cooled
- Temporary Tattoo paper
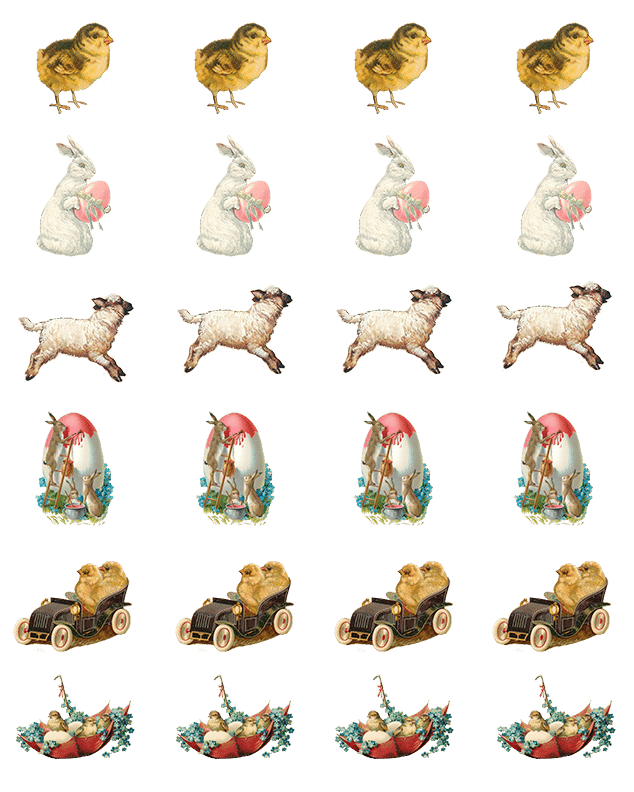
- Images for the tattoos (you can get mine HERE)
- Color printer
- Scissors
- Wet washcloth or sponge
Instructions:
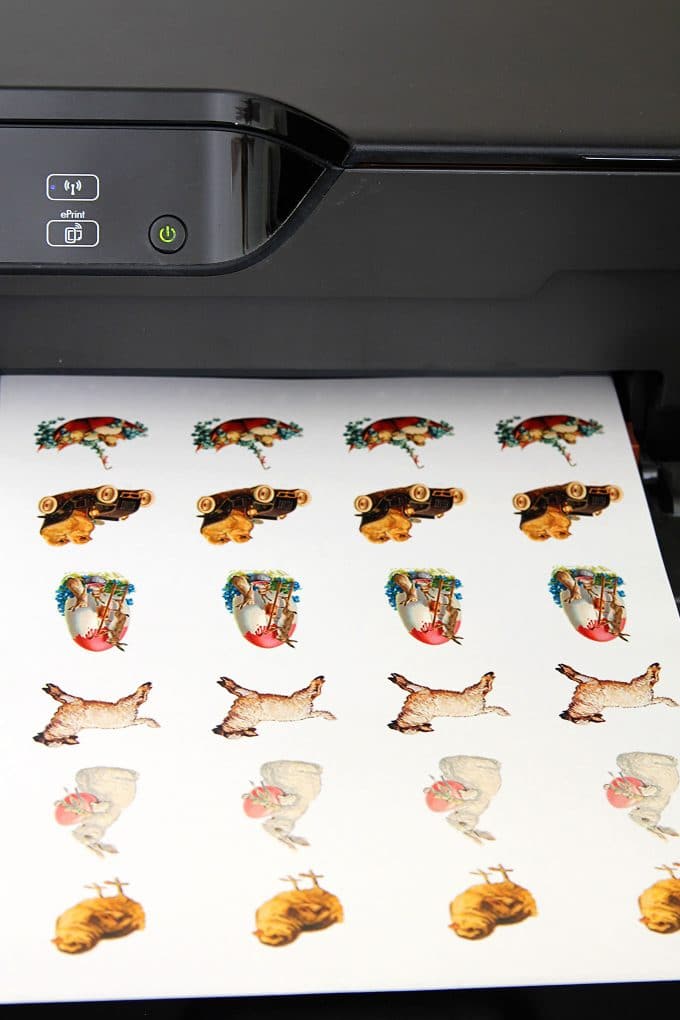
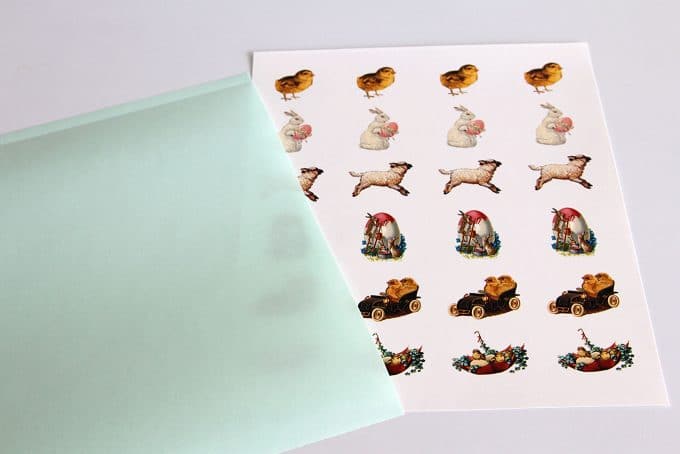
Print out your tattoos on temporary tattoo paper per instructions on the tattoo paper (it's very easy, trust me on this one).
After the tattoos are printed you apply a protective plastic over them (it comes with the tattoo paper).
Honestly, aligning the plastic sticky paper on top of the tattoo sheet was the hardest part of this job. And that wasn't hard at all.
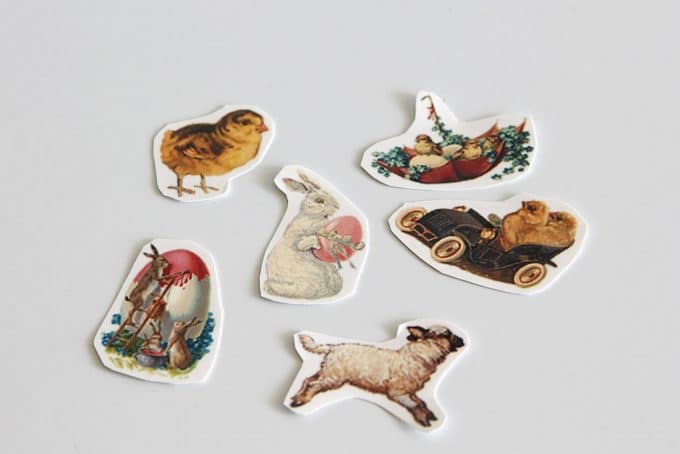
Cut out your tattoos. I like to cut close to the images so there's not extra tattoo paper hanging around.
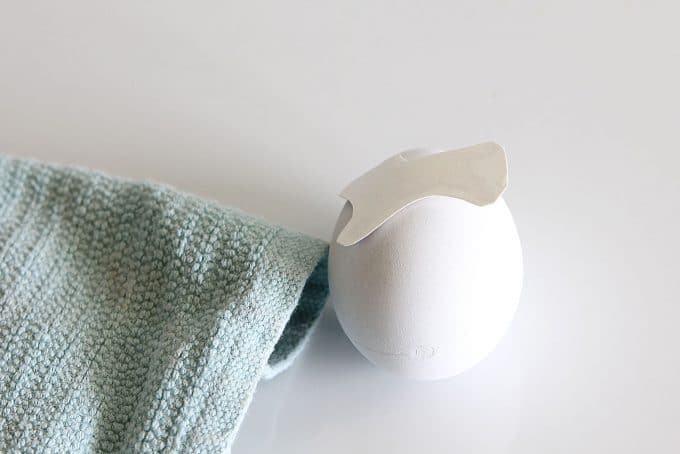
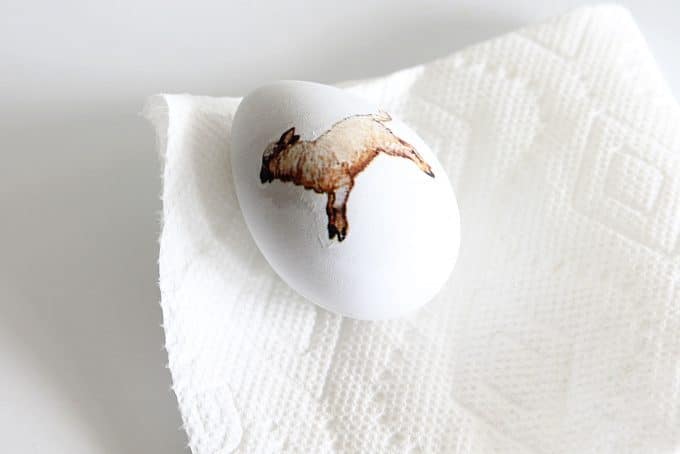
Apply tattoos to eggs by taking the clear plastic covering off the tattoo and placing the tattoo face side down where you want it on the egg. The paper side should be facing you.
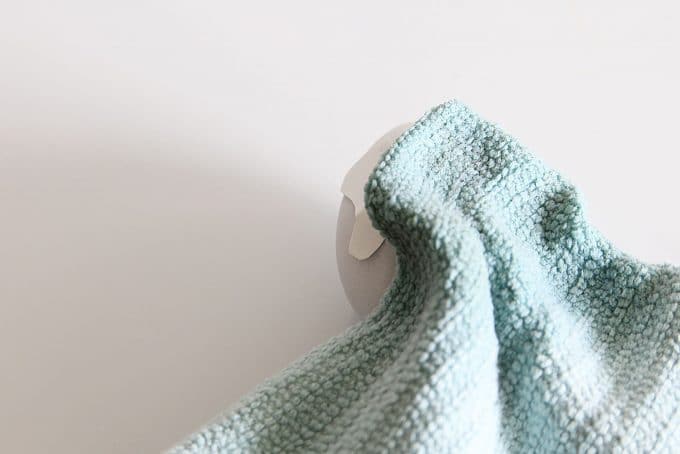
Gently apply the wet washcloth to the tattoo paper, dabbing it around and making sure the entire tattoo is dampened.
Press gently, these are eggs we are talking about.
Gently lift a corner of the paper and make sure the tattoo has adhered to the egg. If not, just press down a few more times with the wet washcloth.
Remove the wet paper backing. That's it!
Who knew tattoos could be so painless and easy!
Now I'm thinking of how an Easter chick would look on my butt . . .
You can find the vintage Easter tattoo images to print out HERE.
And you could make my day and pin this to Pinterest!
Other spring posts you may enjoy:
How To Force Flowering Branches Indoors
Vintage Easter Images: Adorable Free Printables
Making Tulips Last Longer: No More Drooping
A web story version of this article can be found HERE.


Diane
Very sweet, Miss Pam! Pinned. I DO have a tattoo, went under the 'needle' after my mom passed. My daughter designed a sweet one, as a remembrance of her grandma. A robin, my mom's favorite bird, with You Are Loved beneath, in Ukrainian. So mom and daughter have matching tats. I was not brave. 🙂 Now, back to looking at your other sweet Easter ideas! 🙂
Pam Kessler
Oh, that sounds pretty!
Other than the pain, I think the permanence of a tattoo stops me. I have a hard time picking out a sofa, let alone a piece of art on my body 🙂
Diane
Well, Miss Pam, I was also a 'never tattoo-er'. It will be my only one. The 'pain' is really not that, more like a repetitive tiny pinch, that I got used to. Plus, with my daughter and her group of friends nearby, I did fine. Sadly, although Kelly's tattoo is still as precise as the day it was applied, mine is not. It has blurred, am told because my skin did not like it. A sort of allergic 'nope'.
Kate
Whaaaaaaat?! This is genius! I love it and and can't wait to try. Just so clever. Thanks for sharing with us!
Rebekah Purnell
Amazing idea! As a DIY'er, I appreciate your work. I wanna make egg tattoos vintage for my kids. I think they will like it. So pretty, thanks!!!
Ruthdiana
Beautiful!!! I love the easter egg for that soft look so perfect. I have absolutely no idea how I make easter egg. So it's nice to have a tutorial. 🙂
Vickie
Adorable retro look for your eggs, Pam! Maybe I'll decorate the hard boiled egg I bring to eat on my lunch break. It would be my first tattoo as well. :o)
Barbara Chapman ~ French Ethereal
Pam,
This idea is soooo cute! I pinned and reposted on my FB page so friends with young children could have fun making!
Happy Almost Easter!
Barb 🙂
Stacey
These are so cute! Happy to pin and share this. 🙂
celeste
if you find Easter napkins you can cut images out and modge podge or use thinned out glue to adhere to egg also.
taryterre
LOVE these. The vintage look makes them charming and sweet.
FLORENCE @ VintageSouthernPicks
Pam, this is such a cute idea & even cuter tattoos! I'm with you...tattoos are for weathered OLD sailors...LOL. Anyway, this project looks like it might be a tad easier than dying eggs! Pinned.
Maria Brittis
I am in love with these eggs! You have inspired me to make some, I was not in the mood until I saw yours.
Hugs
Maria
Linda @ Itsy Bits And Pieces
These are so fun! They look beautiful! Of course I'm pinning!