How to make silverware wind chimes out of commonly found thrift store items!
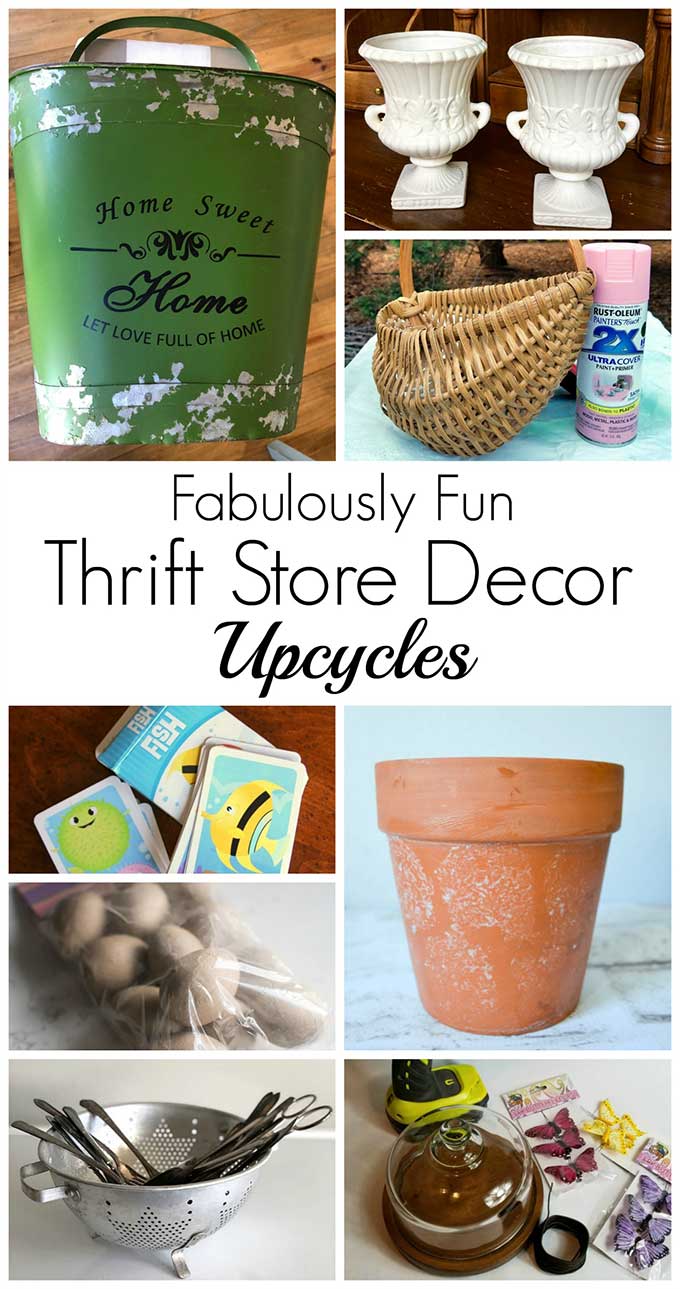
It's that time of the month again! Where the Thrift Store Decor Team is primping (notice the "r" in there), fluffing and repurposing our latest thrift store hauls.
Because why buy new, when you can spend a buck or two at the thrift store and make it over into something pretty darn fun and unique.
I'm going to show you my creation and then you'll have to pinky promise to pop on over and check out the other projects (they're listed down at the bottom)!
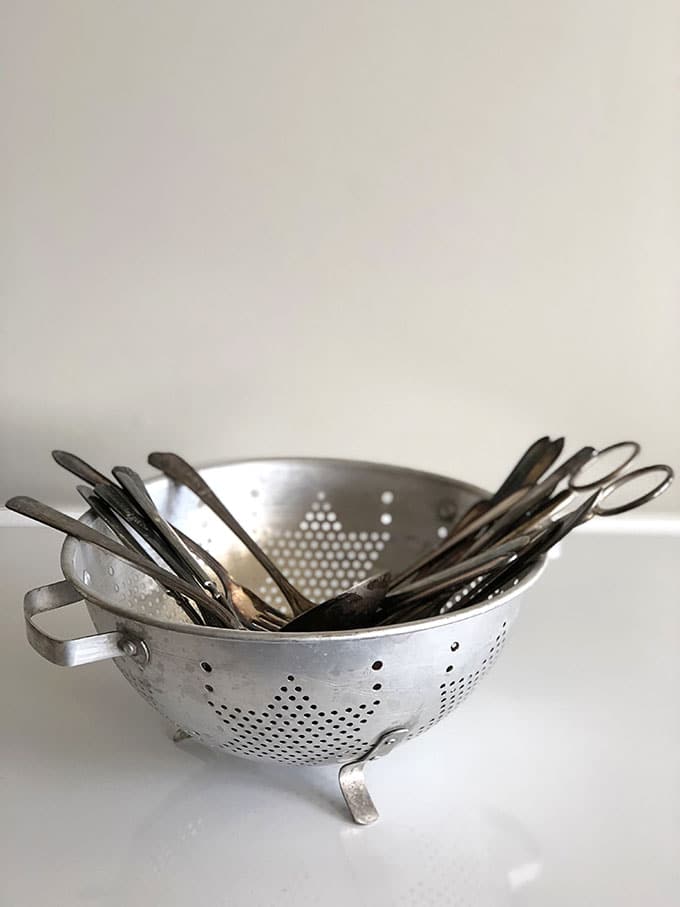
So here's my thrift store finds.
The colander was 99 cents and the silverware was 4 for $1.
Kitchenware is absolutely taking over my local Goodwill. I think people are doing some spring cleaning and just want all the extra stuff out of their house. Now.
For this project, you can either try to find vintage silverplate or just go with the massive amount of ordinary silverware in the bins.
Tip Of The Day: Just say no to knives. I know it sounds harsh and judgemental, but spoons and forks make the prettiest sounds. Knives tend to have thick hollow handles that make a CLUNKing sound when they hit each other rather than the gentle, soothing PINGing of the fork and spoons. Plus they aren't as easy to drill through.
Sorry knife lovers, I call it like I see it.
(This post contains some affiliate links for your convenience. You can read my full disclosure policy here.)
How To Make Silverware Wind Chimes
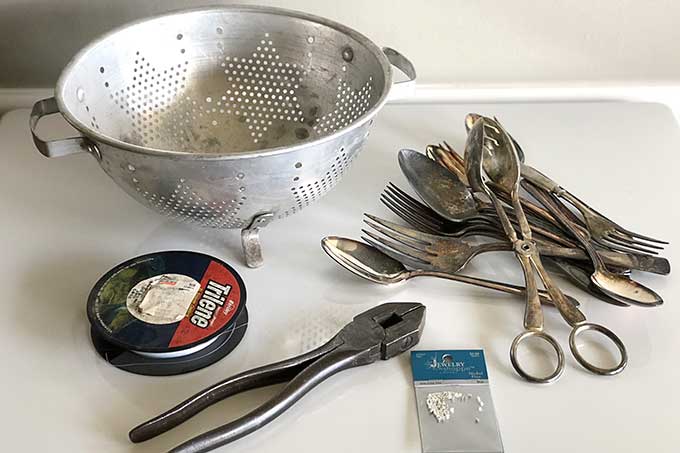
Supplies:
- Colander (or strainer or sieve or whatever YOU call these things)
- Silverware
- Fishing Line
- 2mm Tube Shaped Crimp Beads (wire firrules)
- Pliers
- Drill Press or Drill
Optional:
- Beads (to bling it up)
- Moss (if you want to plant in the colander)
- Potting Soil (if you want to plant in the colander)
- Plants (if you want to plant in the colander)
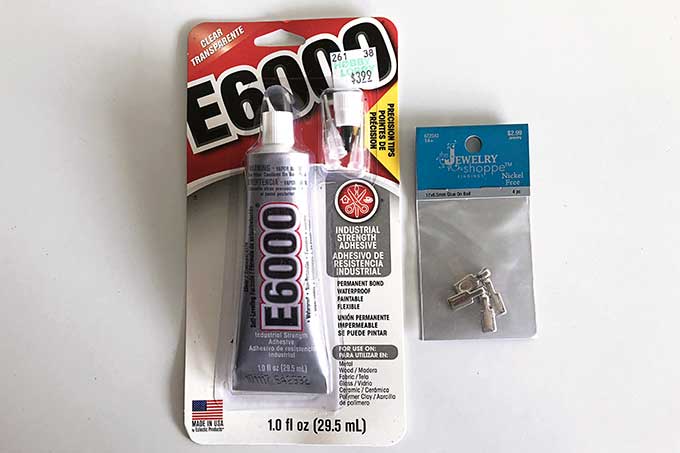
- E6000 Glue (if you want use bails instead of drilling)
- Jewelry Making Bails (if you want use bails instead of drilling)
Instructions:
Gather your supplies to make your silverware wind chimes.
Do a jig because you're so excited to be ahead of the game with your DIY projects this spring!
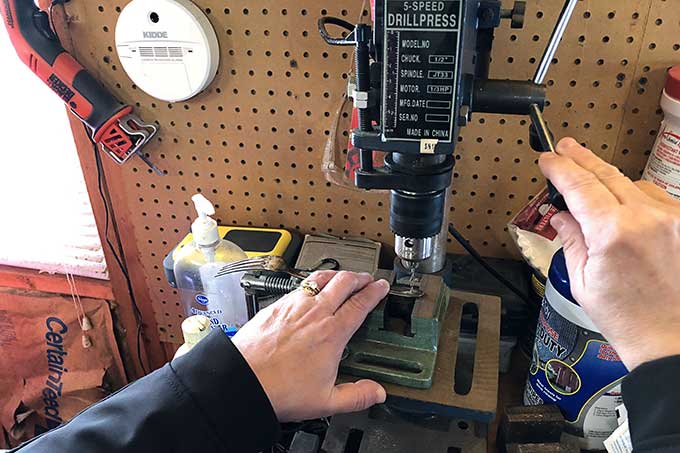
Using a drill press or a hand held drill make a small hole in the handle of each piece of silverware.
Please take appropriate safety precautions while using the power tools (you can't see my face in this photo, but I do have super cute safety glasses on).
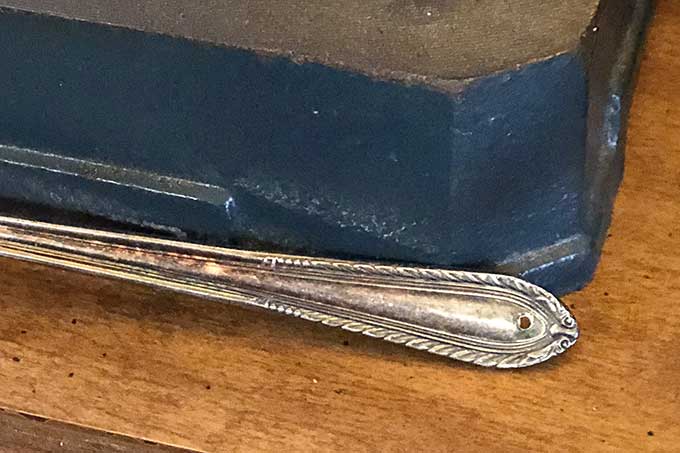
This is what a hole in a piece if silverware looks like.
Just in case you were wondering.
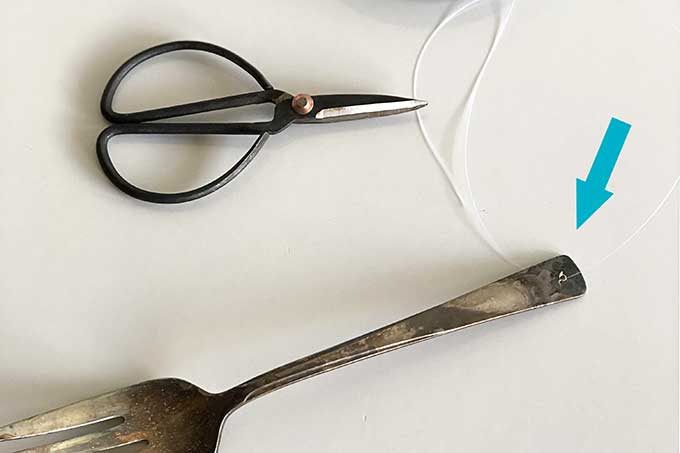
Figure out roughly how far down you want your silverware to dangle. Cut off a piece of fishing line roughly double that length plus a few inches (I cut my pieces 4 feet to be safe and played around with the length when I tied them to the colander).
Run one end of the fishing line through the hole in the handle and meet it up the other end (you will have doubled-up fishing line holding your silverware).
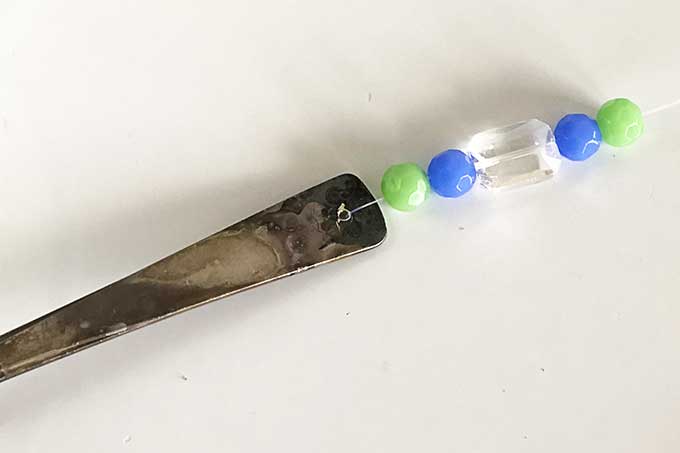
If you want to use beads, now is the time to thread your beads through both ends of the fishing line and stack them against the silverware.
Run both ends of the fishing line up through adjoining holes in the colander (one end of the line through one hole and the other end of the line through an adjoining hole) and tie together on the other side.
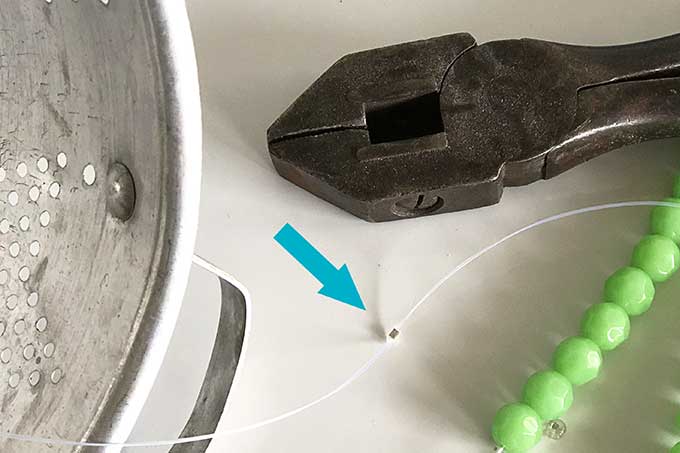
Slide your tube shaped crimp bead through both ends and position it just above the knot. Use your set of pliers to crimp the tube down (it compresses and holds the line firmly together). This should give your line extra strength should the knot loosen up at some point.
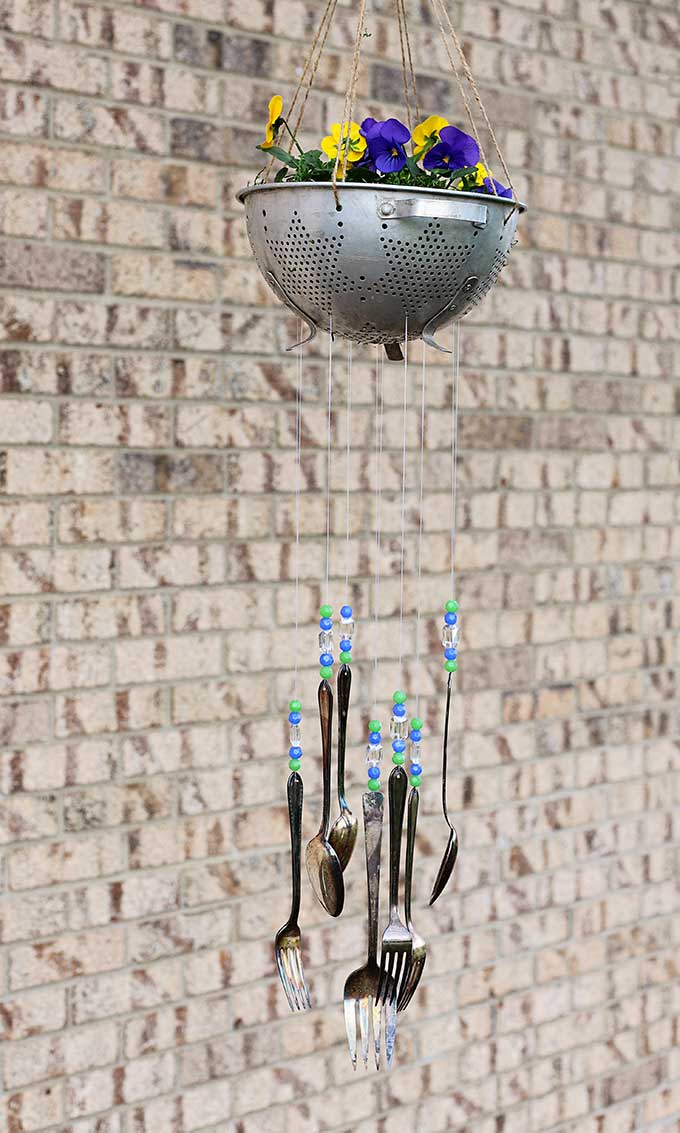
You should position one piece of silverware in the middle of the bottom of the colander and the other pieces will be positioned 2-3 inches out from the center piece in a circle.
The GREAT thing about this project is that the colander has holes already, so not a lot of drilling other than the silverware handles!!!
Your middle piece of silverware will hang slightly lower than your surrounding pieces.
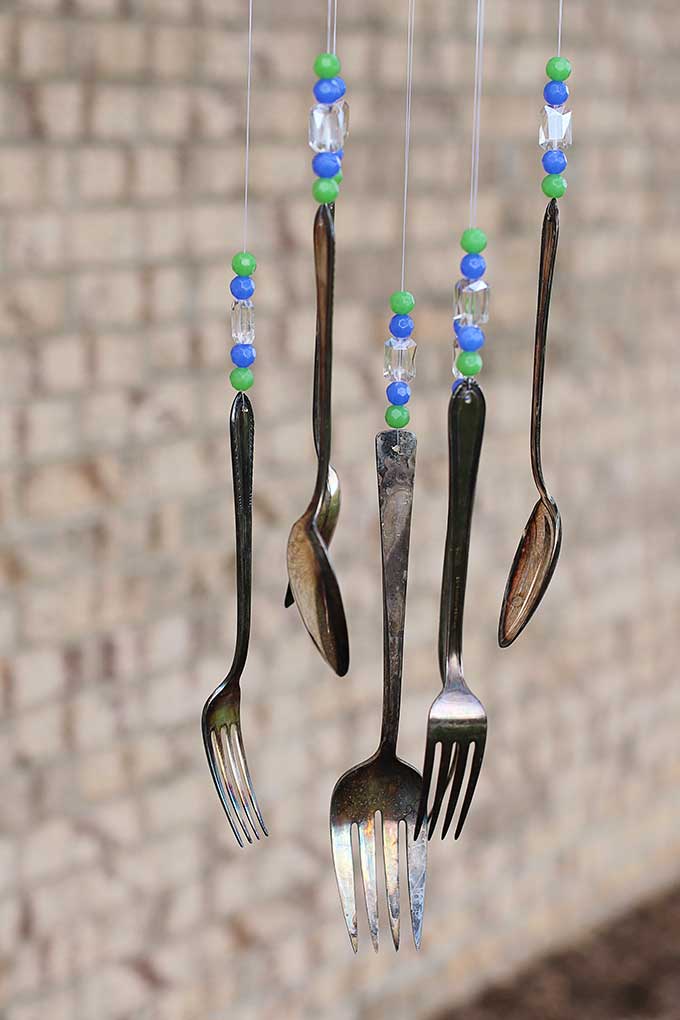
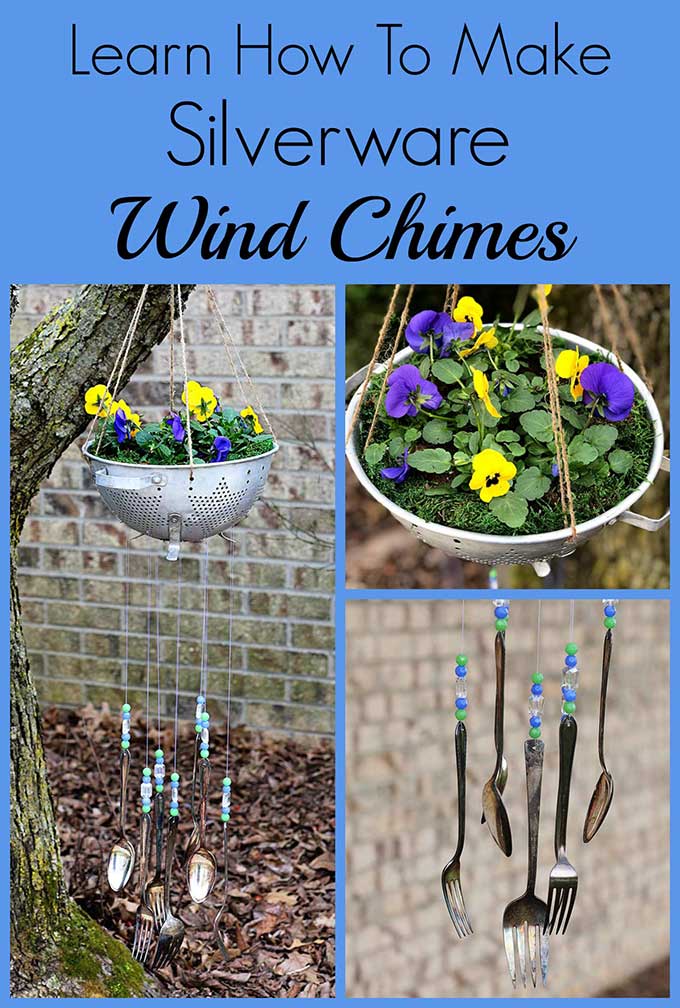
I used one meat fork as the center chime, then 3 forks slightly higher than the meat fork and 3 spoons slightly higher than those forks.
You can see in the picture that they are all able to ping into each other, yet they aren't on top of each other.
What about the flowers?
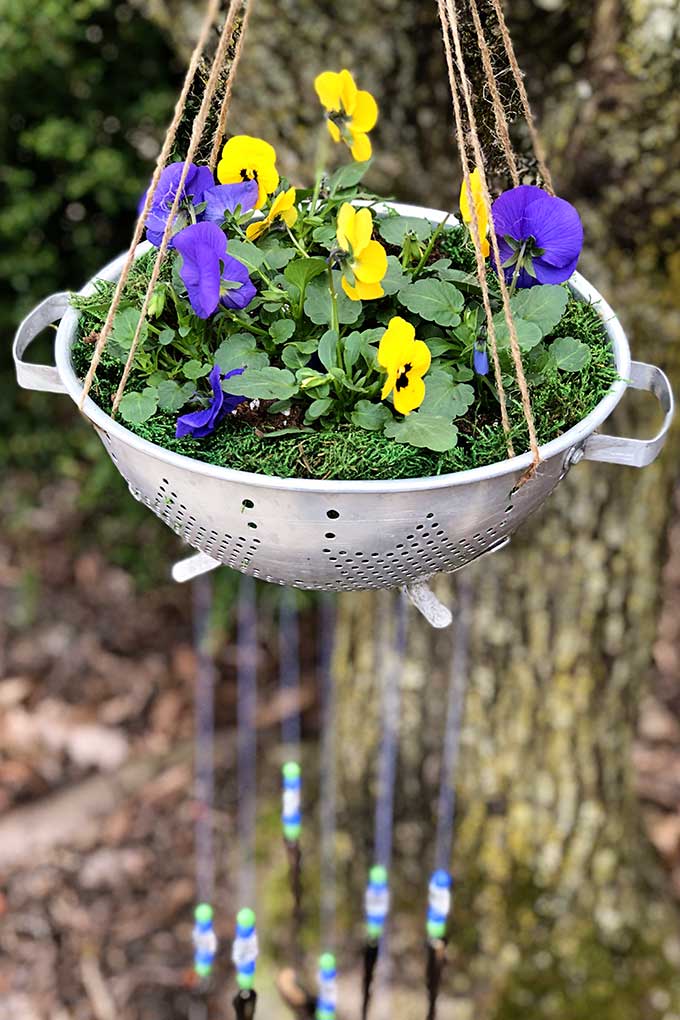
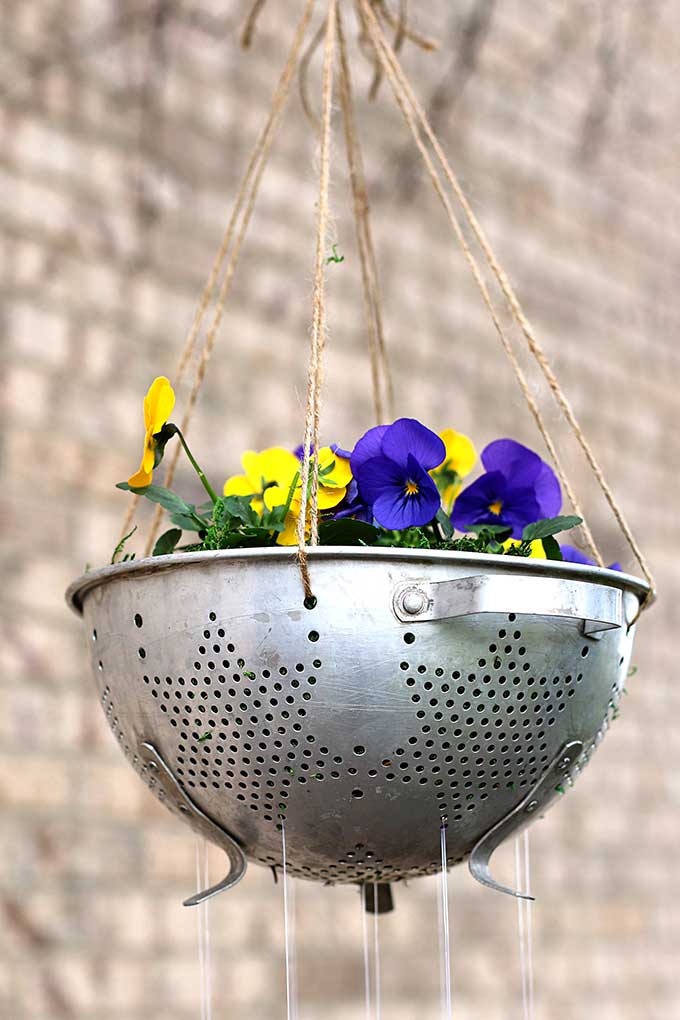
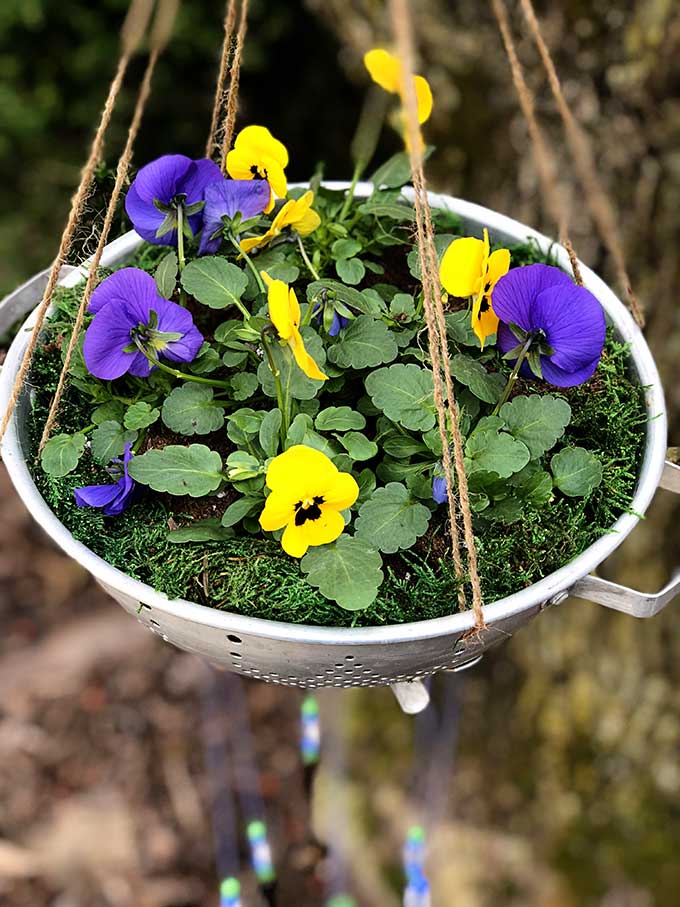
If you want to make your wind chimes do double duty, you can plant in the colander portion! How snazzy is that!
I simply lined the bottom and side of the colander with moss, filled it with potting soil and planted my flowers. Lining the bottom and sides is crucial, since there are a whole lot of holes in a colander.
Good for hanging silverware, not as good for keeping soil in the planter!
Hey, I don't own a drill or drill press, Miss Fancy Pants!
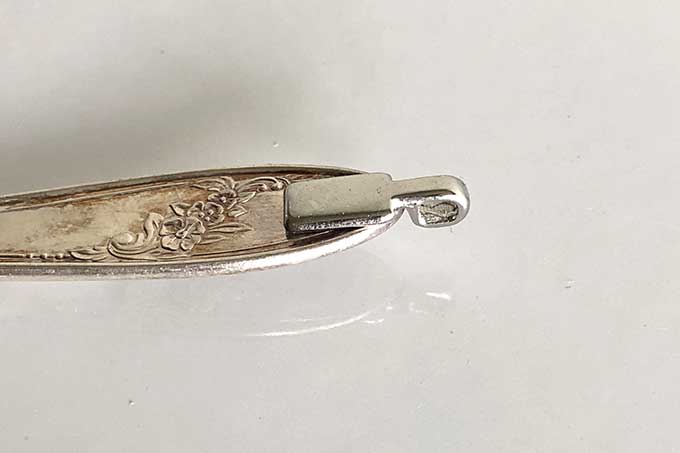
I totally understand that not everyone has access to drills and drill presses and everything that your basic Harbor Freight store carries, so you can simply glue bails onto the back of the silverware if you want to do it that way.
They're those little flat pieces with a circle on the end that you would use to make a necklace.
I do think drilling the holes will be sturdier for the long haul, but the glue/bail method should work out also.
Now go on over and see what the other Thrift Store Decor Team girls did with their thrift store loot:
Thrift Store Decor Team
Gold Leaf Easter Eggs - Domestically Speaking
Cheese Cloche Butterfly Display - My Repurposed Life
Banner Garland - Petticoat Junktion
Tulip Bucket Door Decor - Refresh Restyle
Spring Urns - Our Southern Home
Painted Herb Pots - My Uncommon Slice Of Suburbia
Easter Basket "Wreath" - Sadie Seasongoods
Silverware Wind Chimes - House Of Hawthornes (hey, you're already here)
Check out the web story version of this article HERE - Silverware Wind Chimes DIY Web Story.
Other post you may enjoy:
Vintage Tin Dollhouse Repurposed Into Birdhouse
25 Upcycled Garden Ideas
Top 10 Thrift Store Tips




Linda at Mixed Kreations
This is so cool! I've seen colanders made into wind chimes, and colanders planters. But not the two combined. Love it!
JaneEllen
Have seen similar ideas on blog land but never really paid total attention. You have inspired me to make this, will be pretty hanging out in yard this summer. Now to find a cute metal colander and get some utensils. Sold all my beads but will snag a few on sale. Can hardly wait to make this. Think will buy the bails and call it done.
Happy Spring and Easter
[email protected]
charming and sweet.
Clara @Model Home Improvement
Really, adorable! The style is honestly beautiful…How does the top look like?
gail
Pam,
Your silverware wind chimes are great! I love that you give an option for those who don't use power tools.
The planting of the flowers really bumps this project up a notch.
pinning!
gail
Linda @ Itsy Bits And Pieces
This is so charming, Pam! It turned out beautifully! Pinning! And thanks for the knife tip!
Christy @ Our Southern Home
I seriously love this!!! Now, I see why a drill press is useful!!!
Maryann
So clever!!! I want to make one for my mom, she'd love one in her garden!
Kristin
I never would have thought of that, you are so clever!
FLORENCE
That's so totally cool Pam! Love the colander planted and with the silverware attached, it's even prettier. You'll enjoy that on your porch now!
dee
Awesome idea . . . hanging planter and wind chime all in one 🙂
Robyn Wright
Hi, I found you through "Sadie Seasongoods" and I LOVE thrifting and Coke Zero! I have all of these things gathered up and waiting for me to put them together. I also bought old toy xylophones and removed the "keys" to use as chimes as well.
Pamela
I have a ton of thrift store spoons I started to paint to make wind chimes. I have put it off because I did not relish the drilling. Like a dork I was thinking of doing it with a hand held drill when I have a perfectly good drill press. (head smack)
Now to find a colander! Fabulous idea for using it as a planter and spot to hang the chimes from.
Sadie Seasongoods
LOVE this, Pam! And your tip about the knives is awesome- I had no idea but it makes perfect sense. You know the little shooting star and rainbow thing on NBC with "The More You Know" flashing on the screen? That's playing in my head right now. 😉
Pam
You're cracking me up. I'd prefer to be on Schoolhouse Rock though! "I'm just a bill, yes I'm only a bill . . ."