

I've been wanting to make a barn quilt for my front porch for YEARS and I finally got around to making one!
And don't get all stuck on the fact that it's on a PORCH and not a BARN, you can put a barn quilt just about anywhere.
Out-building, garage, even a she-shed. There are no barn star police (that I know of).
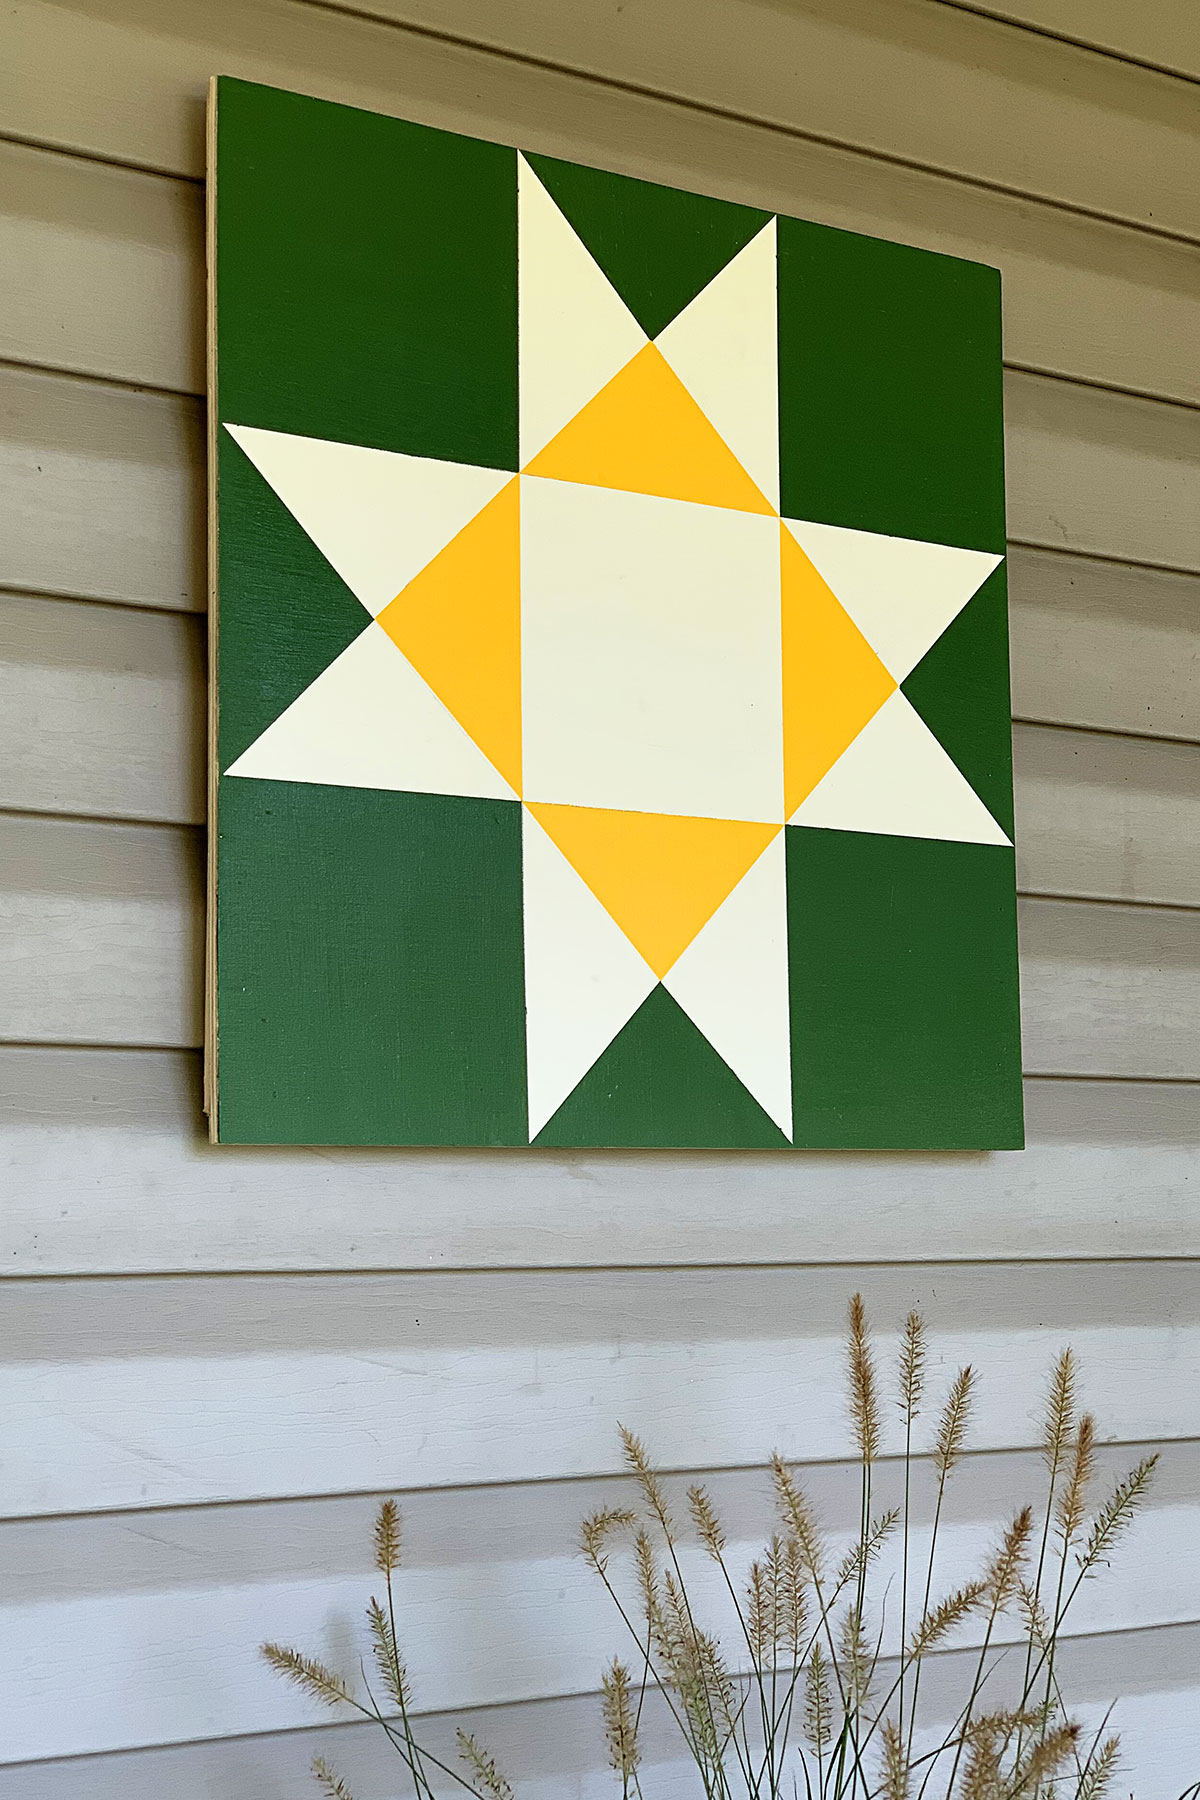
Table Of Contents
What Is A Barn Quilt?
Barn quilts started out as a way to pretty up the sides of ordinary barns in the countryside. Sometimes they are painted to honor a relative's quilting patterns and sometimes they are painted for tourism purposes to bring people to the area.
In my case, I just wanted something colorful and fun on my porch.
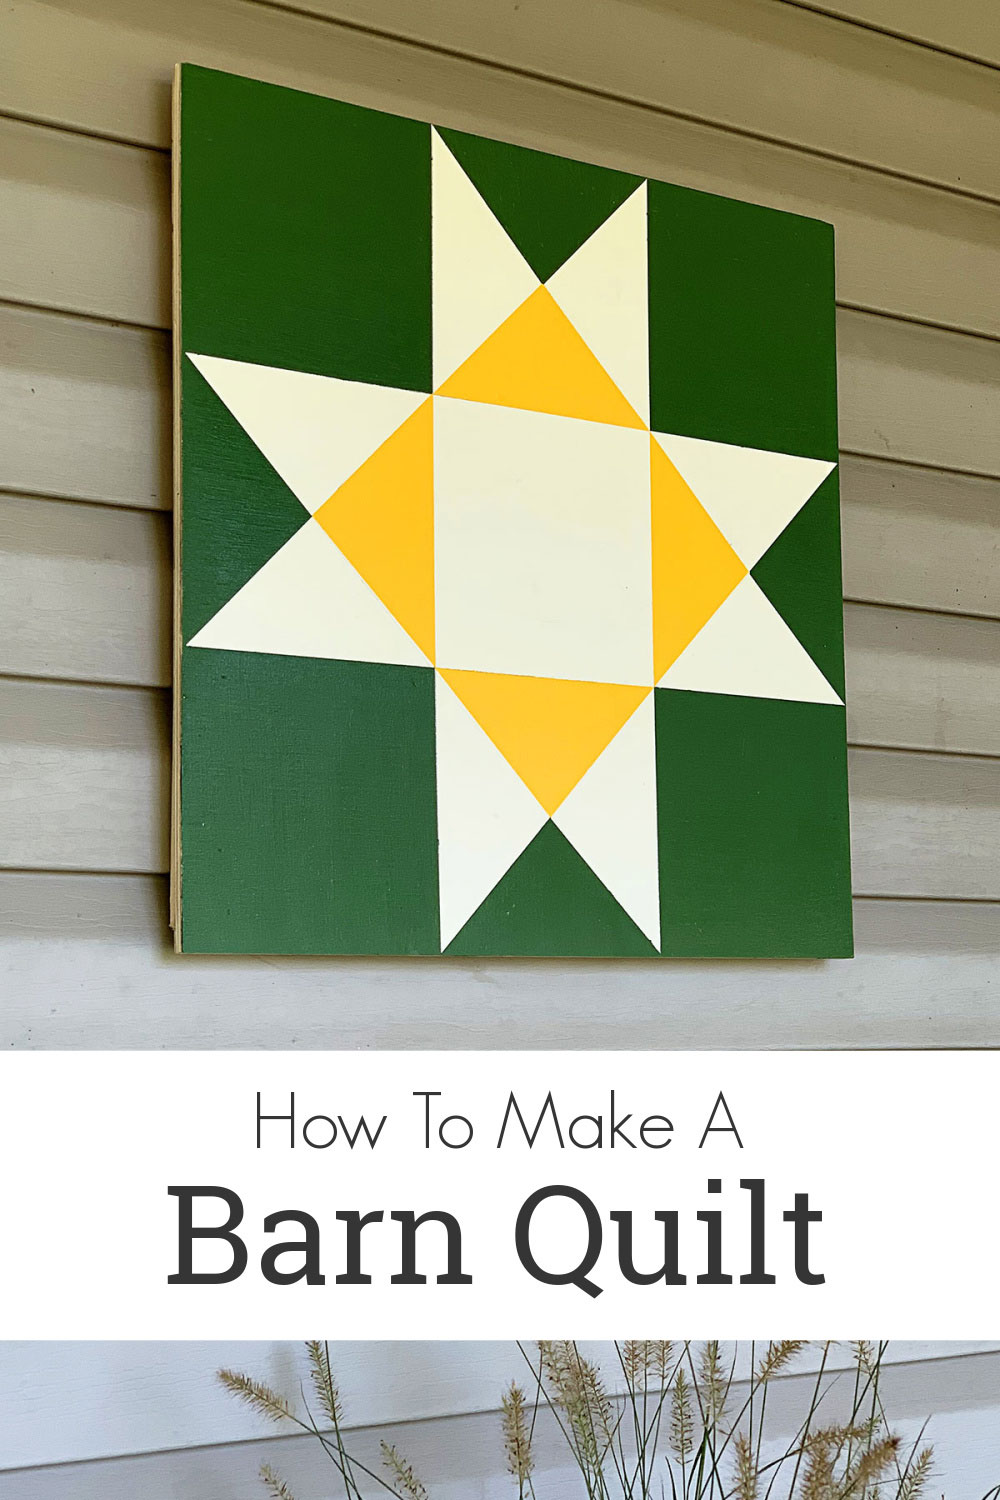
I chose to paint a modified Ohio Star quilt pattern. I am living in Ohio, so that part was a no-brainer.
I did want more color than just the traditional red and white colored Ohio stars though, so I made mine with 3 colors.
(This post contains some affiliate links for your convenience. You can read my full disclosure policy here.)
How To Make A Barn Quilt
Supplies
- 1 - 2' x 2' square piece of ½" thick plywood (Home Depot has pre-cut ones)
- 1 - 8' length of ¾" x 1-½" wood for framing
- Barn Quilt Pattern (attached below)
- Pencil
- Hammer & Nails or Battery Powered Brad Nail Gun
- Miter Saw (you could use a hand saw and miter box if you prefer)
- Primer
- 2-3 Shades Of Paint
- Wood Putty (optional)
- Sealer (rated for outside use)
- Safety Glasses and any other necessary safety equipment
Instructions
Part 1 - Painting The Barn Quilt
Home Depot sells a precut piece of plywood in the craft wood section that is great for this project. They also have similar sheets that have a poplar veneer on the front and back which are even smoother.
I bought the plywood because the poplar one wasn't readily available at my local Home Depot and I didn't want to wait for it to come in.
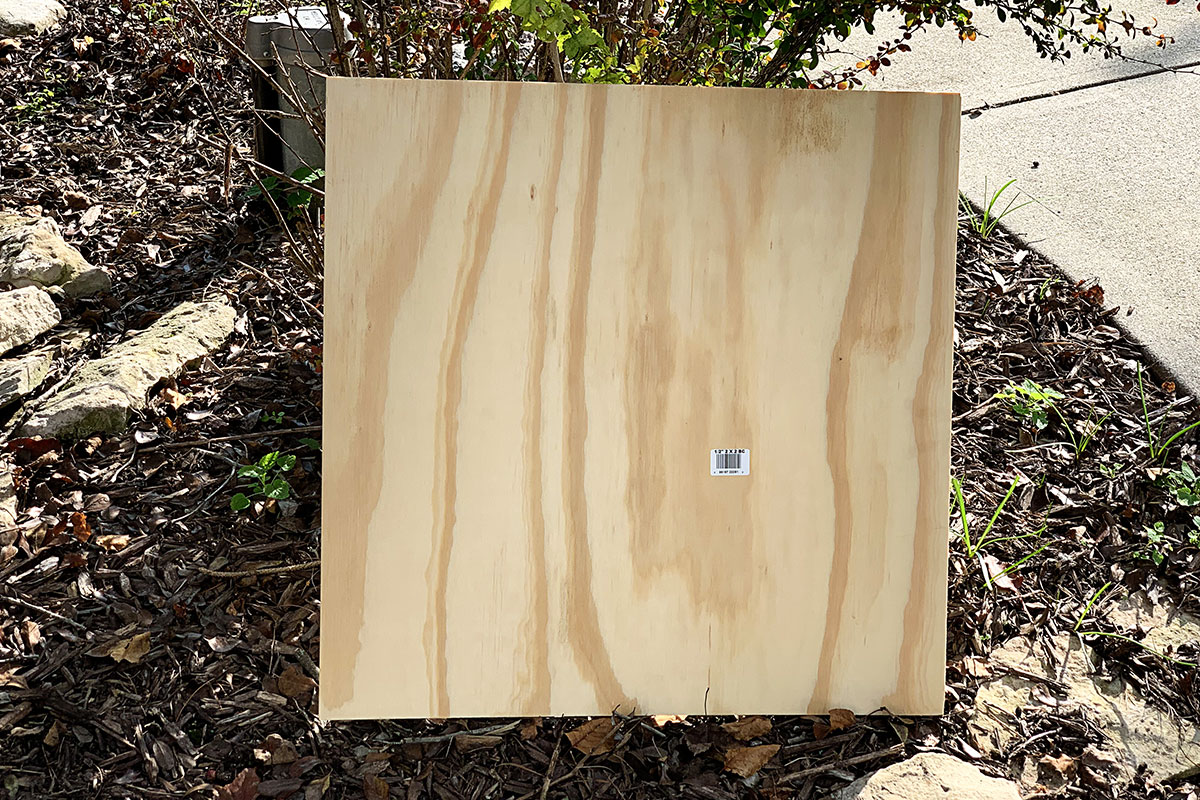
Now although my plywood is sold as a 2' square, it's actually ¼" shy of a 2' square.
This is very common when you purchase wood as it has a Nominal size (what it's labeled as by the store) vs an Actual size (what it technically measures to be).
Just keep this slight difference in mind when you are penciling in the lines later.
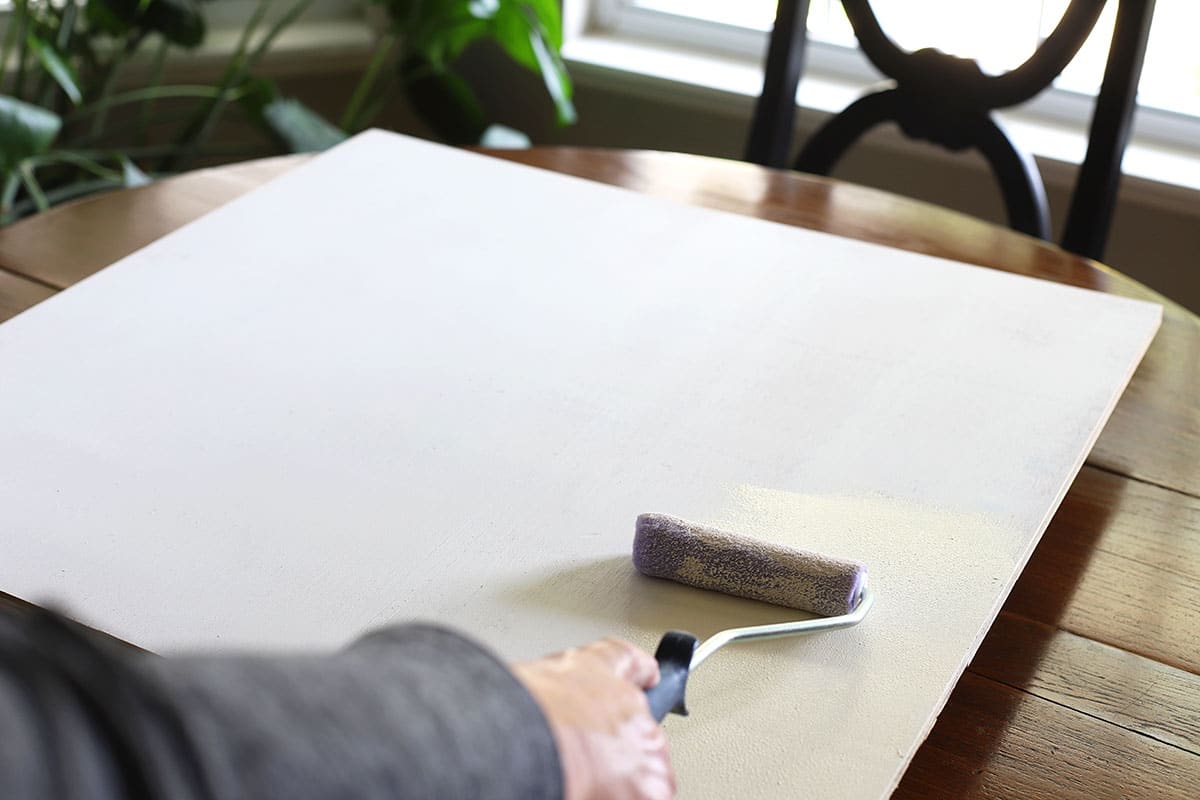
I sprayed a quick coat of primer over the front side of the plywood. Once dry I put a coat of my lightest color paint (white in my case) over the entire board.
You are going to be taping off areas for the blocks of color, so it just makes sense to have one color that is pre-painted to reduce taping time later.
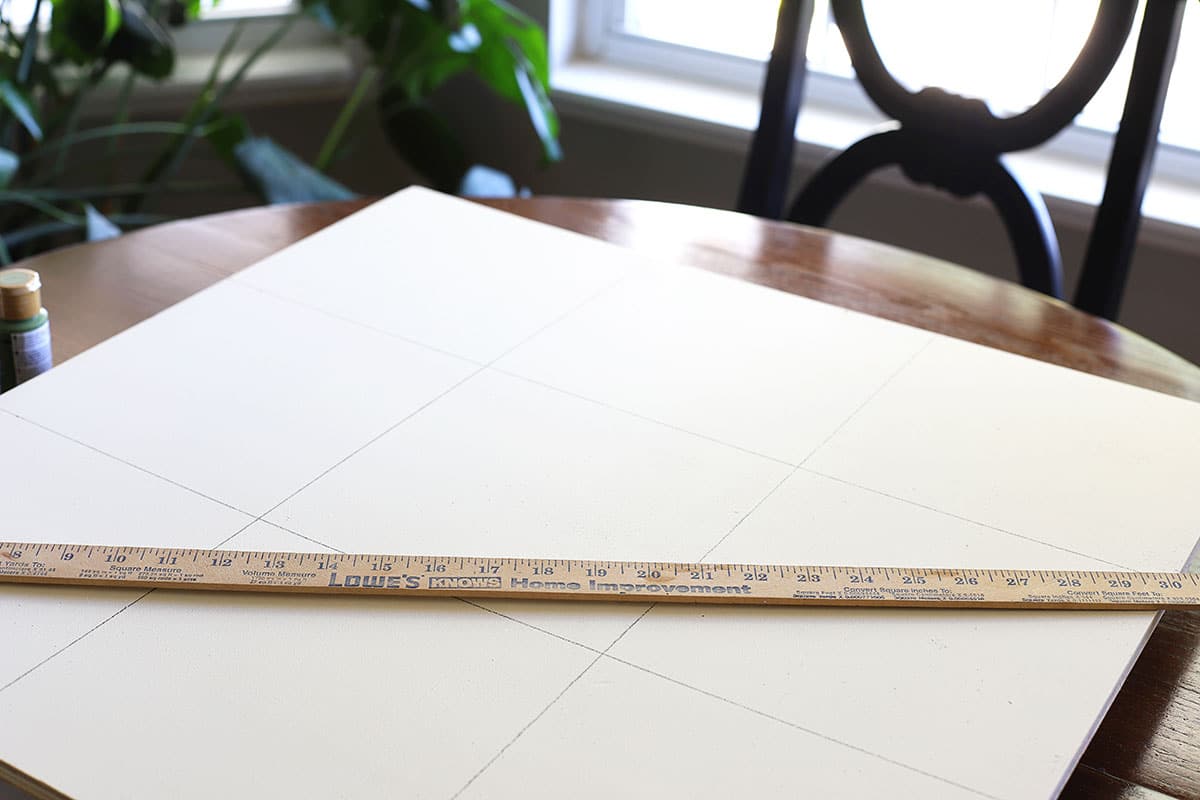
Measure your wood to get the exact dimensions of your wood (whether it be 24" across or 23 & ¾" across) and divide that number by 3.
Take a pencil and yardstick and make pencil marks at the top and bottom of the wood. And at the right and left side of the wood.
- For a 24" wide piece of wood you would put pencil marks at 8" and 16". Easy as can be.
- For a 23 & ¾" piece of wood you would put your pencil marks at 7 & 15/16th" and 15 & 14/16th". It won't be 100% accurate, but pretty darn close.
Then take your ruler and connect the top and bottom marks using your yardstick. And then the right and left side marks.
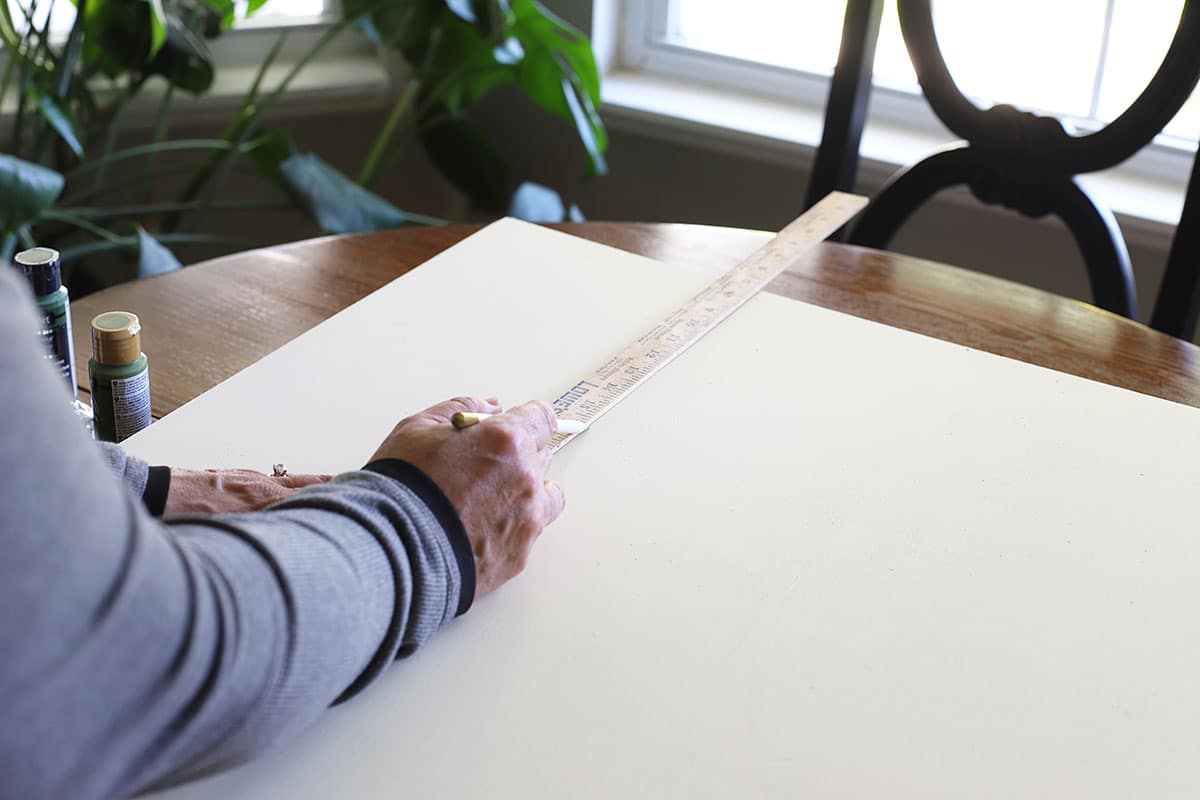
You will have 9 equal sized squares, which is the basis for any good quilt-like pattern.
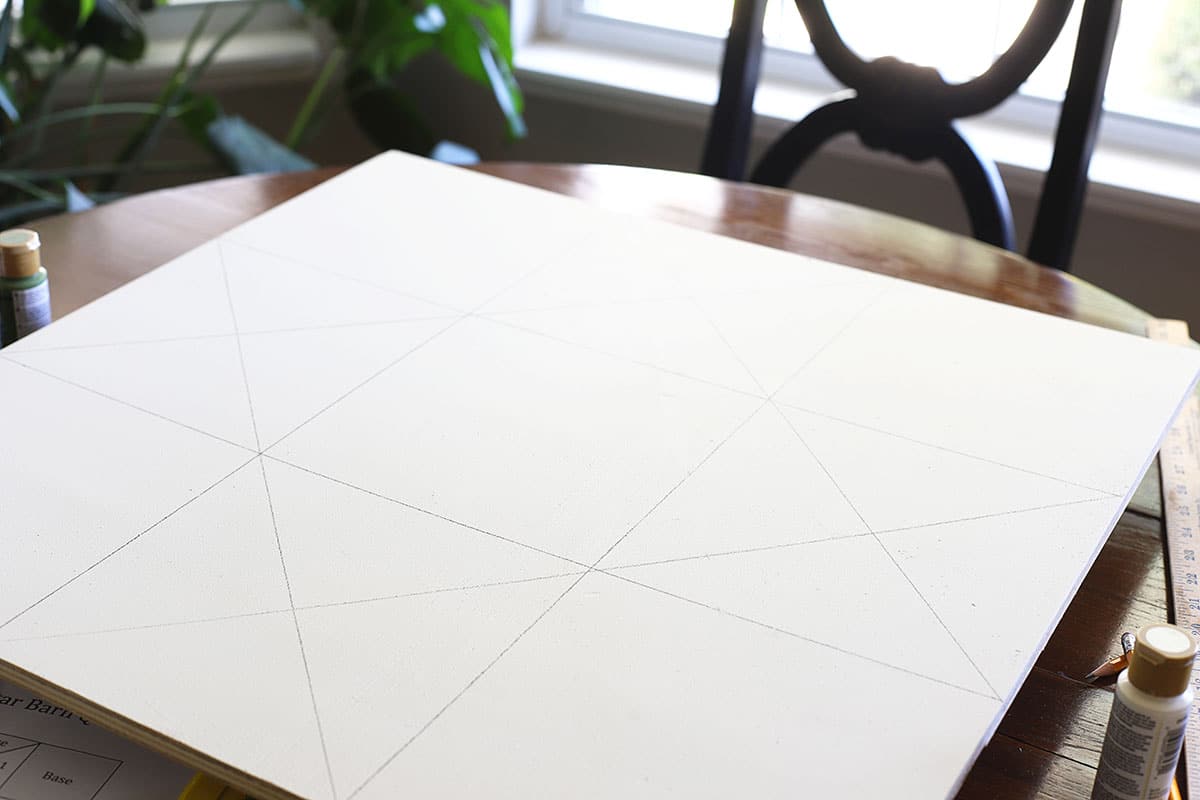
Then by following the attached Ohio Star barn quilt pattern draw 4 diagonal lines where needed.
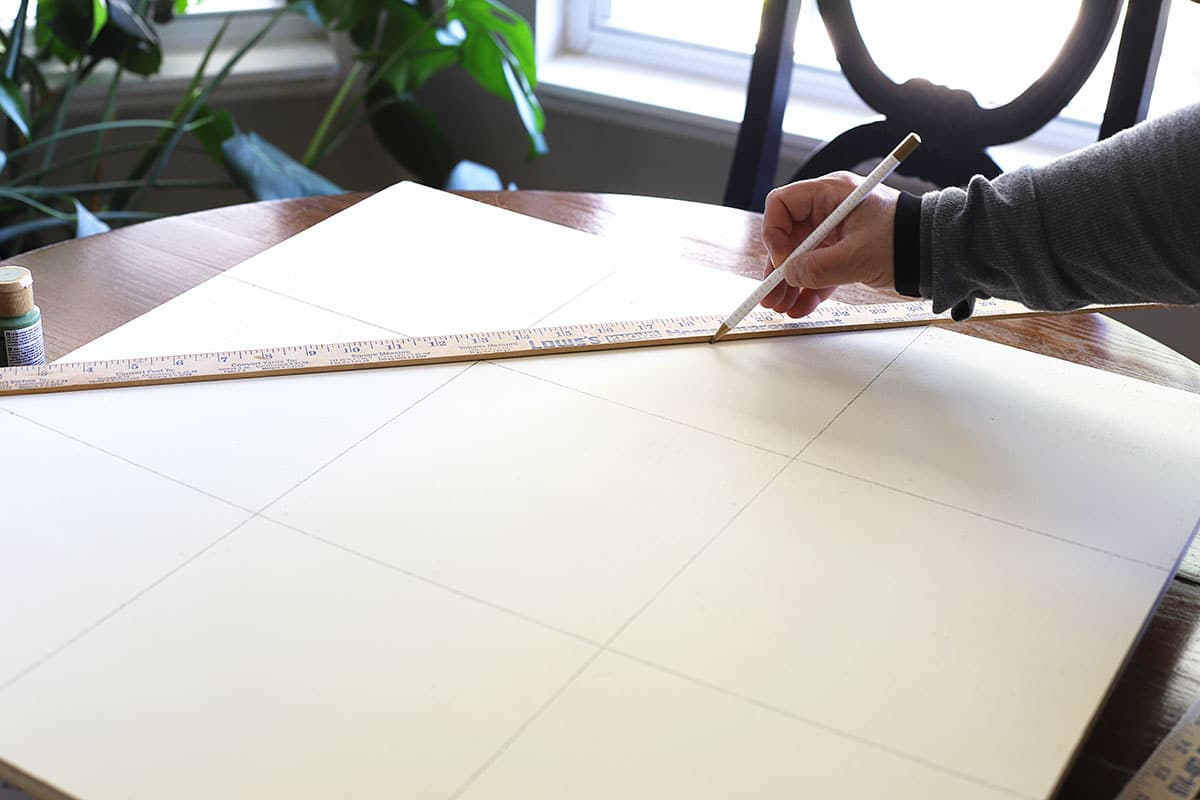
This will create the lines for the little triangle pieces of the quilt.
Your board will look like this when done.
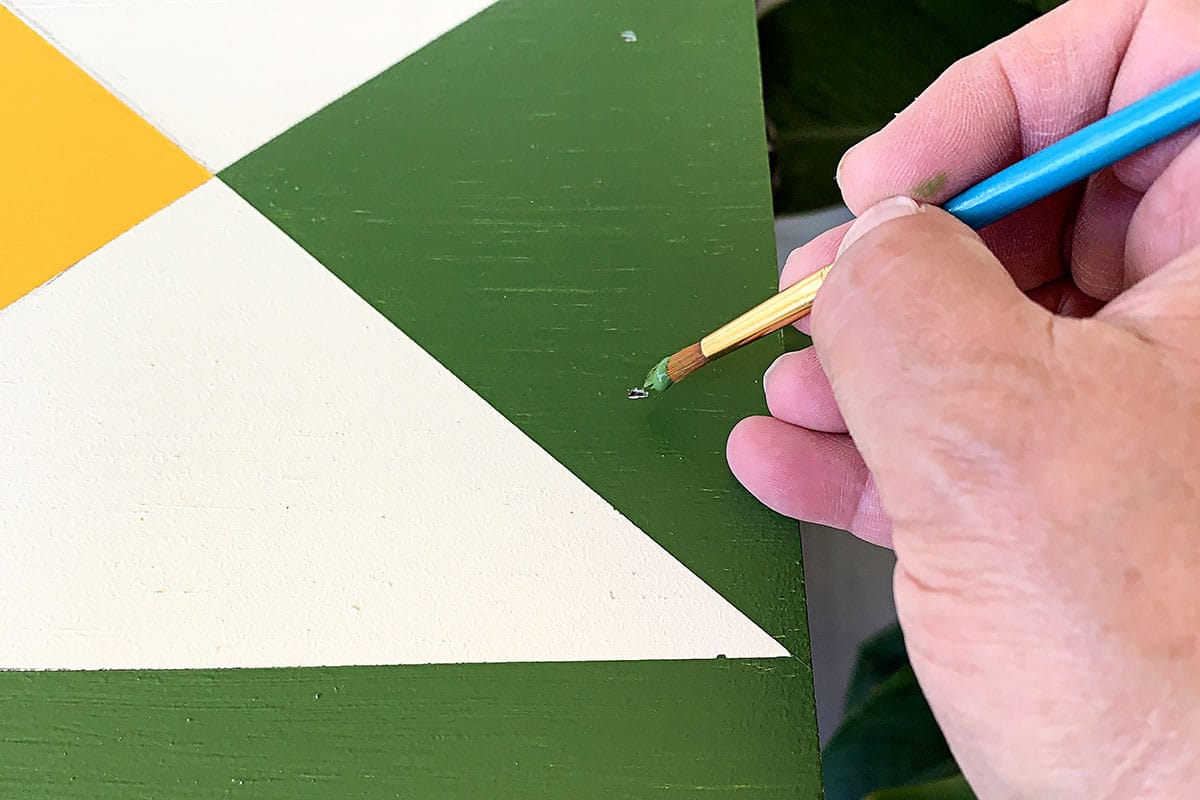
Tape off the areas you want to paint. You will not be able to tape off everything at one time, so go in phases.

I started with my outer squares,
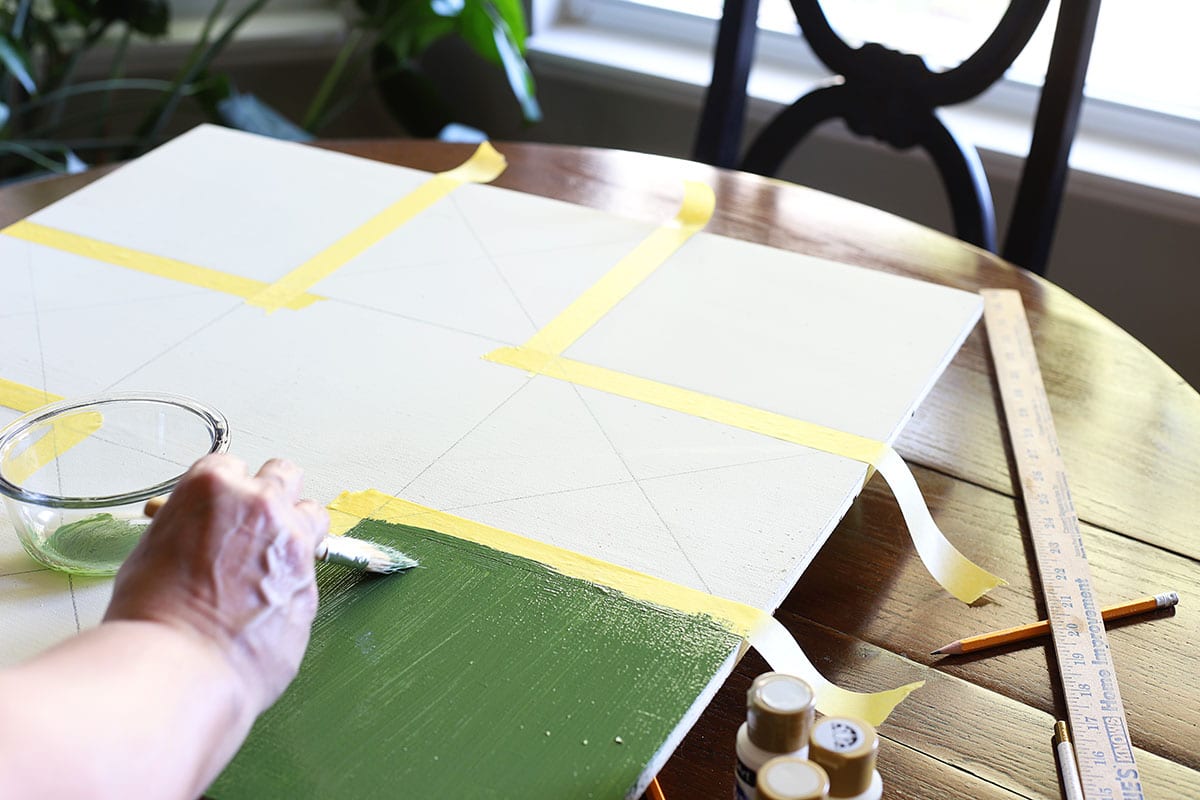
And then progressed to my outer triangles.
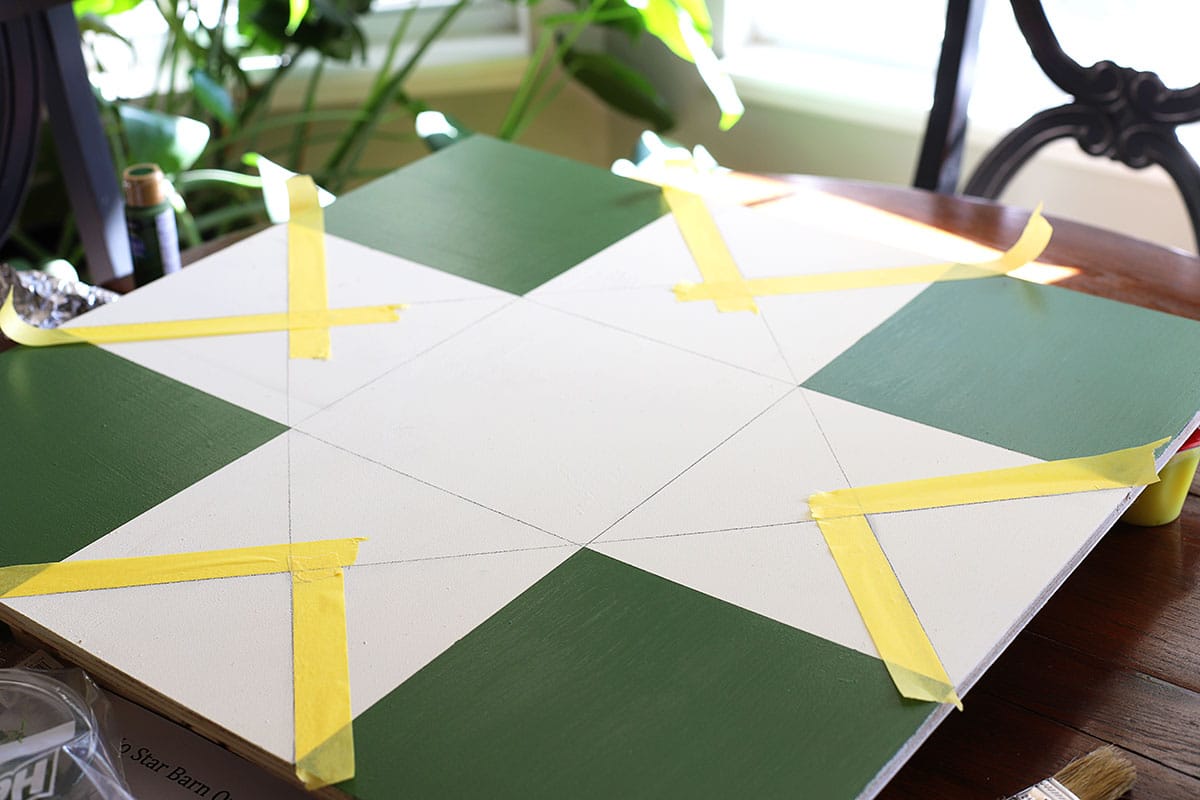
And lastly did my yellow inner triangles (not sure why I didn't take a photo of those being taped off).
I used two coats of paint on each area and removed the tape as soon as I was done painting the 2nd coat to avoid peeling off dried paint.
Part 2 - Building The Backing For The Barn Quilt
Using the 8' length of ¾" x 1-½", build a 23" square frame to go on the back of the barn quilt.
There are two reasons this part is recommended:
- It will help to keep the plywood from warping in the weather.
- It gives you something sturdy to to hang the quilt from.
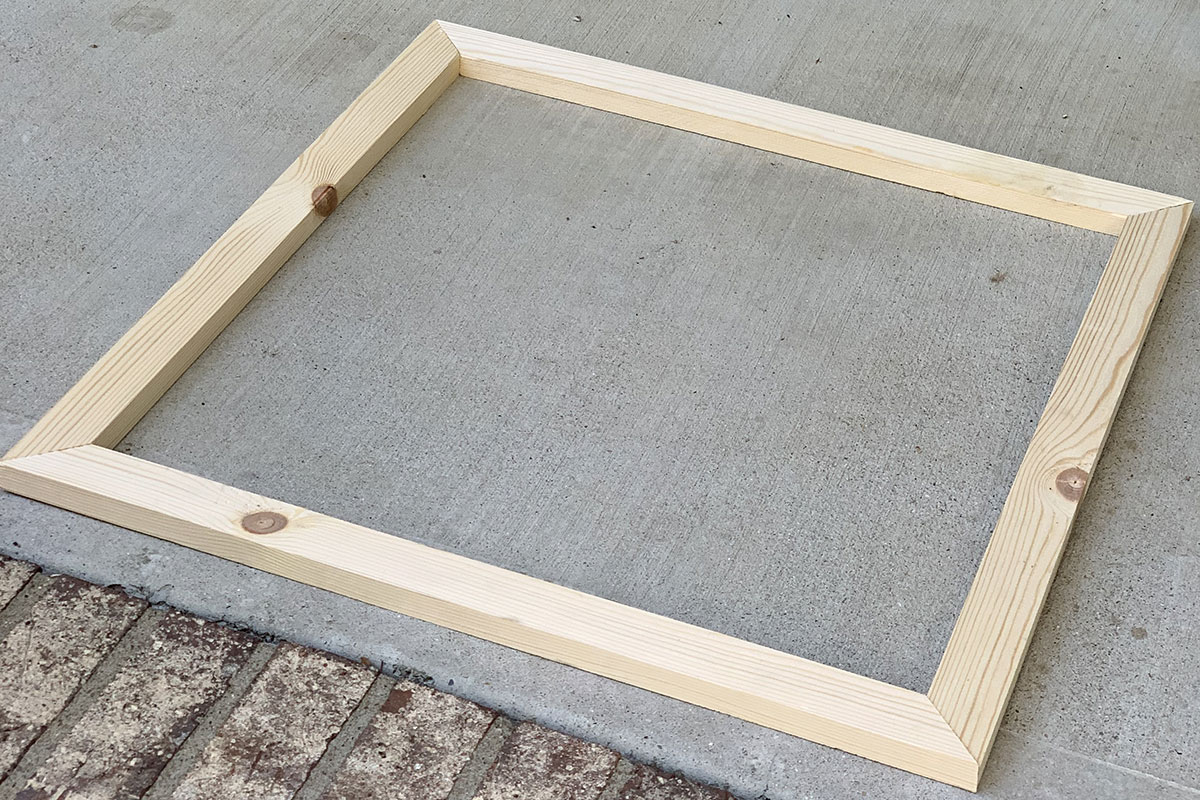
From the 8' section, I cut 4 pieces 23" long with a 45 degree angles (just to be clear, each piece is 23" on the longest side).
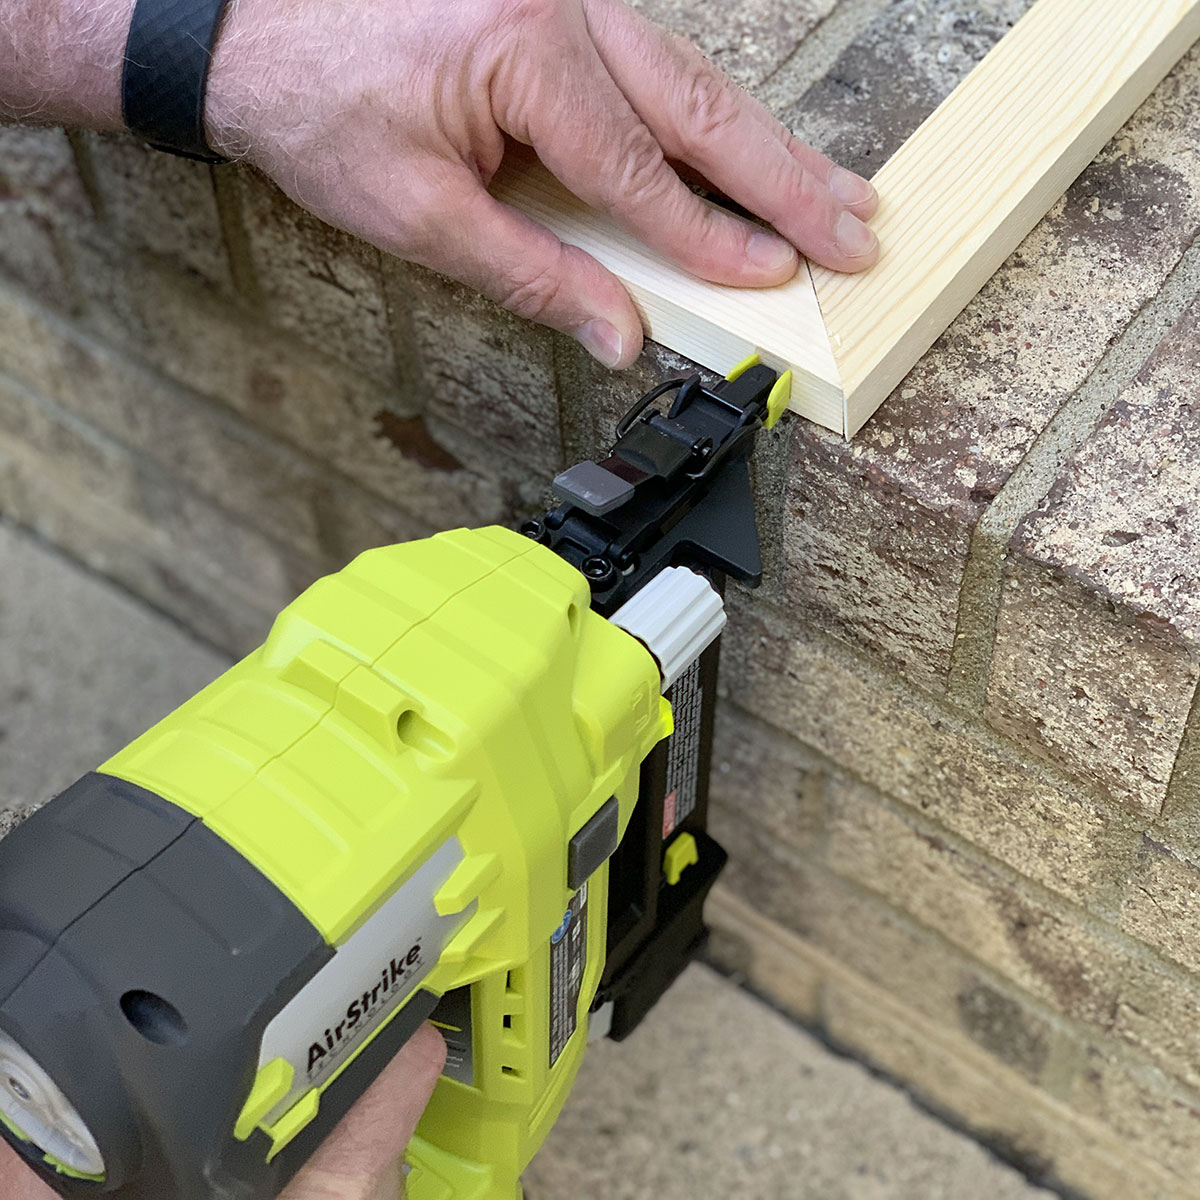
Then my husband with his big meaty hands (just wanted to make sure you knew I haven't let my skin care routine go all to heck during the pandemic) nailed the sides together with our brad nailer.
Although not as quick and easy, you could use a hammer and nails for this.
I attached the backer frame to the back of the quilt.
I laid the quilt right side up on top of the frame and shot brad nails into the front of the quilt going through to the back side.
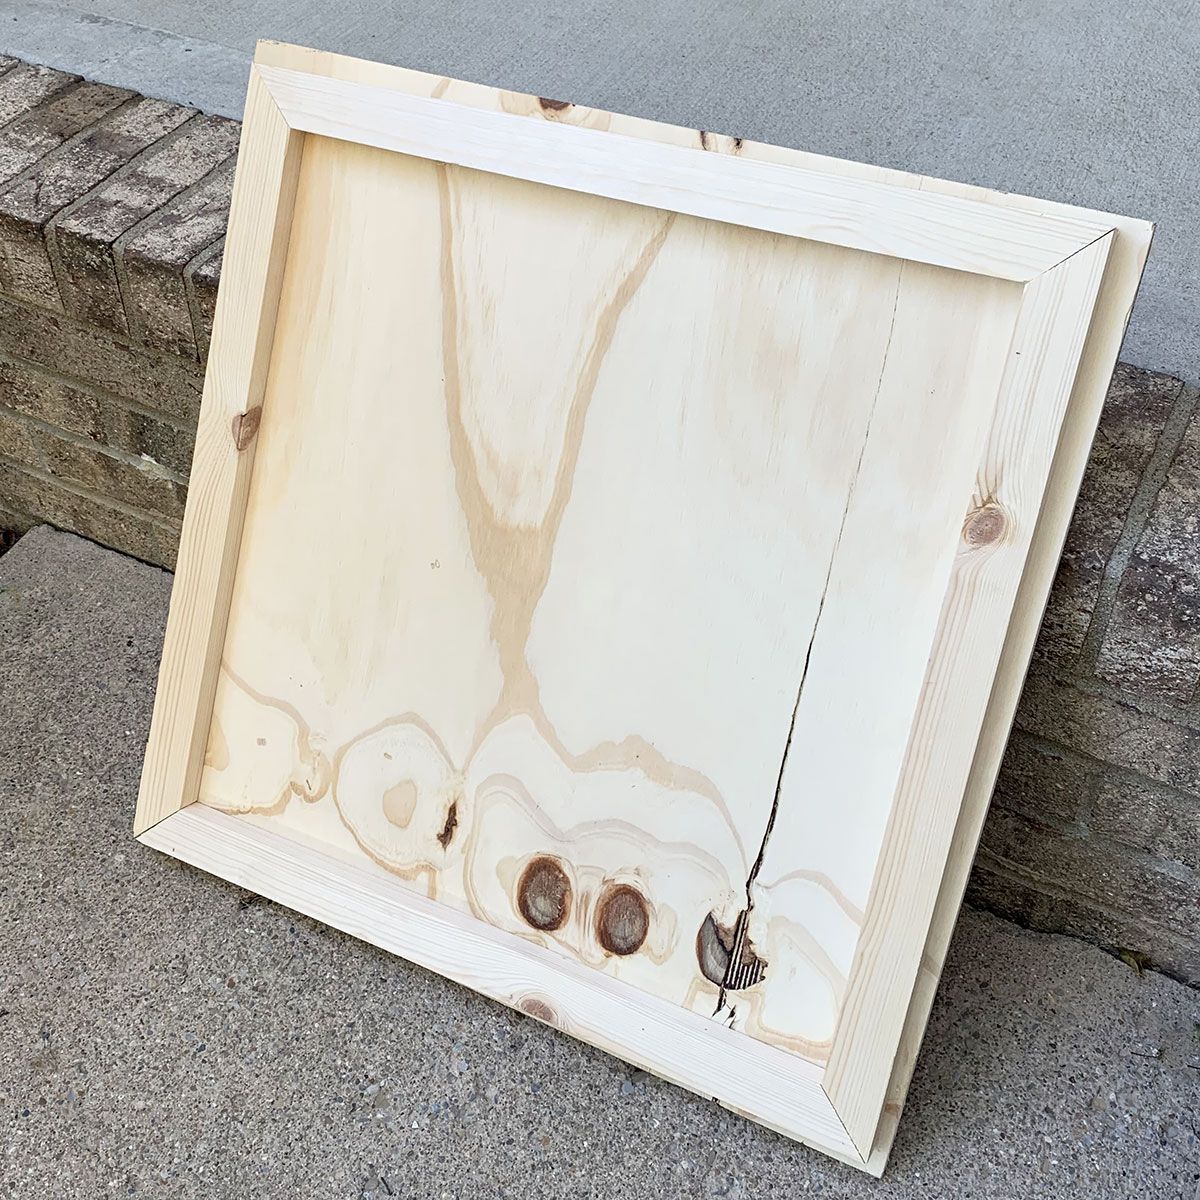
And then filled in any nail holes caused by the nailer with wood putty and paint.
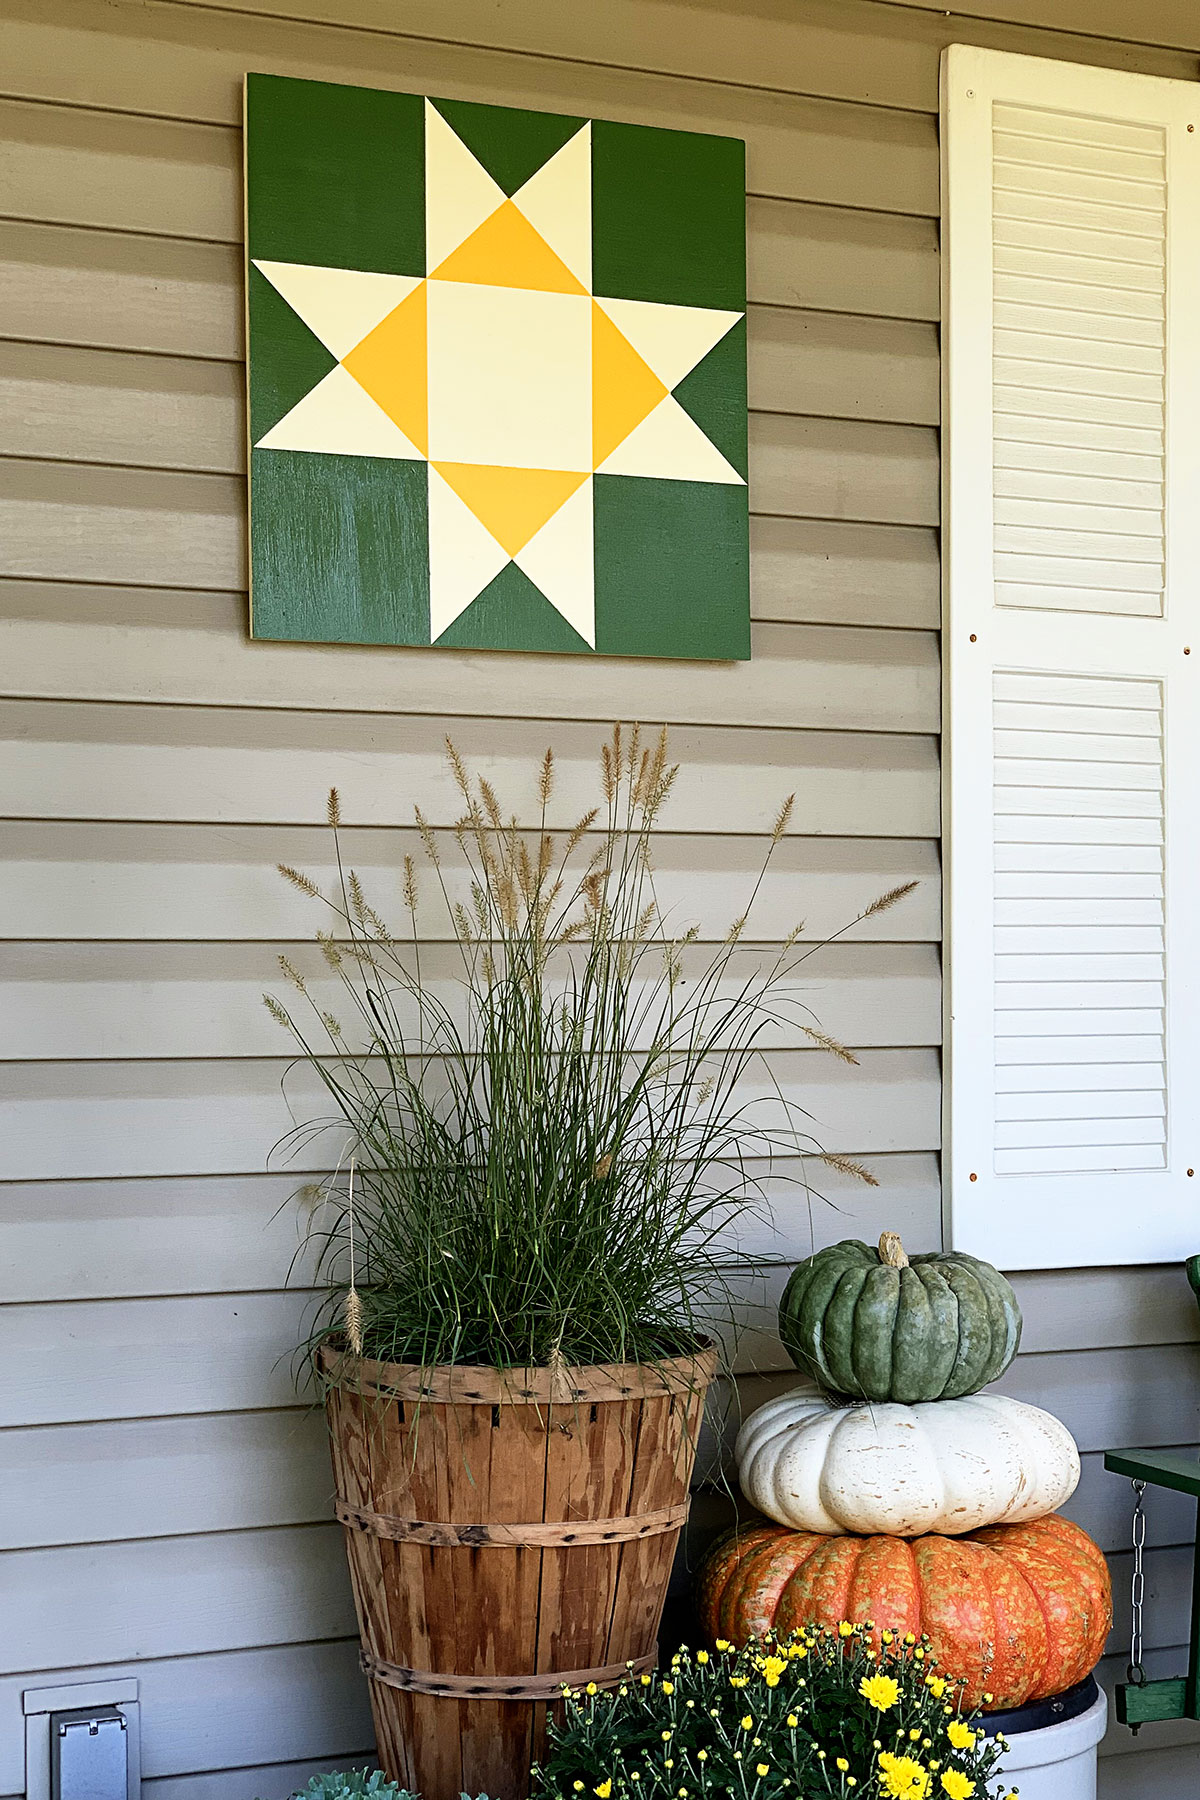
Lastly I sprayed a few coats of indoor/outdoor sealer on the project to protect it from the weather and hung it on the porch.
I used Rustoleum Universal Clear Durable Topcoat because it is fast drying and has UV Protection. Whatever product you choose, make sure it is rated for outdoor use if you plan to hang it outdoors.
If you've been around here for very long you probably know I have a big old nail sticking smack dab out of the siding here, compliments of the previous owners of the house.
I don't recommend driving a huge nail straight through your siding, but it does come in handy at times!
It really was a quick little project that can be done in one day.
The VAST majority of the time is waiting for paint to dry, there's probably only 45 minutes of real labor involved.
The Ohio Star Barn Quilt Pattern
You can print out the patterns for the barn quilt below. I made a two color version or the three color version I used above.
2 Color Version Of Ohio Barn Quilt
3 Color Version Of Ohio Barn Quilt
View the web story version of this article HERE.
Other Projects You May Enjoy:
How To Bleach Wood For A Modern Farmhouse Look
How To Make A Penny Bowling Ball
DIY Wood Slice Owl
25 Upcycled Garden Ideas
Instagram Proxy
I'd constantly want to be update on new blog posts on this site, bookmarked! .
Brenda A
I want to make a star barn quilt. Do you have a pattern for that one?
Daphne Warren
I am making a barn quilt but don't know what kind of paints to use. Michaels makes an outdoor Xterior paint, under the brand Artminds but they never have any in stock nor to order. This will hang outdoors but I don't want to buy big cans of paint.
JoAnn Barber
I make barn quilts also. I have used interior and exterior crafting acrylics and interior and exterior latex. Pretty much whatever I have in the colors that I am looking for. I always use a couple coats of exterior primer first and then I have found that it doesn’t matter what paint you use. You will always use a finish sealer which will preserve the type of paint that you used.
They are fun to make. Good luck and have fun.
A
My daughter is working on a barn quilt to enter at our county fair.
We went to Home Depot and got 8 oz samples in the colors she wanted. Much cheaper than a quart or gallon.
Pam Kessler
That's a great idea!
Linda @ Itsy Bits And Pieces
Pam, this is wonderful! I love how it looks on your porch! We see a lot of barn quilts around here...and not just on barns!
Jenny
The colors are great and I know we will see it again, because the colors will go with all seasons of decorating. Well, maybe not Valentine’s Say or Independence Day, but everything else!
I have a big, ugly garage that needs something like this. Do you have any idea of how much this weighs?
Pam Kessler
I'd say about 10 pounds. The bracing on the back is most of that!
Melissa
What was the names of the green and yellow paint you used?
Debra Oliver
this is absolutely gorgeous. I love quilting patterns although I'm not such a great seamstress. It's a perfect way to add some colorful primitive charm to your porch. love the color choice!!
Melinda J Tucker
Thanks so much Pam looks easy always wanted to make a barn quilt this is my next project thank you again . Melinda
Carolyn Dinger
Finished star is very nice. Colors fit in with your suroundings.. It was nice that Eric had a bit part in helping you, now John will need a nail gun like that. Great project.