• Skip to primary navigation
  • Skip to main content
  • Skip to primary sidebar
House of Hawthornes
  • DIY
  • Gardening
  • Decorating
  • Thrifting
  • Recipes
  • Seasonal
menu icon
go to homepage
  • DIY
  • Gardening
  • Decorating
  • Thrifting
  • Recipes
  • Seasonal
  • 🛒 Our Amazon Shop
    • Facebook
    • Instagram
    • Pinterest
    • Twitter
    • YouTube
  • search icon
    Homepage link
    • DIY
    • Gardening
    • Decorating
    • Thrifting
    • Recipes
    • Seasonal
    • 🛒 Our Amazon Shop
    • Facebook
    • Instagram
    • Pinterest
    • Twitter
    • YouTube
  • ×
    Home » DIY Garden Projects

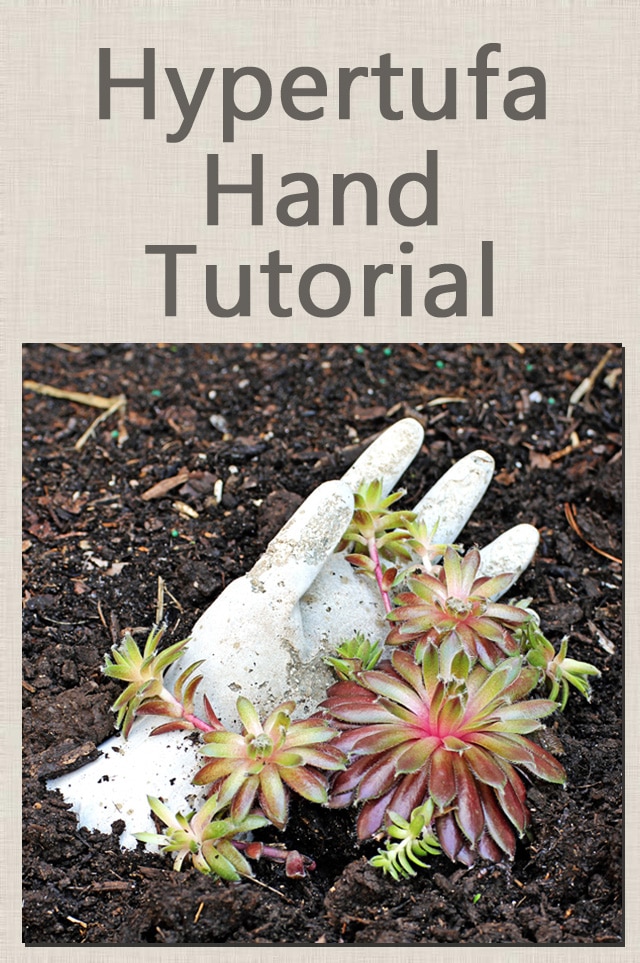
    Hypertufa Hand Planters DIY Project

    Published by Pam Kessler | 298 words. · About 2 minutes to read this article. - 29 Comments

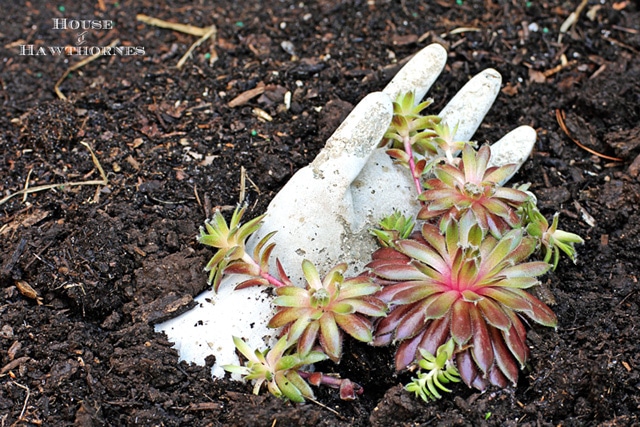
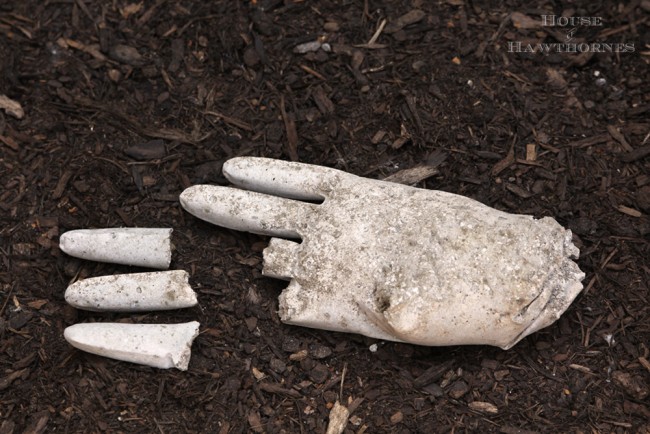
    Last year when I was making hypertufa containers, I tried to make a hand to hold succulents like I had seen on Pinterest.

    I broke my fingers. It was not pretty.
    DIY hypertufa hand tutorial for your garden (hypertufa is light weight concrete like substance)

    But, I wasn't going to let losing a few fingers keep me from my dream, so this year I decided to try again.

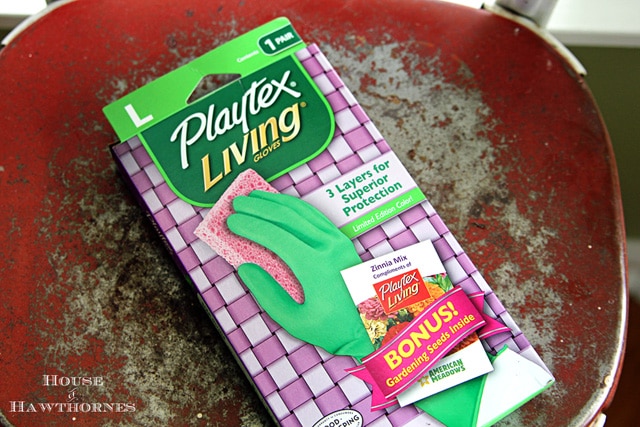
    I used Playtex gloves as my hand form. And my gloves came with free flower seeds. Score!

    DIY hypertufa hand tutorial for your garden (hypertufa is light weight concrete like substance)

    I sprayed the inside of the glove with Pam cooking spray (named after me, because I'm so slick).

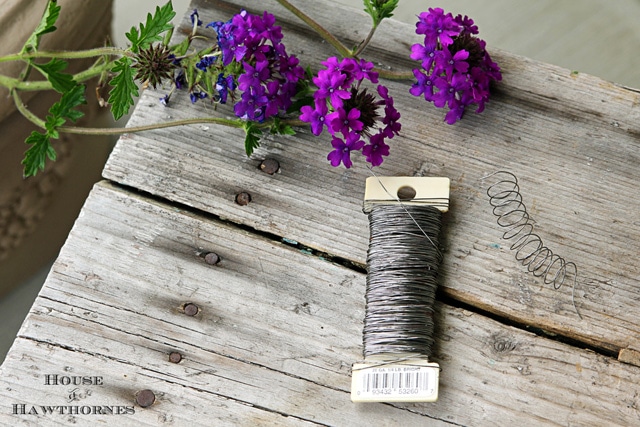
    And wound up this florist wire onto a pencil to make these little corkscrew thingies and stuffed them in each finger (sort of like using rebar when they pour a concrete slab)

    DIY hypertufa hand tutorial for your garden (hypertufa is light weight concrete like substance)

    See my post on hypertufa containers for the recipe and safety instructions for making basic hypertufa. Since I wanted to make my hands super strong this time, I altered that recipe by doubling the amount of Portland cement used for this project.

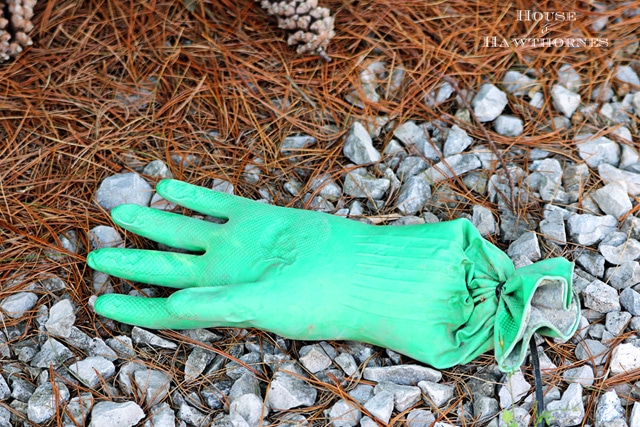
    I mixed up my hyertufa and stuffed the glove with the mixture, taking extra care to squish it down to the tips of the fingers.

    After it was fairly full, I put tiny pin pricks in the end of each finger (of the gloves, not my own fingers) to let out a little trapped air and allow the fingers to be completely filled.

    DIY hypertufa hand tutorial for your garden (hypertufa is light weight concrete like substance)

    I put the filled glove in a plastic bag and let it cure for 7 days.

    After it had cured, I used a razor knife to cut the glove off of it. Razors are sharp. Please do not cut yourself.

    DIY hypertufa hand tutorial for your garden (hypertufa is light weight concrete like substance)

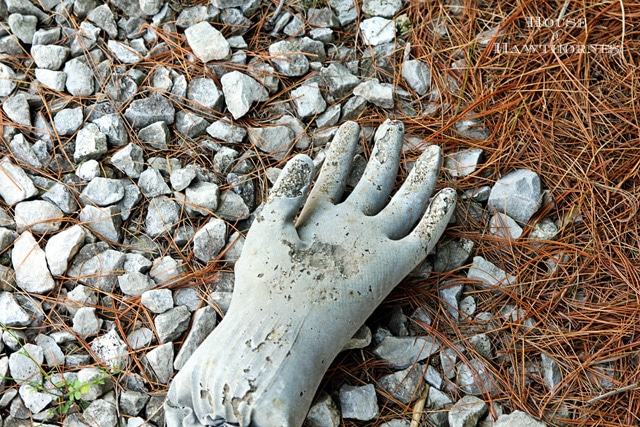
    A slightly curved hand would have made a better planting surface, but I sort of like the hand coming out of the ground look!

    DIY hypertufa hand tutorial for your garden (hypertufa is light weight concrete like substance)

    It's very Addams Family-ish! In a cute way.
    DIY hypertufa hand tutorial for your garden (hypertufa is light weight concrete like substance)
    « Dead People's Stuff
    Peony Time »
    4.1K shares
    • Facebook
    • X

    Reader Interactions

    Comments

    1. Karen

      January 25, 2018 at 8:47 am

      Sorry about spelling big fingers

      Reply
      • Michelle

        April 16, 2024 at 11:04 pm

        This is tooooooo cute

        Reply
    2. Karen

      January 25, 2018 at 8:46 am

      Vrty nice would like to mske a foot do you think the toe socks they sell would work?

      Reply
      • Pam

        January 26, 2018 at 10:15 am

        That sounds like a fun idea!!! If you can find some that are a tight enough weave that the mixture won't leak out that might work. Or try spraying them with a heavy duty waterproofing spray like you'd use on your boots?

        Reply
    3. Beth

      June 08, 2016 at 11:51 am

      Can you leave them out in the snow or do they need to be stored for winter?

      Reply
      • Pam

        June 09, 2016 at 6:05 am

        I've taken them out of the dirt and stored them in the garage for the winter. I live in Ohio though and we can have a lot of freezing and thawing each winter, so I'm paranoid they'll crack.

        Reply
        • Diane

          July 03, 2017 at 9:03 am

          I read an article from someone in Ohio, they said they wintered some pots under a sheltered deck and left some outside (raised, not on the ground, sitting in water and snow) and the pots out in the open survived better than the sheltered ones!

    4. Christine S

      June 06, 2016 at 8:05 am

      Thanks for the tutes! And the hoots (of laughter!) I loved the fingerless ooops! moment. I think I will make some hands using concrete colorant for Halloween!! I have been trying to find some of these type planters for some small red maple trees I am growing. I really like The Rustic look that yours have, even though that wasn't your intention. That's the look I'm going for. I couldn't find any so I greatly appreciate the recipe you provided. I'm heading to the store this morning to get my supplies. Thanks again!!

      Reply
      • Pam

        June 06, 2016 at 5:23 pm

        You are welcome!!! Hope you enjoy making them!

        Reply
    5. diyhypertufa

      October 18, 2014 at 3:13 am

      Thanks for sharing this great tutorial Pam!! 🙂

      I've just posted a link to this on my DIY hypertufa blog.

      Reply
    6. Anonymous

      August 09, 2014 at 6:35 am

      Well Pam!, your just the type of person I need for my gardening ideas ! I like to have things in the garden that are new to the eye, not the everyday garden store elf, this hand has really caught my eye and I can't wait to try it! Thanks for ingenuity you have !

      Reply
    7. Anonymous

      July 23, 2014 at 6:21 pm

      your hand tuned out awesome, love the idea of putting wire in the fingers for extra support.

      Reply
    8. Jennifer BNHblog

      May 15, 2014 at 10:28 am

      Wow, what a great idea! I love the look. Good for you for sticking with it.

      Reply
    « Older Comments

    Leave a Reply Cancel reply

    Your email address will not be published. Required fields are marked *

    Recipe Rating


    Primary Sidebar

    Hi, I'm Pam. Let me show you how to create a budget-friendly home you'll love using repurposed thrift store finds, easy DIY & craft projects, and seasonal flower gardening tips.

    More about me →

    Reader Favorites

    • How to make window art with glass plates from the thrift store for a mosaic look.
      Window Art With Glass Plates
    • Easy Homemade Candles In Granny's Candy Dish
    • Clean Silver With Baking Soda And Aluminum Foil
    • squirrel repellent
      Homemade Squirrel Repellent Recipe

    Gardening Tips

    • Tips on how to grow peonies. Everything from soil conditions to USDA Plant Hardiness Zones to ants. Includes how to cut peonies for flower arrangements.
      How To Grow Peonies - A Complete Guide
    • 25+ Upcycled Garden Ideas
    • DIY Terrarium: A Woodland Version
    • Hummingbird in flight feeding on flower.
      Best Homemade Hummingbird Nectar

    Footer

    ↑ back to top

    About

    • About Us
    • Contact
    • Privacy Policy
    • Web Stories
    • Blog

    Shop

    • Amazon Favorites
    • Shop The Look

    Newsletter

    • Sign Up For Emails & Updates

    Categories

    • DIY
    • Gardening
    • Budget Decor
    • Thrifting
    • Recipes
    • Seasonal

    Please use appropriate safety precautions when attempting projects. All projects are attempted at the reader's own risk.

    As an Amazon Associate, I earn from qualifying purchases.

    Copyright © 2025 House Of Hawthornes, LLC