

If I've said it once I've said it 4,999 times, 1970's wooden salad bowls and serving pieces seem to be spontaneously reproducing themselves at thrift stores.
They're all over the place.
I blame it on people decluttering their houses this time of year and deciding they don't need to store a huge salad bowl set they only use once every 5 years.
But that only means there are a ton of salad bowls out there for crafting purposes!
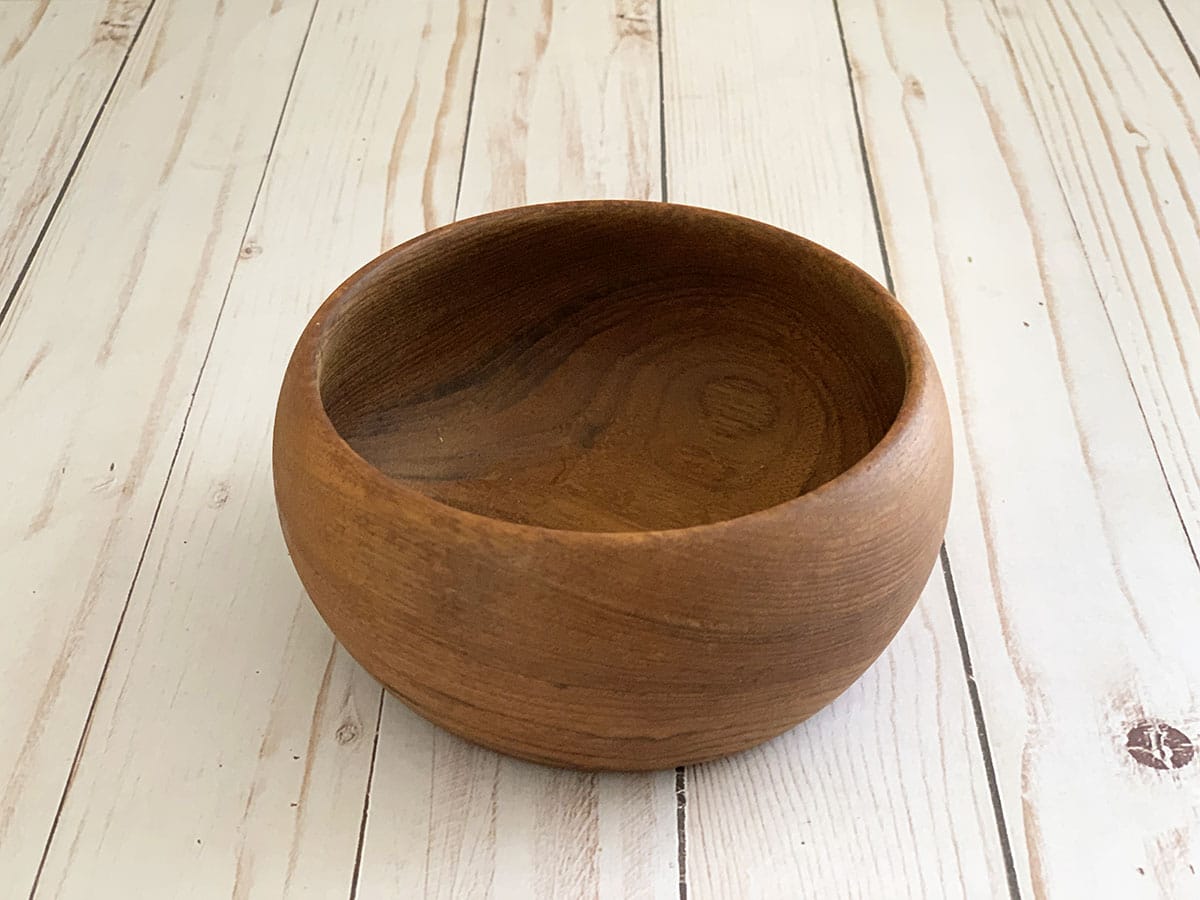
So when I found this lonely vintage teak salad bowl at the Goodwill bins I decided it was a prime candidate for a little glitzy update for this month's Thrift Store Decor Team Project post.
I don't normally do Modern Glam decor type of posts, but lately, I've been liking a bit of bling here and there.
✨ BTW, today is Thrift Store Decor Wednesday, so make sure you hang around to the end of the post to see the rest of the team's thrift store repurposes for the month!
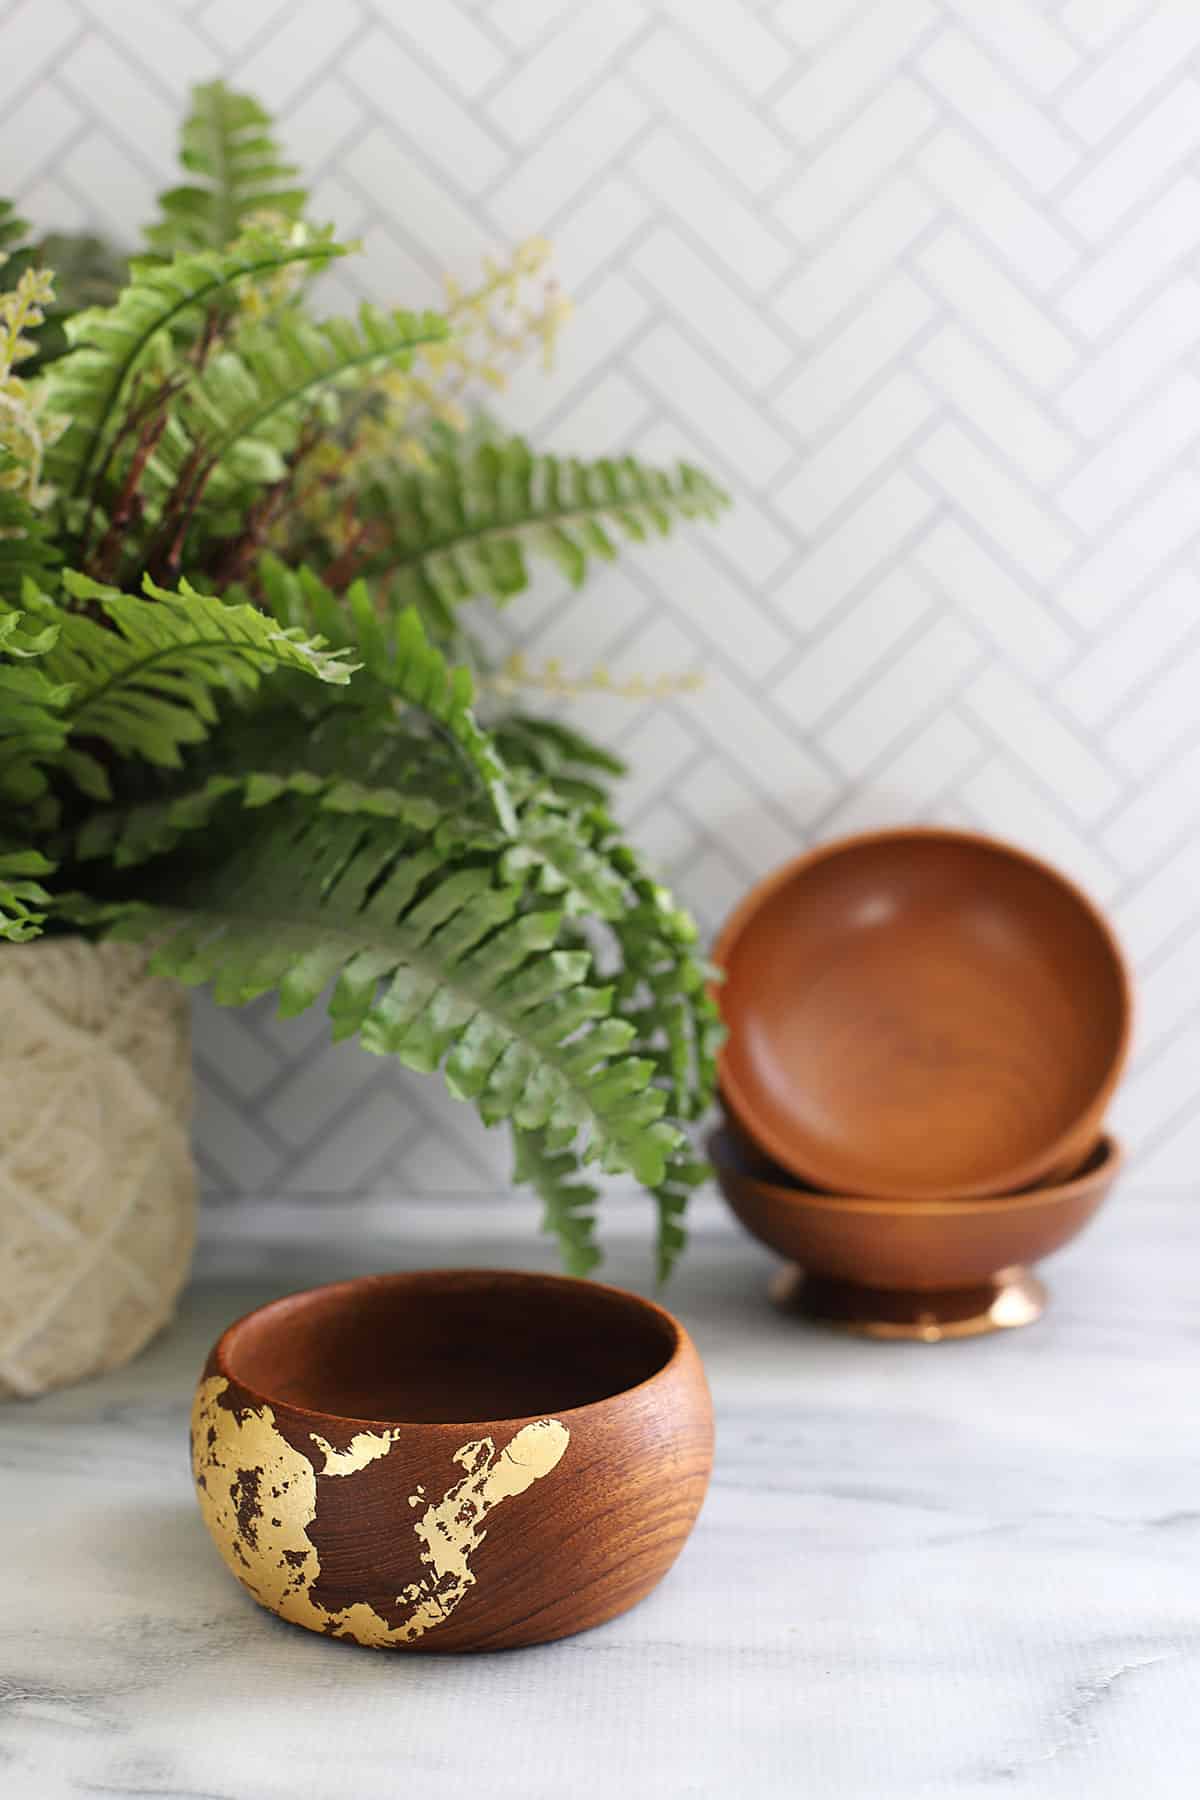
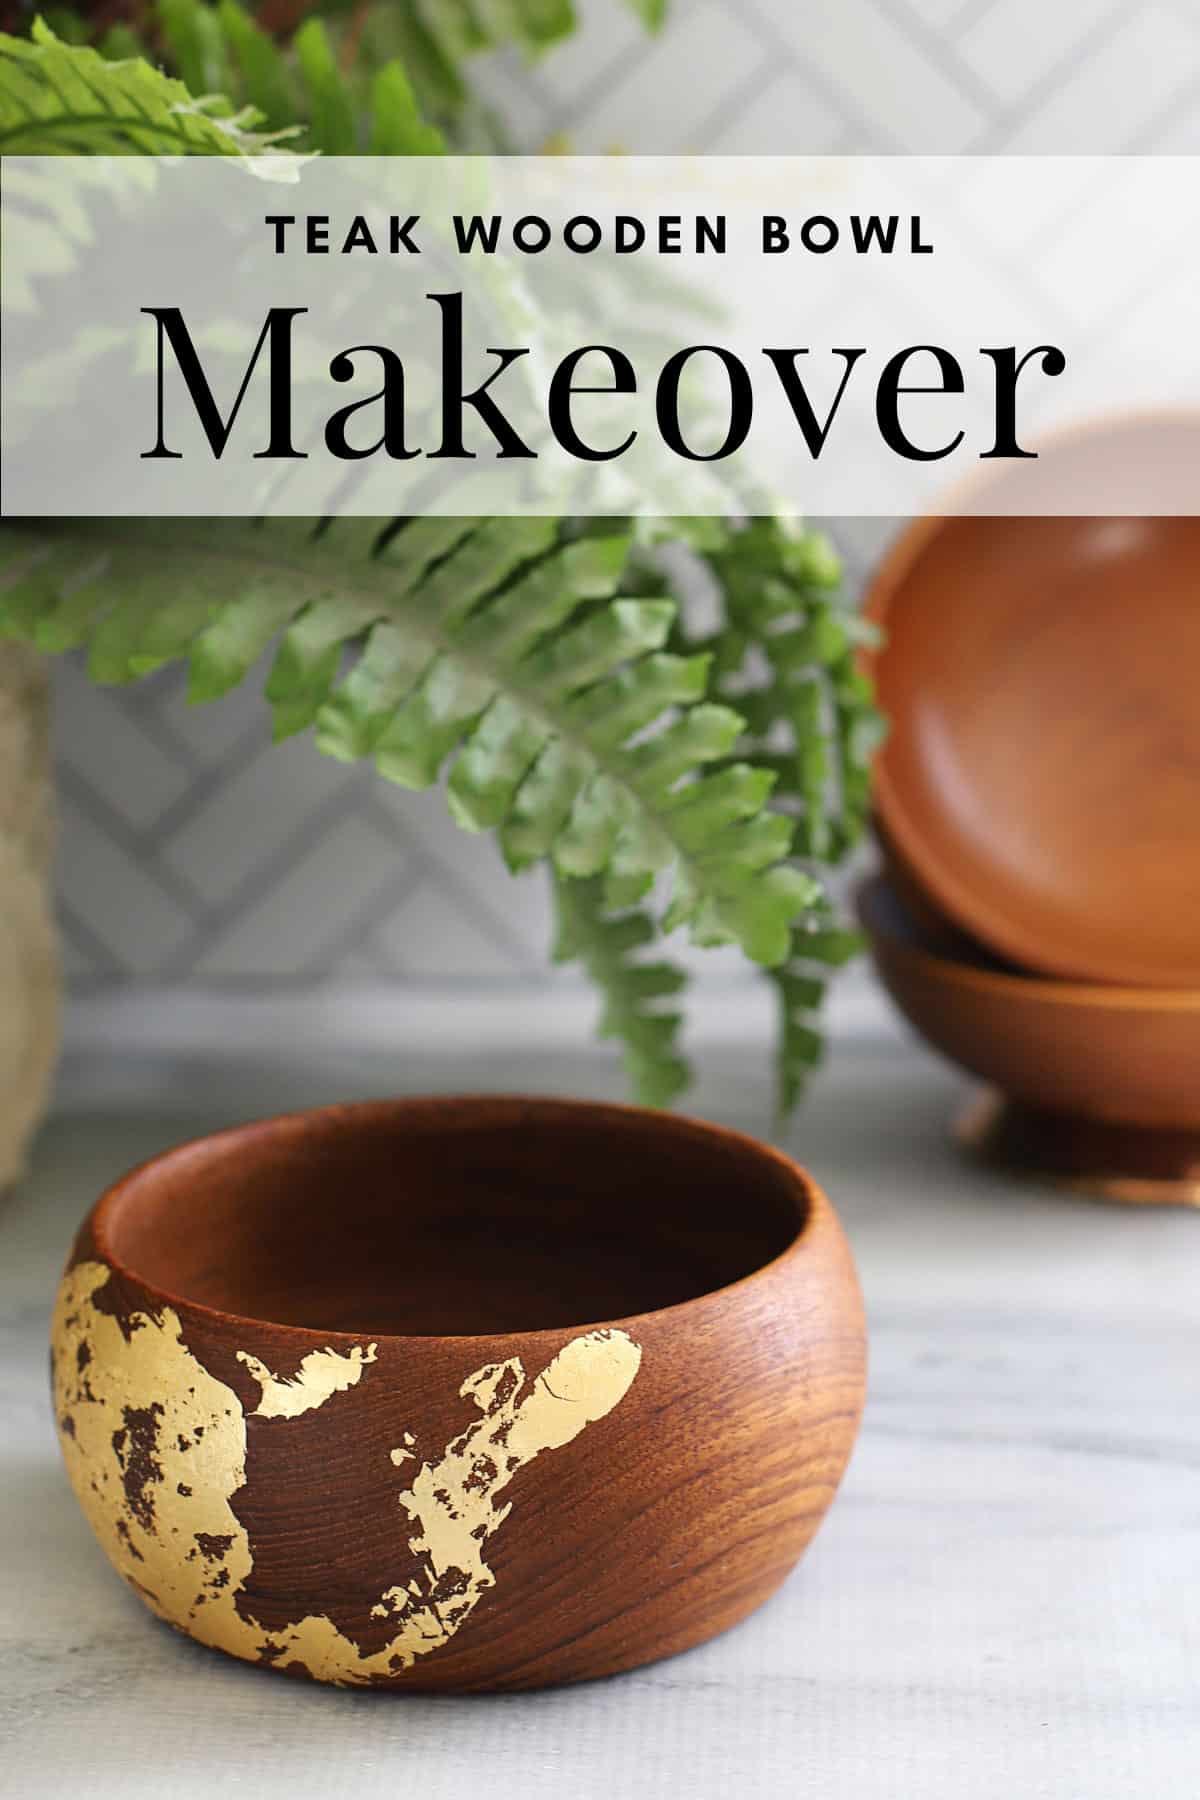
Transforming Vintage Teak Bowls with Gold Leaf
(This post contains some affiliate links for your convenience. You can read my full disclosure policy here.)
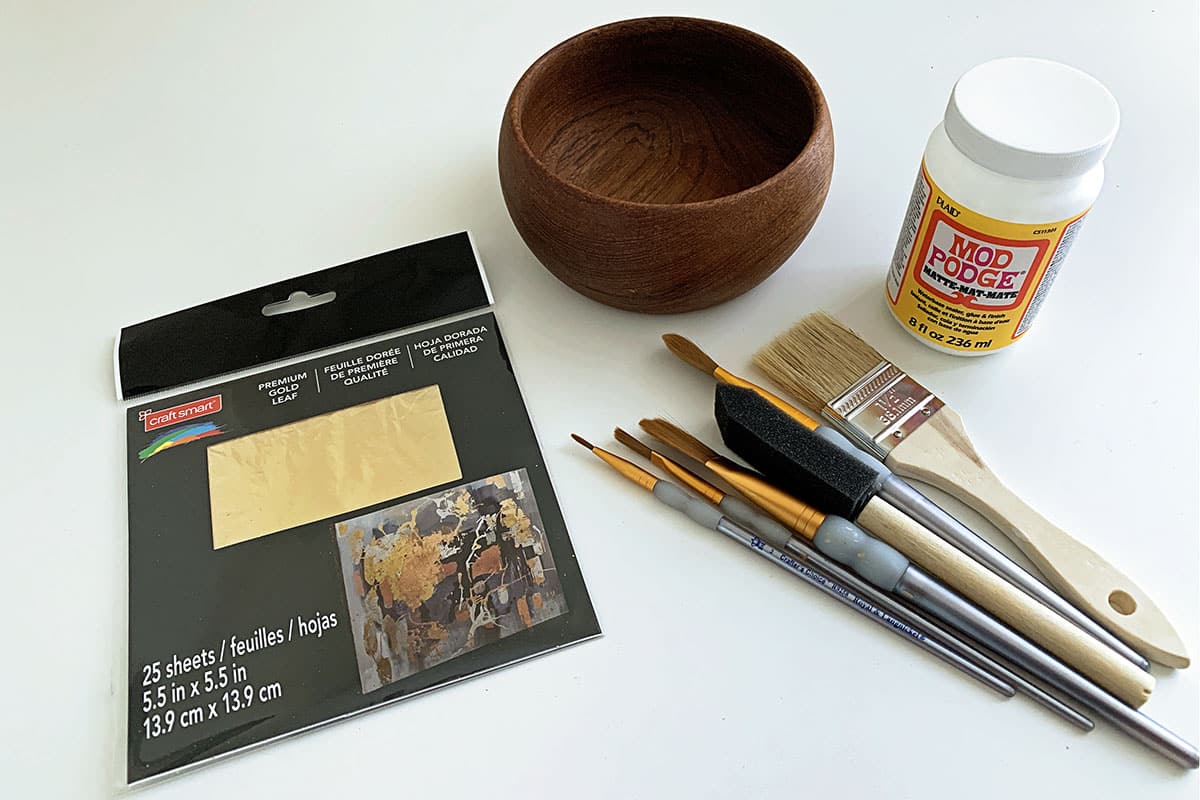
Supplies
- Small Wooden Teak Bowl or Serving Dish from the thrift store
- Various Paint Brushes
- Gold Leaf (also available in silver or copper if that's more your style)
- Modge Podge - Matte Finish
- Clear Wax to seal the item (like you'd use to protect chalk paint)
- Clean Dry Cloth (t-shirt, old washcloth or a soft napkin will do)
Instructions
Time needed: 30 minutes
Applying Gold Leaf To A Wooden Bowl
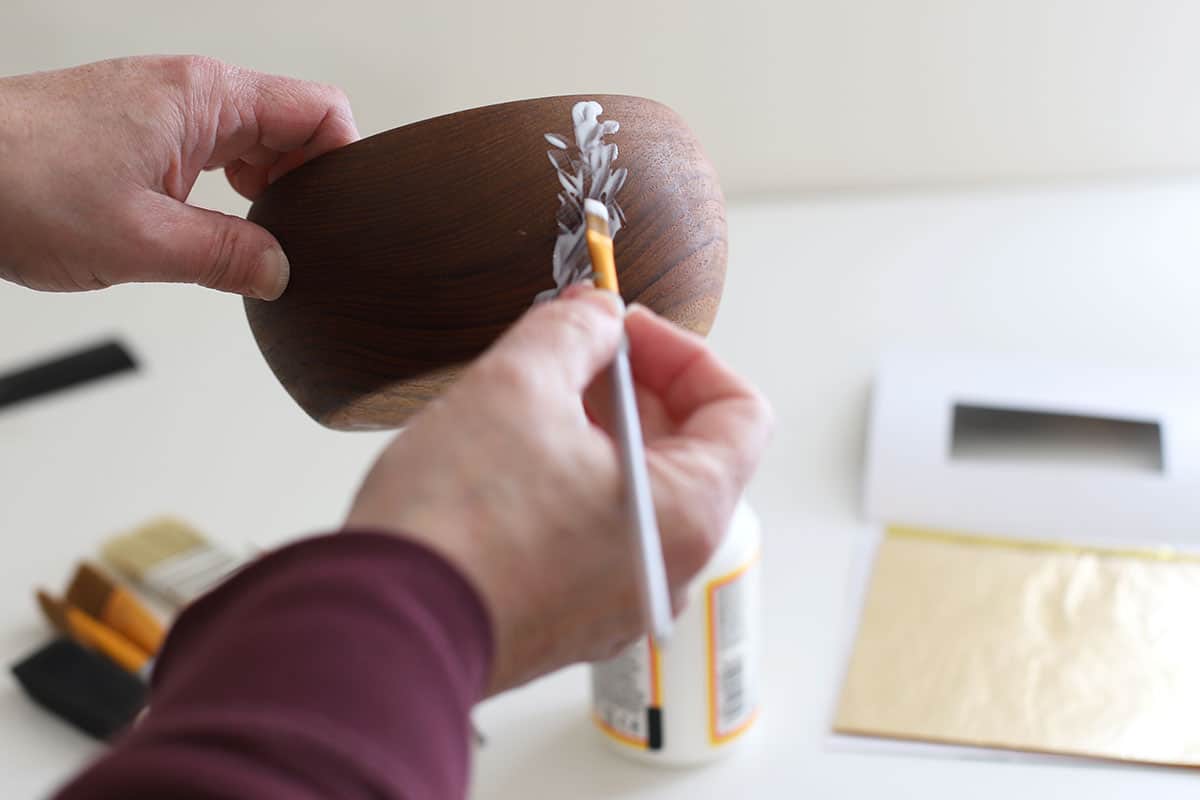
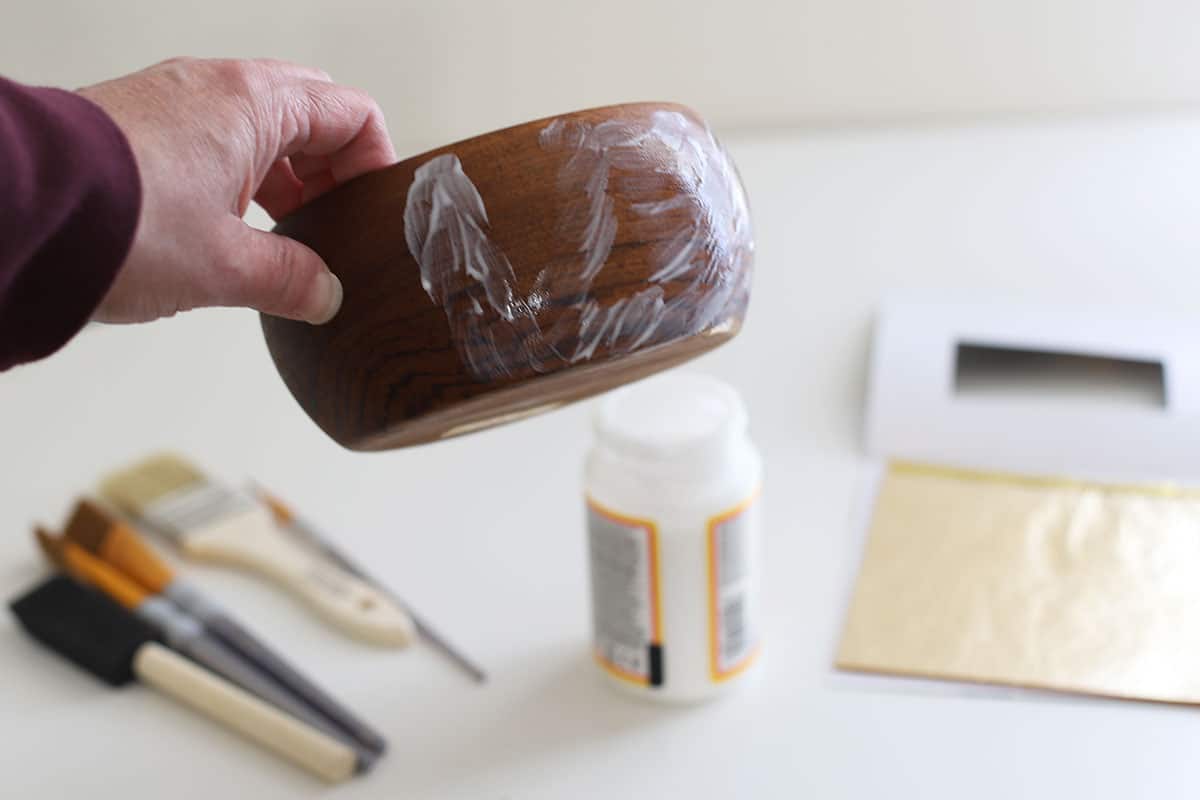
- Apply Modge Podge
With a small paintbrush apply the Mod Podge to the areas of the bowl you want to be gold-leafed.

- Finish Applying The Mod Podge
I wanted a sort of random pattern to my gold-leafing so I left lots of places NOT covered by Mod Podge. Actually, the gold pattern is only going to be on roughly ⅓ of the left side of the bowl.
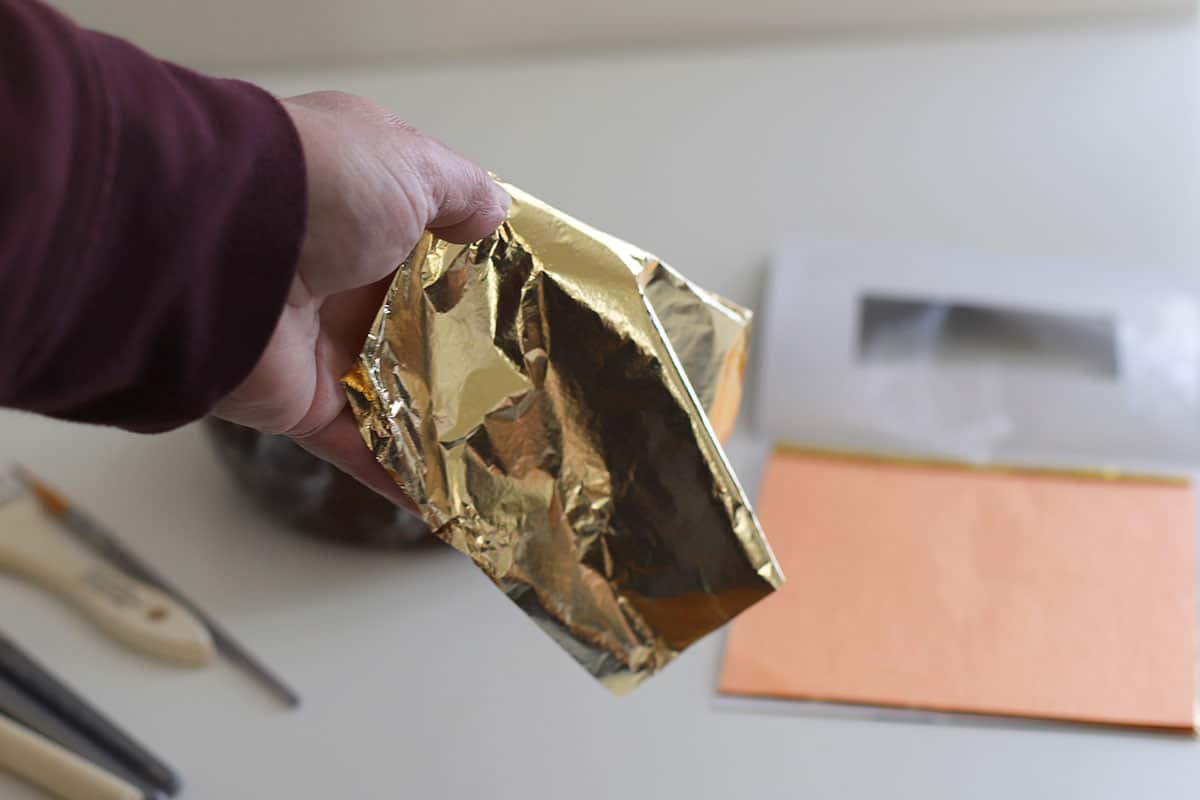
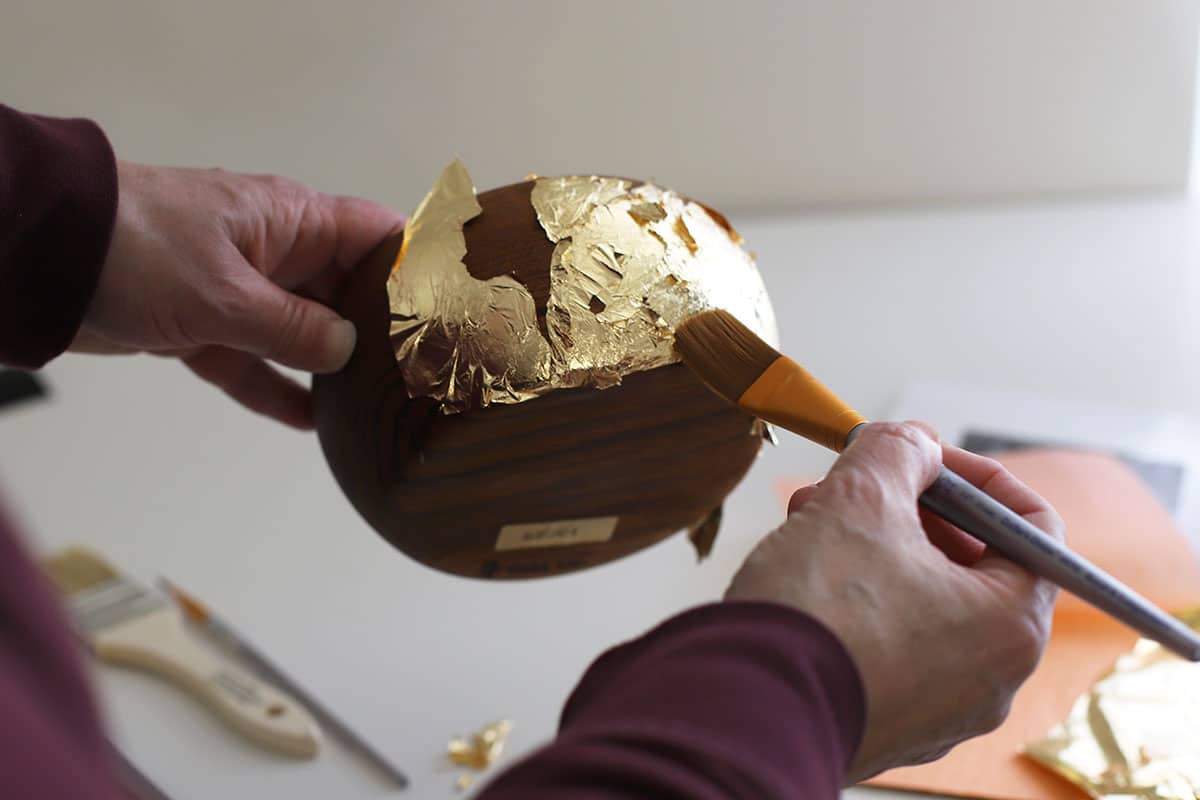
I am being ultra-artsy with this! - Start Applying The Gold Leaf
Pull a sheet of gold leaf from the packet and cover the Mod Podged areas with it.
The gold leaf sheets are very thin and easily torn, so just be careful with them.
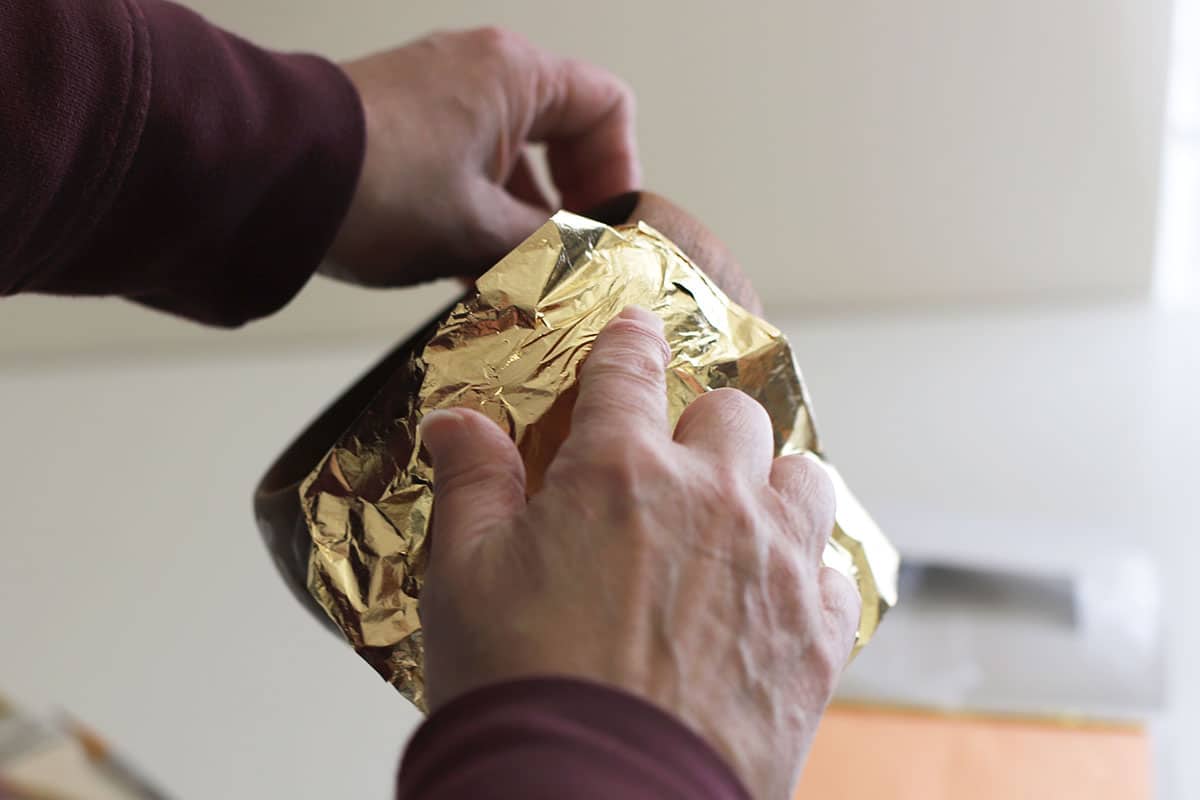
- Press Gold Leaf Into The Mod Podge
Firmly press the gold leaf sheet into the Mod Podge. You may need to use more than one sheet.
If the sheet rips just overlay more gold onto the area. If you have an intricate design, you can conserve your gold leaf sheets by just cutting small pieces and applying them little by little. - Allow To Dry For 15-20-Minutes
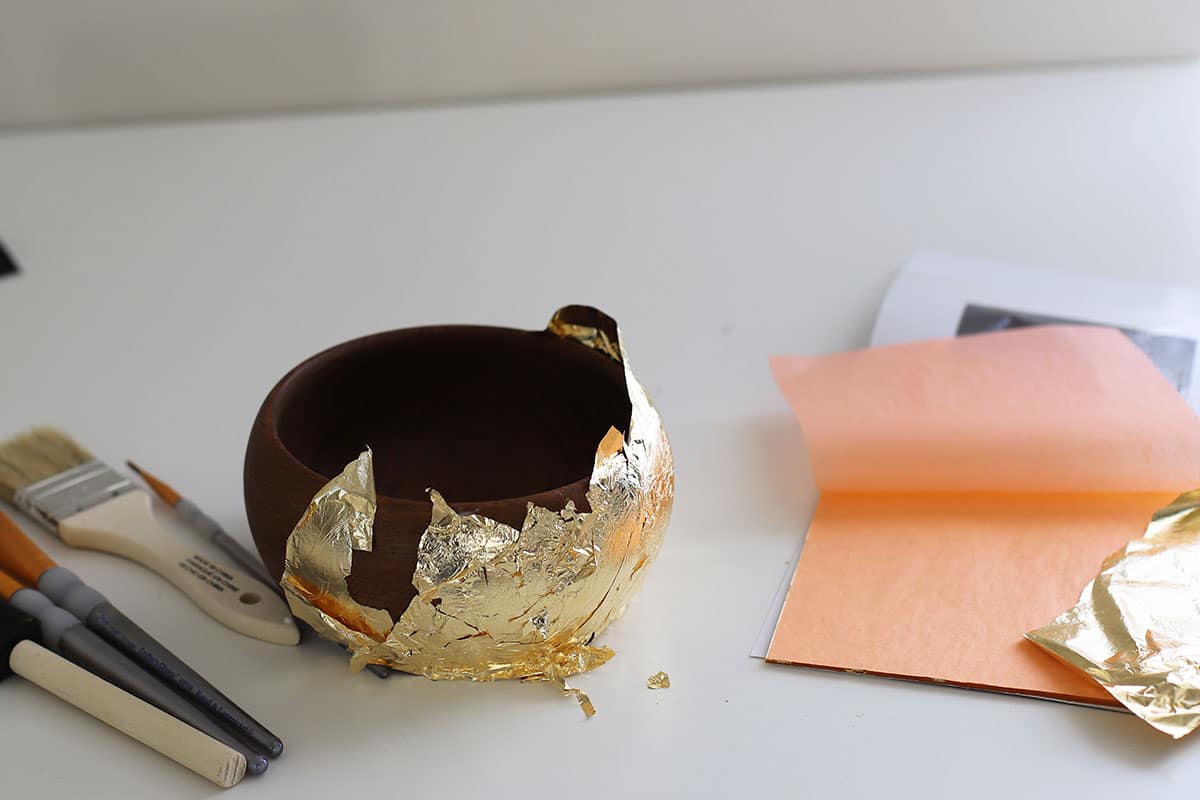
Your piece should set for 15-20 minutes at this point to allow the Mod Podge to set up.
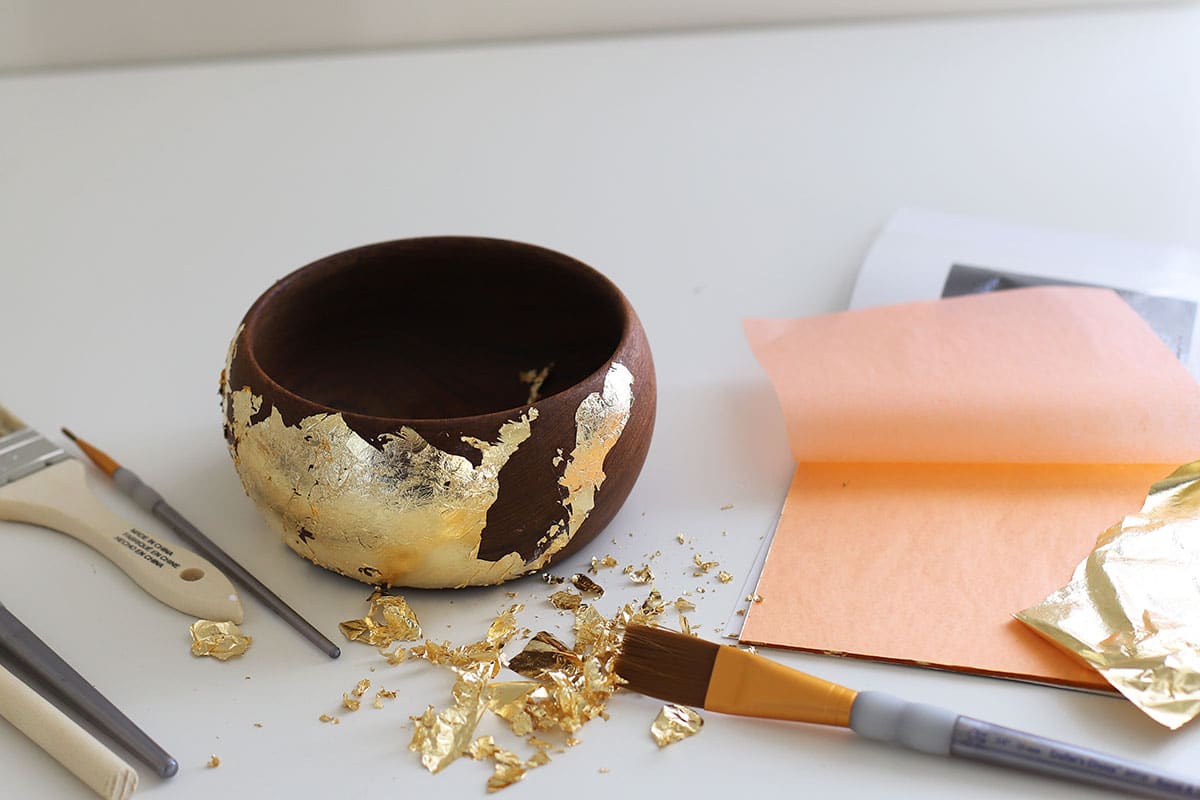
At this point, you may be saying "Well, this looks like a mess". It actually does, but it's all part of the process. - Brush Off Excess Gold Leaf
Using a paintbrush you can gently brush off the excess gold leaf leaving only the gold leaf that is stuck to the Mod Podge design.
- Clean Up The Discarded Gold Pieces
As you go along you will want to discard the small bits of gold foil that will fall off. The gold leaf foil is very lightweight and can easily get away from you. If you have a pet or small children in the house be careful to make sure you wipe up or vacuum the pieces.
It's similar to glitter in that just when you think you got it all picked up you find more.
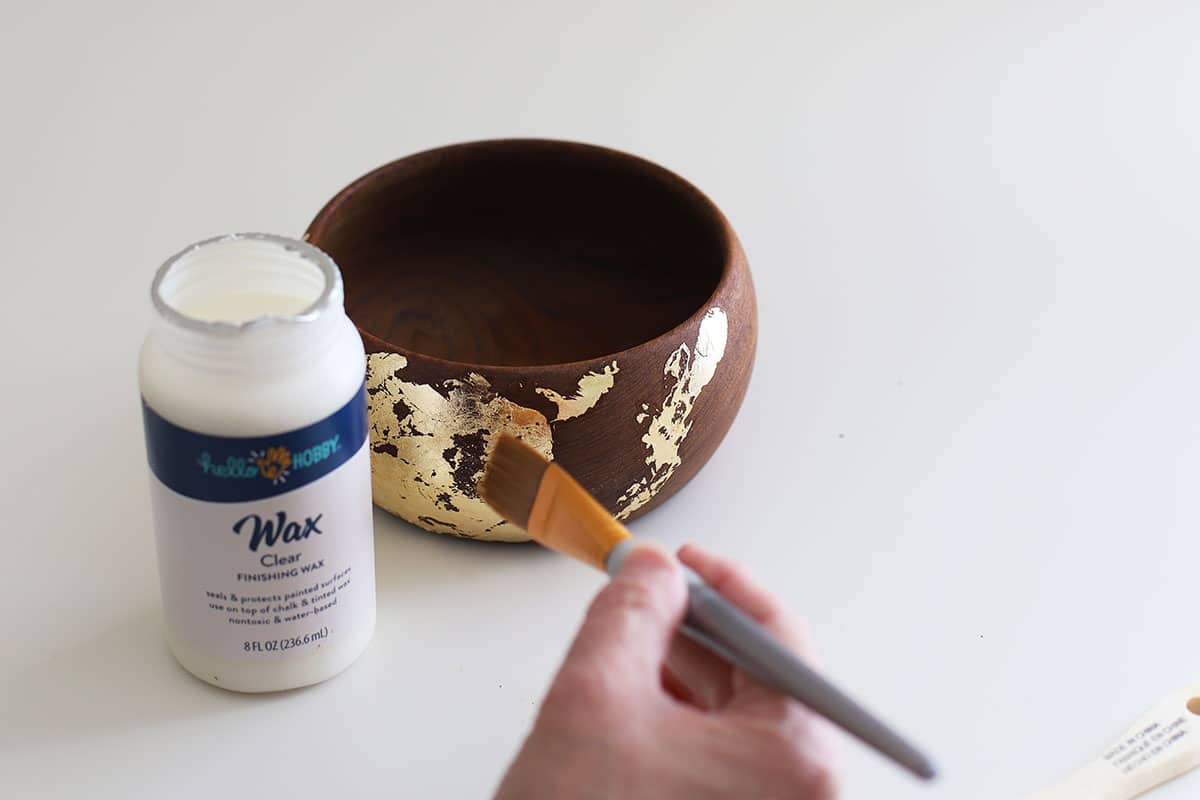
- Protect With Clear Wax
With a paintbrush apply your clear wax sealant (in this case I used a water-based one made for chalk paint). A very light coat is all that's needed, we're just using the wax to keep the gold leaf from flaking off during normal handling of the bowl.
Allow the wax to dry and buff to a shine with a clean cloth.
All that's left to do is enjoy your bowl!

What Can You Use Your Fabulous Gold Bowl For?
- Spare keys by the front door
- Loose change
- Beside the sink for keeping track of your rings when doing the dishes
- Paper clips in your office or craft room
- Cotton balls, q-tips, or makeup remover sponges in the bathroom
- Holding potpourri
- Corraling your most used jewelry on your dresser (this is what I'm using mine for)
Important Note
Once you apply the gold leaf this can no longer be used as a serving piece or be eaten out of. It will purely be a decorative piece at that point.
If you want to learn how to revamp a vintage teak or monkey pod salad bowl for actual food service you can read this article on How To Restore A Teak Salad Bowl.
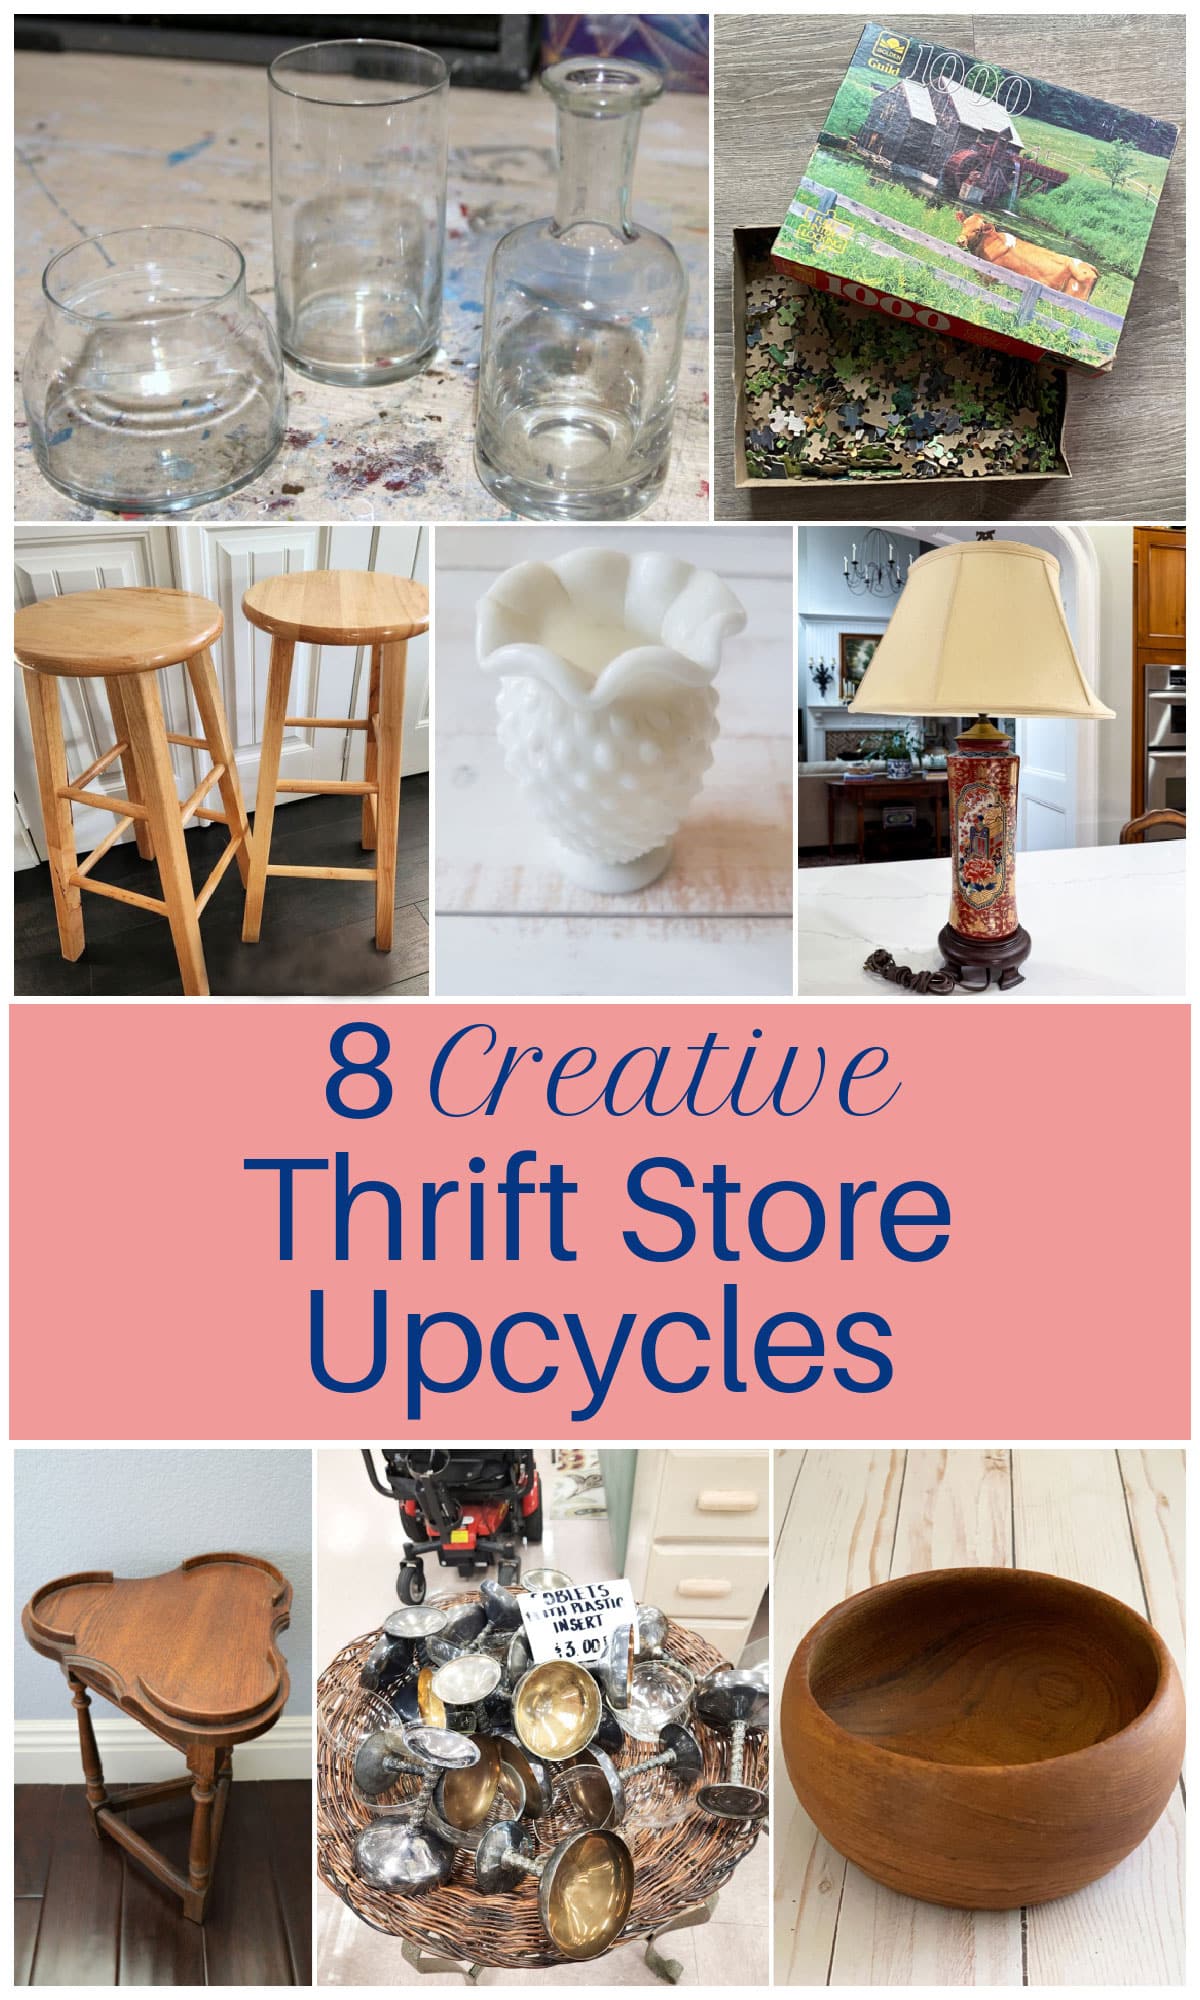
Let's pop on over to the other Thrift Store Decor Team's sites and see what they've been up to this month!
Thrift Store Decor Team Projects
Winter Scenes In Silver Plate - Sadie Seasongoods
Metallic Gold And Clear Vases - Petticoat Junktion
Updating A Thrift Store Lamp - Our Southern Home
DIY Floral Mosaic Side Table - My Uncommon Slice of Suburbia
Valentines Puzzle Heart Decor - Shop At Blu
Bar Stools Into Night Stands - My Repurposed Life
DIY Hobnail Milk Glass Candle - Domestically Speaking
Teak Wooden Bowl Makeover - House of Hawthornes (that's me)
Christy Little
I have never tried goldleafing. I have like 3 wooden bowls in my thrift store stash. This is calling their name. Love it! Reminds me of something you'd see at Anthropologie.
Kristin salazar
It turned out so pretty! I love the mix of the gold with the teak. I have some leftover gold from last month's post, I'll have to try it out on something 🙂
Gail Wilson
Pam,
I wish I were one of those people decluttering. Life is just too busy right now.
Love what you did with the teak wooden bowl and the gold leaf, it's beautiful!
Pinned!
gail
Leslie D. Schmidt
I'm with you, Pam, about the clearance of the chocolate!
At first, I wasn't sure I would like what you were going to do to the teak bowl. I am really partial to teak. In fact, we have several pieces of teak furniture ( we are really into Scandinavian design.) But I thought what you did was very tasteful and elegant. Nice job!
Pam Kessler
Thank you Leslie!
Speaking of tasteful, have you seen the MCM chair I refinished a few years ago? I'm getting ready to change out the upholstery on it soon. At the time I refinished it I thought I wanted to give it a more lively, energetic look. Now I just think it's hideous 🙂 I think I'm going to go with something more in keeping with the era. Check it out if you haven't seen it. https://www.houseofhawthornes.com/mid-century-modern-chair-restoration/