

I love to use some of my vintage enamelware basins and washtubs in the garden to hold pots of flowers. It's a good way to dress up (or dress down) your typical flower pots and give them more of a vintage/farmhouse/rustic vibe.
But then because the basins are sitting out in the elements they tend to get rusty and stained and only last a few seasons.
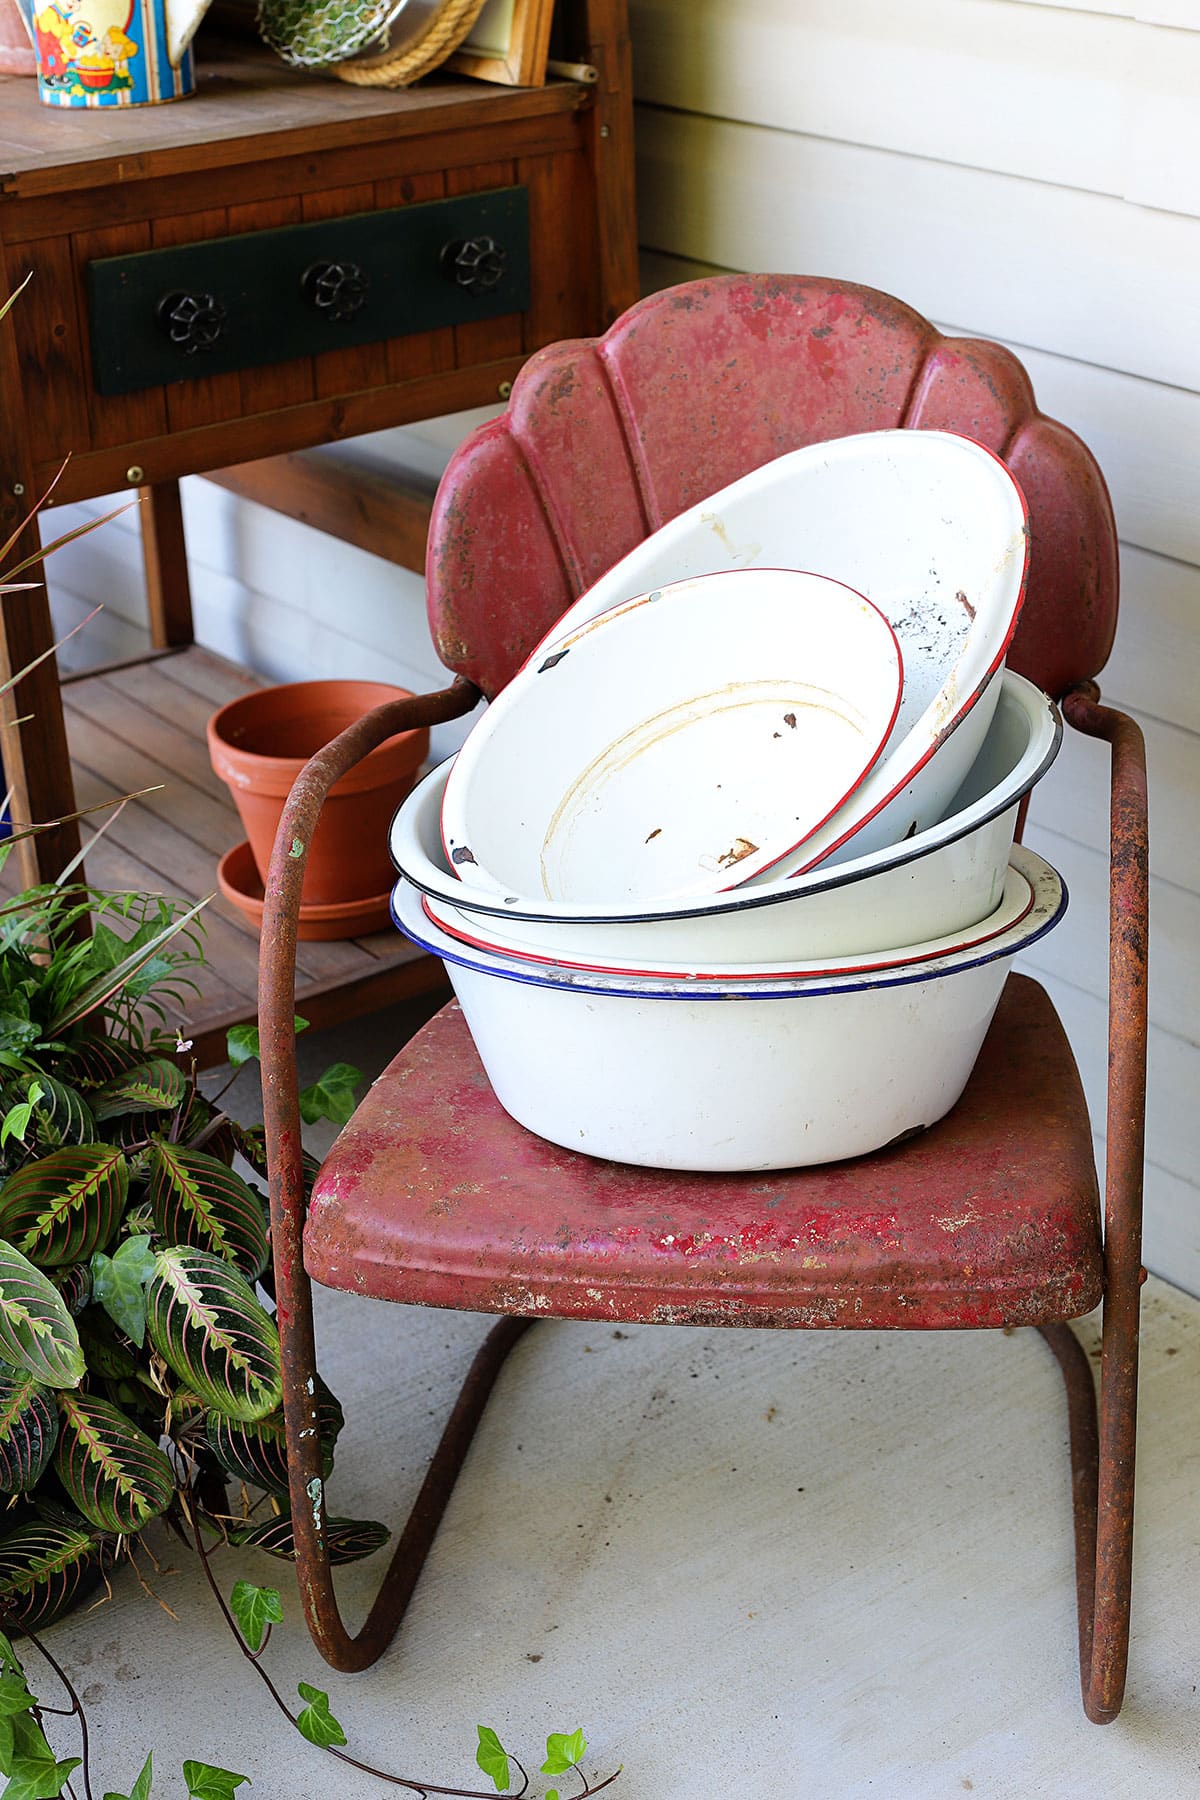
So I decided to try to make my own faux enamelware basins this year.
Out of a plastic hospital wash basin.
Technically I'm making a wash basin out of a wash basin. But, oddly enough, that just occurred to me as I'm typing this. It never once occurred to me when I was making this whole "repurpose" project.
At the end of the post, I'll go into why I have a hospital wash basin in my possession in the first place. I didn't want to confuse the tutorial with personal stuff.
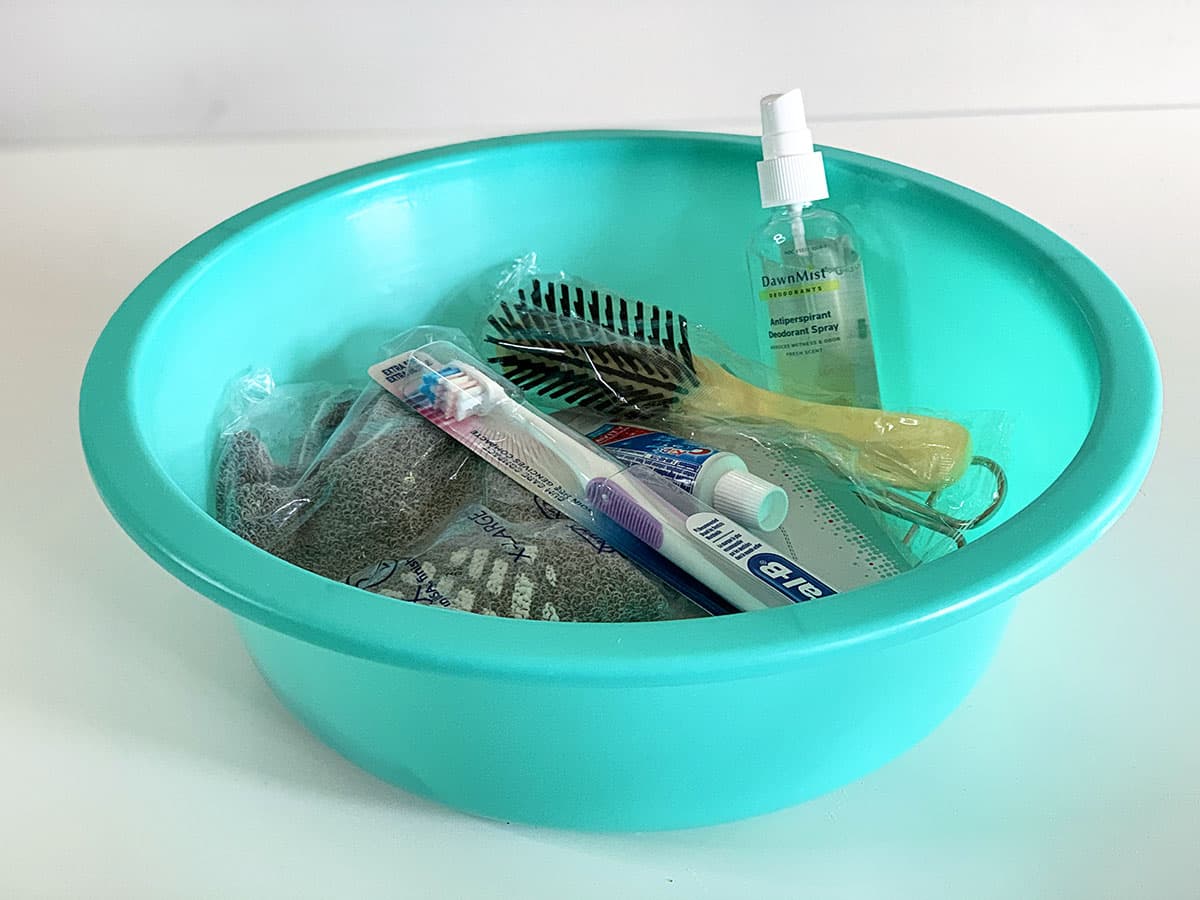
Of course, if you don't have an old hospital plastic basin lying around you can do the same thing with plastic items from the Dollar Tree or Dollar General.
Or any of the other "dollar" stores (when did Dollar Tree start charging $1.25 for things?).
And although I use mine as a plant holder you can use these as decor inside your home. They'd look cute holding washcloths in the bathroom or laundry supplies in the laundry room.
Or faux pine boughs and ornaments on your entryway table for the holidays. Christmas is just around the corner you know!
✨ BTW, today is Thrift Store Decor Wednesday, so make sure you hang around to the end of the post to see the rest of the team's thrift store repurposes for the month!
How To Make Faux Enamelware
(This post contains some affiliate links for your convenience. You can read my full disclosure policy here.)
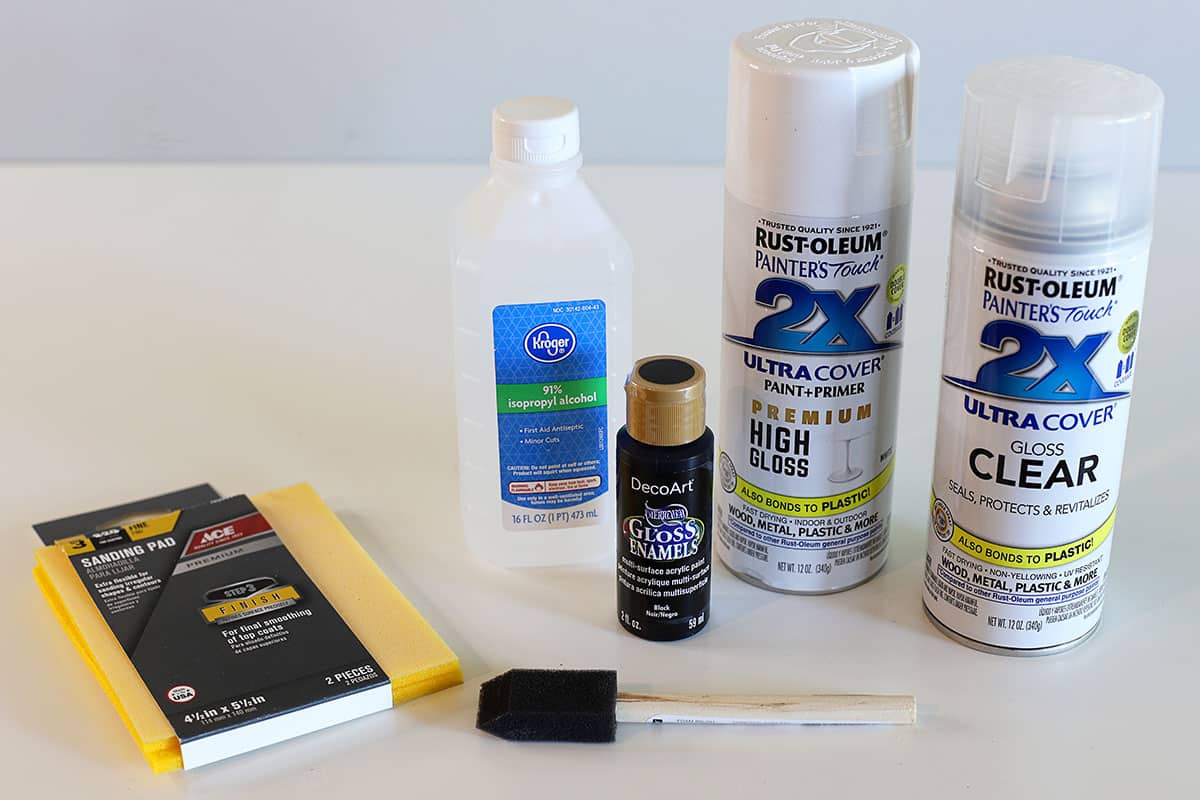
Supplies
- Plastic Basin or Bowl
- Fine Grit Sanding Pad or Sponge (220 or higher)
- Rubbing Alcohol
- White Spray Paint - Gloss or High Gloss (Interior/Exterior)
- Clear Spray Sealer - Gloss or High Gloss (Interior/Exterior)
- Indoor/Outdoor Black Enamel Craft Paint (I used DecoArt)
- Small Sponge Craft Paintbrush
Instructions
How To Make A Faux Enamel Bowl
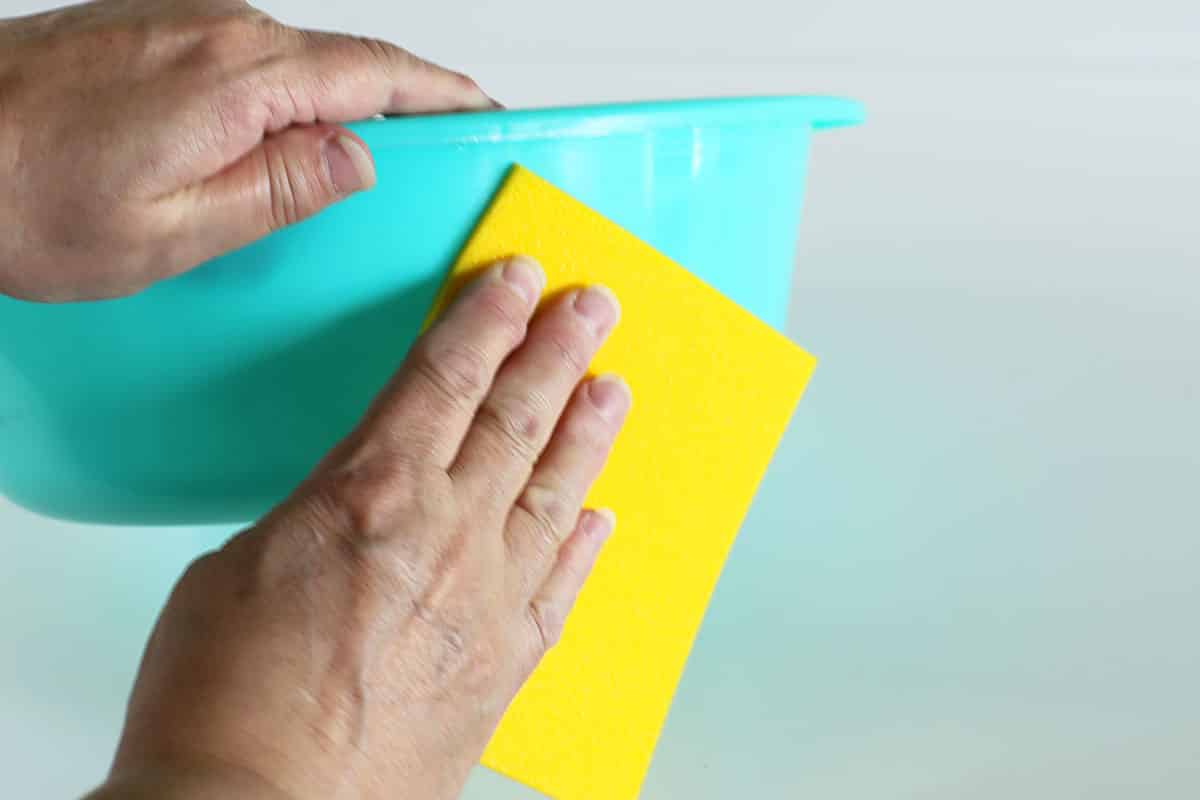
- Scuff Your Plastic Bowl
Using a fine-grit sanding pad gently scuff up your plastic bowl. I like to use a sanding pad as opposed to a sanding sponge or sandpaper because it is easier to get around all the angles and curves with a sanding pad.

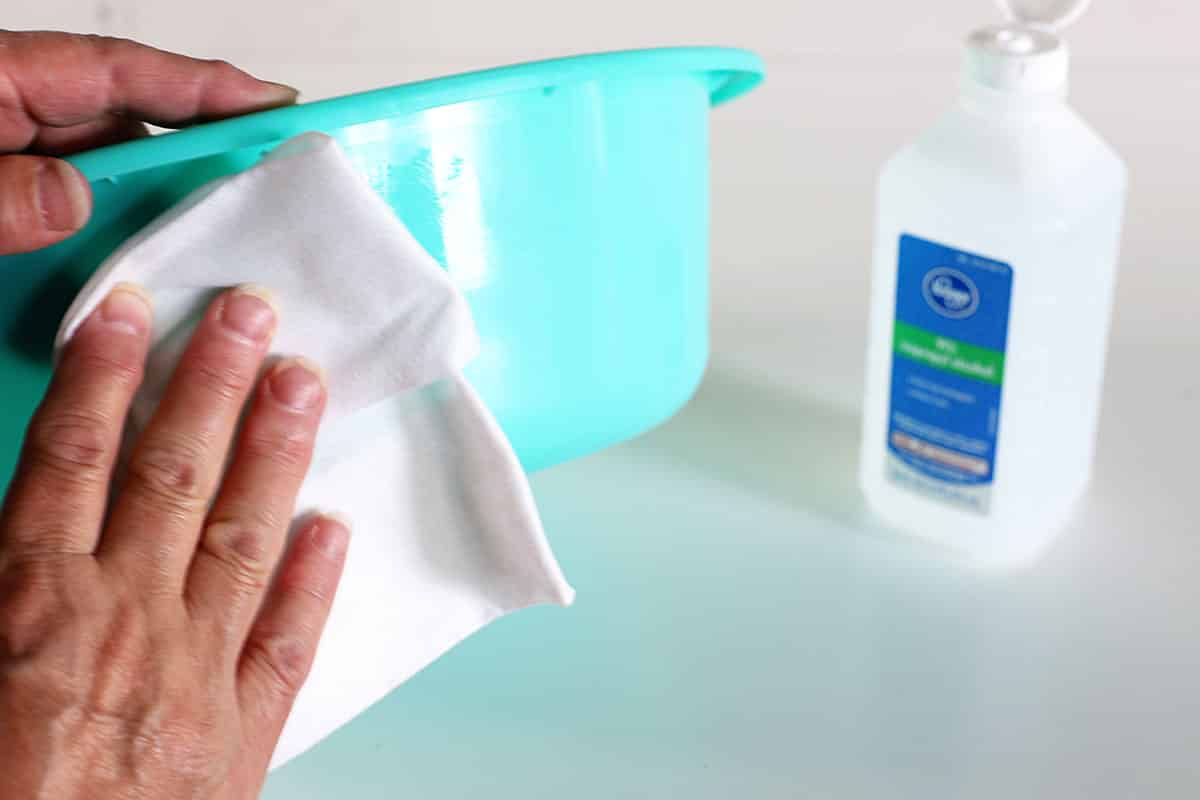
- Clean With Alcohol
Pour a little rubbing alcohol onto a clean cloth and rub it over the bowl to clean the surface. Paint sticks much better to plastic when it is thoroughly clean.
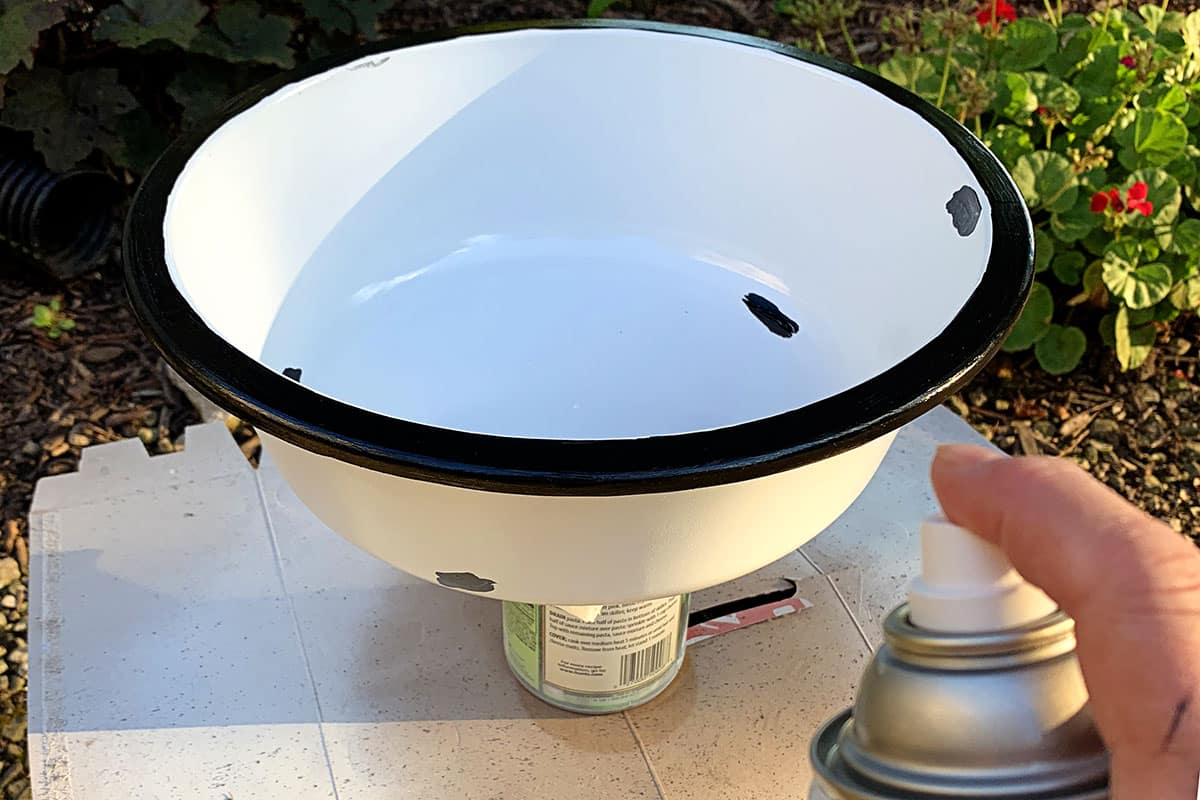
- Paint Bowl
Use your can of white spray paint to paint the bowl. I used 3 light coats to get complete coverage. Allow to dry completely.
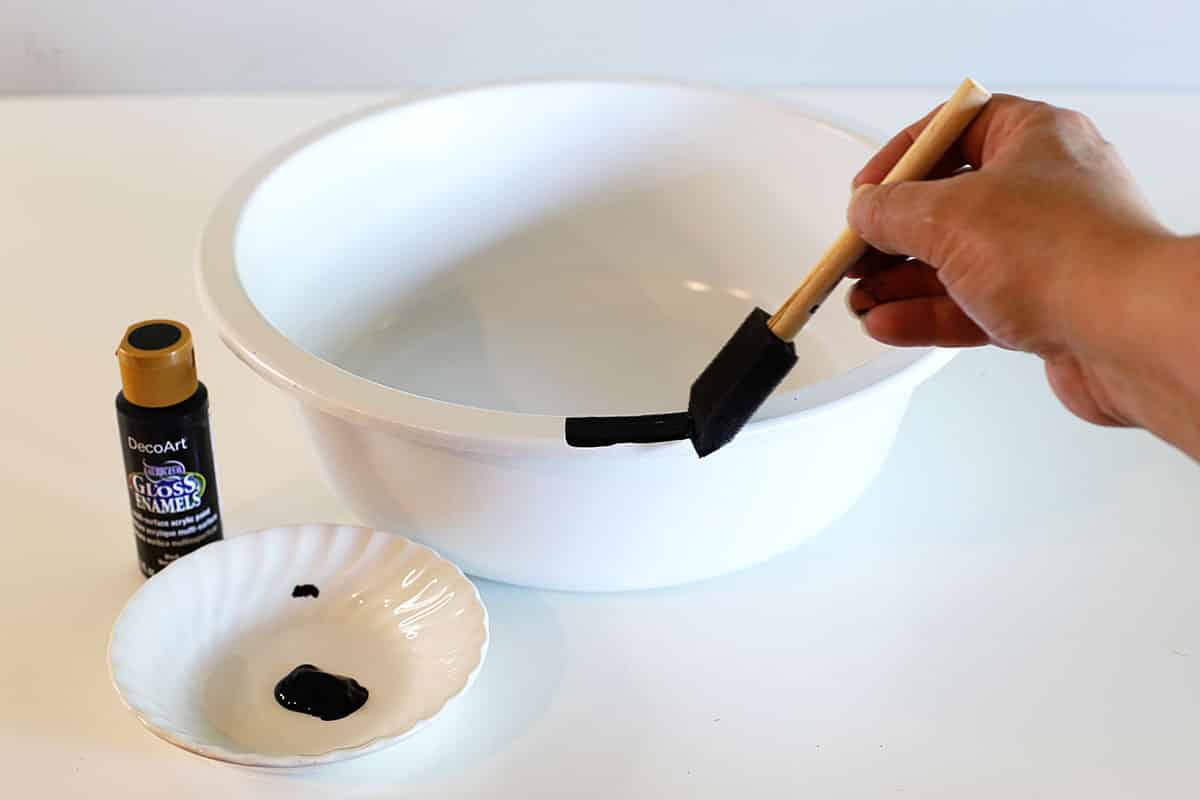
- Add Black Rim
Using your black craft paint apply two thin coats to the rim of the plastic basin or bowl. Allow to dry completely.
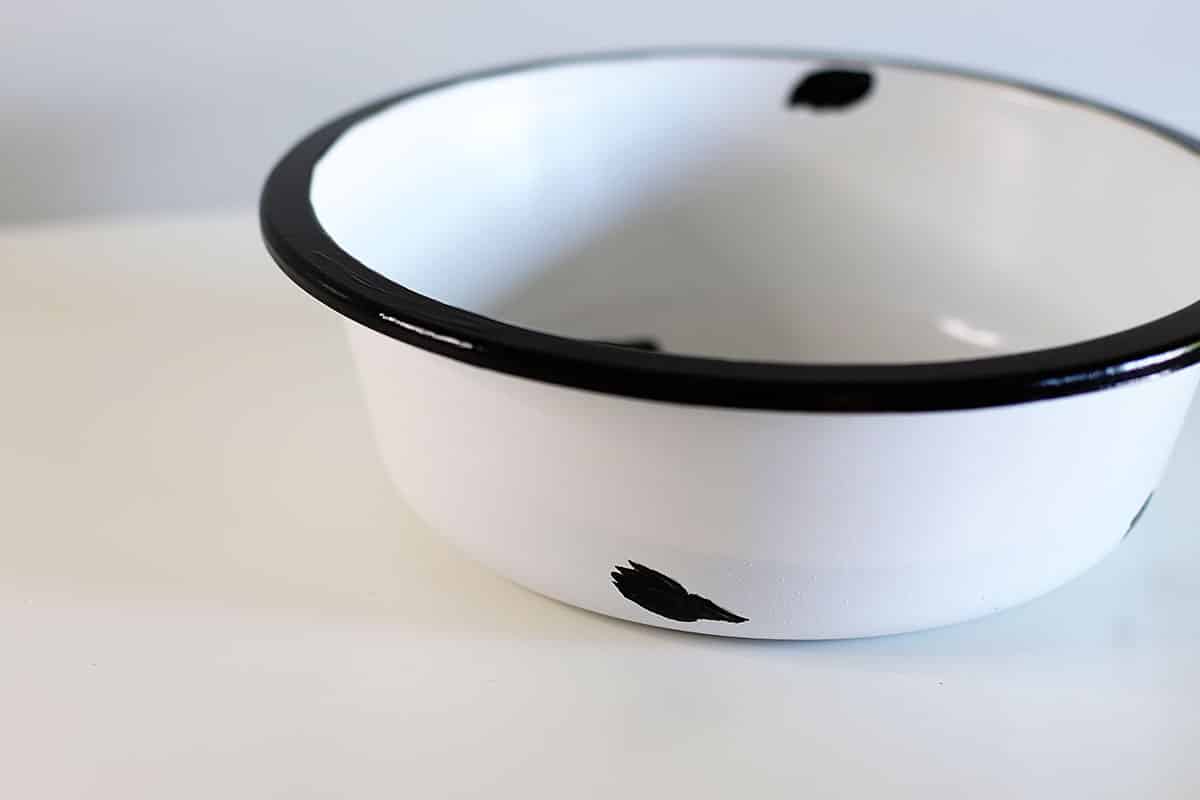
- Add Chips & Dings (Optional)
If you want your bowl to look a little more aged you can add some chips and dings by randomly painting some black spots and slashes here and there.
I was on the verge of making a bowl that looked like a cow, so I had to stop myself after four or five "dings". - Finish Off With Sealer
Once all your paint is thoroughly dry you can apply the sealer. This is added protection against the elements.
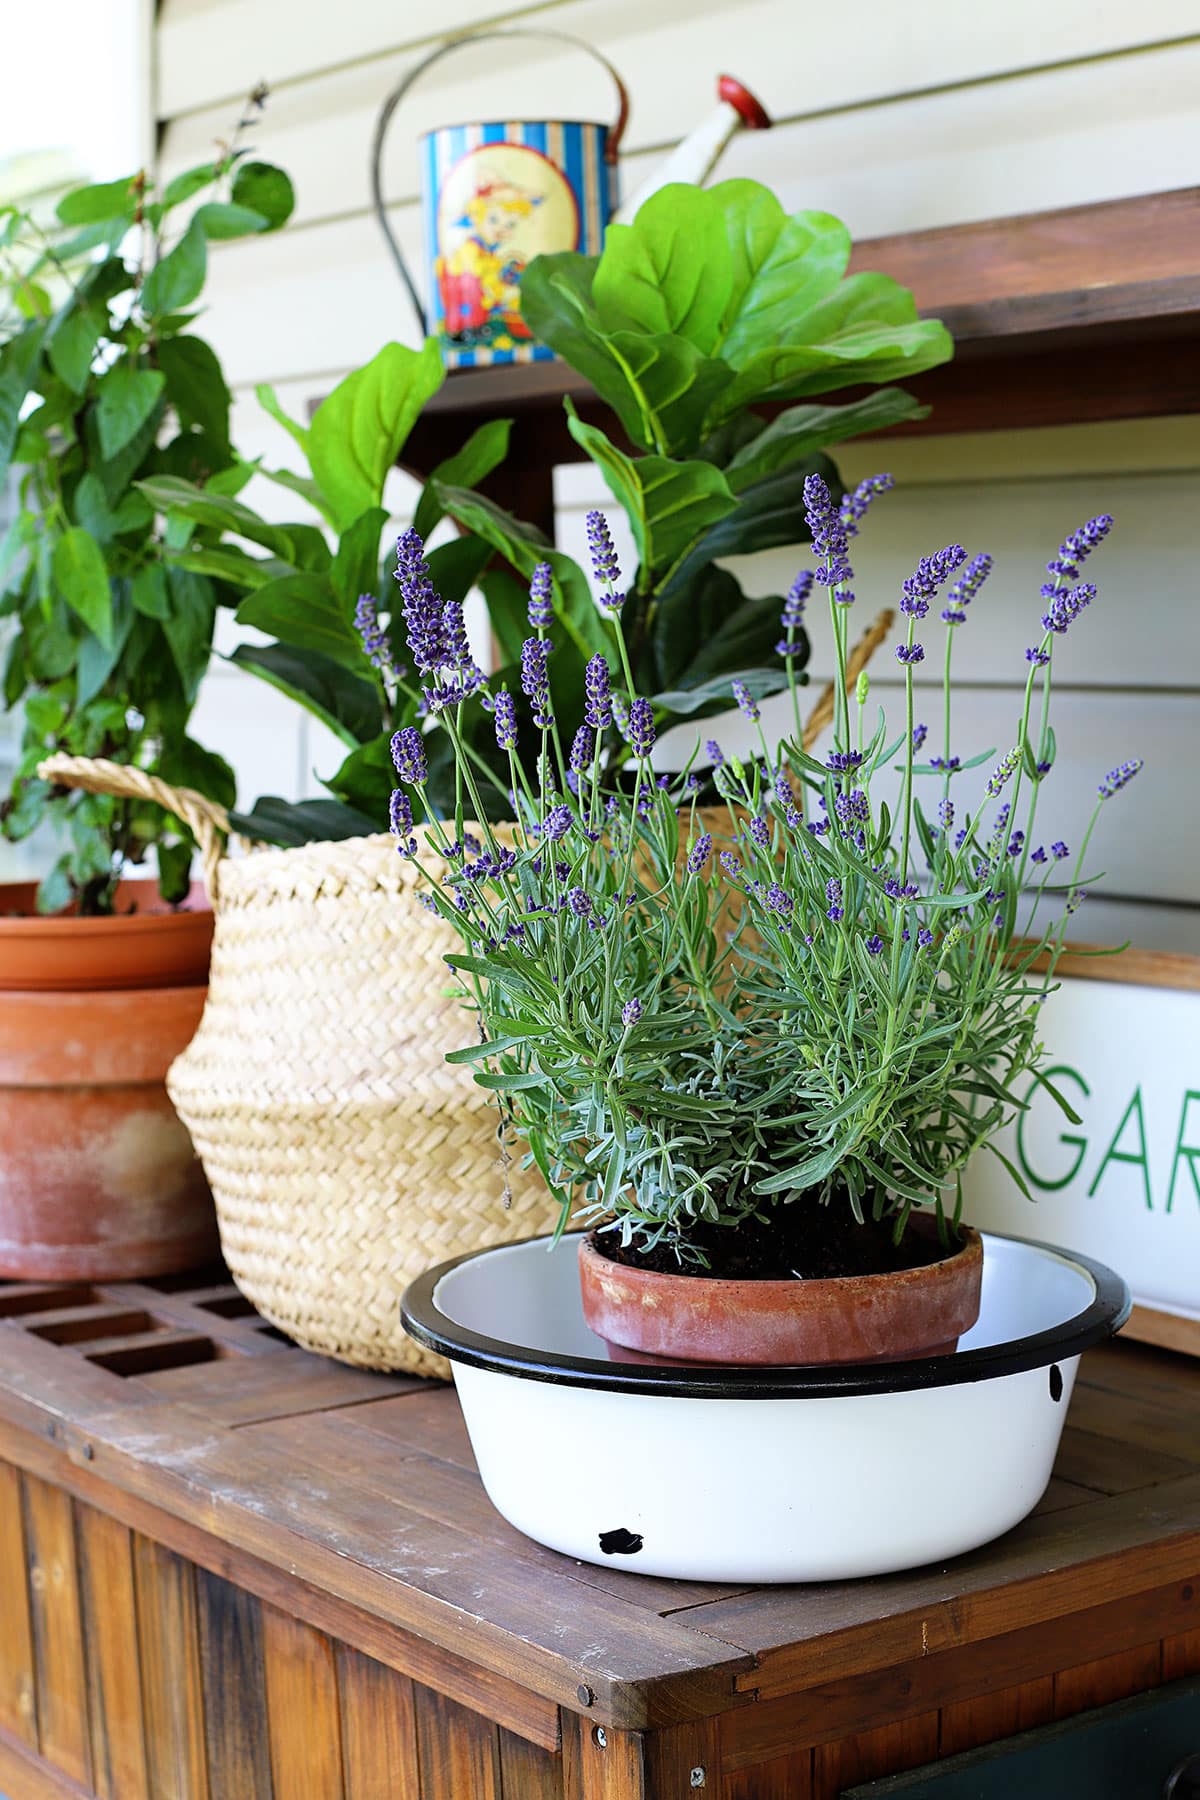
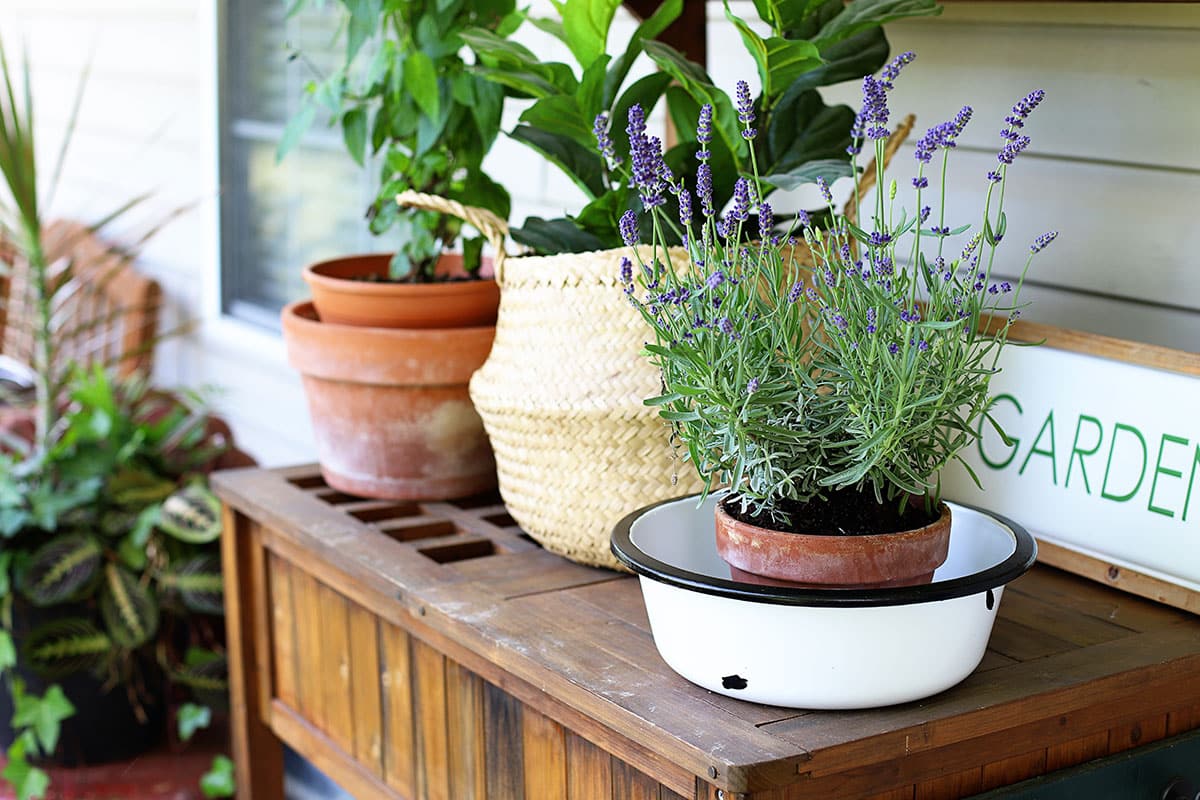
- Add Your Plant
All that's left to do is add your plant. I settled on a nice lavender plant for a pretty airy farmhouse/vintage look.

Thrift Store Decor Team Projects
Now let's go see what the other Thrift Store Decor Team members are up to today!
How To Antique An Urn - Petticoat Junktion
Color Blocked Vase - Domestically Speaking
Three-Leged Table Makeover - My Repurposed Life
DIY Aged Vase Using Coffee and Baking Soda - My Uncommon Slice of Suburbia
Coastal-Inspired Coffee Table Tray Decor - Sadie Seasongoods
DIY Boho Painted Furniture Idea - Reinvented Delaware
Upcycled Vintage Nesting Tables - Shop At Blu
DIY Faux Enamelware Basin - House Of Hawthornes (that's me)

OK, On To The Personal Stuff
First of all, you can completely skip this part. It's not part of the tutorial, just more to get my longtime readers up to speed. No offense taken if you click away!
I've had some people sending me messages asking if I'm OK because I've been pretty quiet around here this summer. Normally I post a lot of gardening projects and porch decor and all sorts of fun spring and summer stuff!
Well, in short, May and June were a whirlwind of craptastical crappiness and I had to let the website fend for itself a bit.
Way back before Memorial Day my son had a doctor's appointment that required him to get some basic lab work done. No biggie, just the normal labs this doctor wants us to do every six months. Pretty much routine stuff.
When the results came back it showed my son was slightly dehydrated and since he has kidney issues the doctor's office wanted to be extra vigilant and had us "stop by the ER to get some IV fluids" for a few hours. No big deal, the ER was involved just because they can't do IV fluids in the doctor's office. It was supposed to be in and out and on our way to a fun-filled Memorial Day weekend.
For those new here, my son has multiple disabilities and medical issues, so he's fairly medically complex. I guess I should have started with that.
Well once at the ER, they noticed his oxygen level was wonky, which led to some more tests and him being admitted for observation overnight.
To make a VERY long story shorter, he ended up having a very bad case of pneumonia accompanied by an abscess in his lung and fluid accumulating in the space around his lung that required a drainage tube.
None of which we had any idea about until we took a "quick" trip to the hospital just to get some fluids for something pretty minor and completely unrelated.
We were in the hospital for 16 days for them to get his pneumonia under control and until the chest tube could come out. We got discharged on a Friday and were back at the hospital on a Monday because he started feeling worse instead of better. Ends up he had acquired a virus during his initial hospital stay (insert grumpy face here) and it was hitting him hard because he was just coming off of pneumonia, so back into the hospital we go for another 17 days.
33 days total if you're counting.
So basically from late May through early July I was at the hospital every day all day and quite a few nights and I was not checking in on my blog other than a post that I had pre-written before all this happened.
So now we're back home and trying to settle into a regular routine again. How's your summer going?
Addie
Oh!!! I am so sorry to hear of your son's troubles. I will put him on my prayer list. I hope he has continued to keep well. It's NO fun spending time in the hospital.....but you did get the perfect basin out it!!! Just a little humor...of course you would rather not be there.
Your basin project is AWESOME!!!! Looks like the real deal without the rust...win/win!!!!
Georganne
You've been through so much, along with your son Gail. Keeping up with this site should have been your last concern, although things have seemed slow, there was a really good reason. Watching him suffer through a painful chest tube, pneumonia, and then a virus he got in the hospital to keep him there even longer just isn't fair to y'all, all the way around. Thank you for sharing your personal experience with us. You know we've got your back. I will say a prayer for you now.