Decorating my porch for the seasons is sort of my thing. Sometimes I go all out (or overboard as my husband would say) and sometimes it's more subdued.
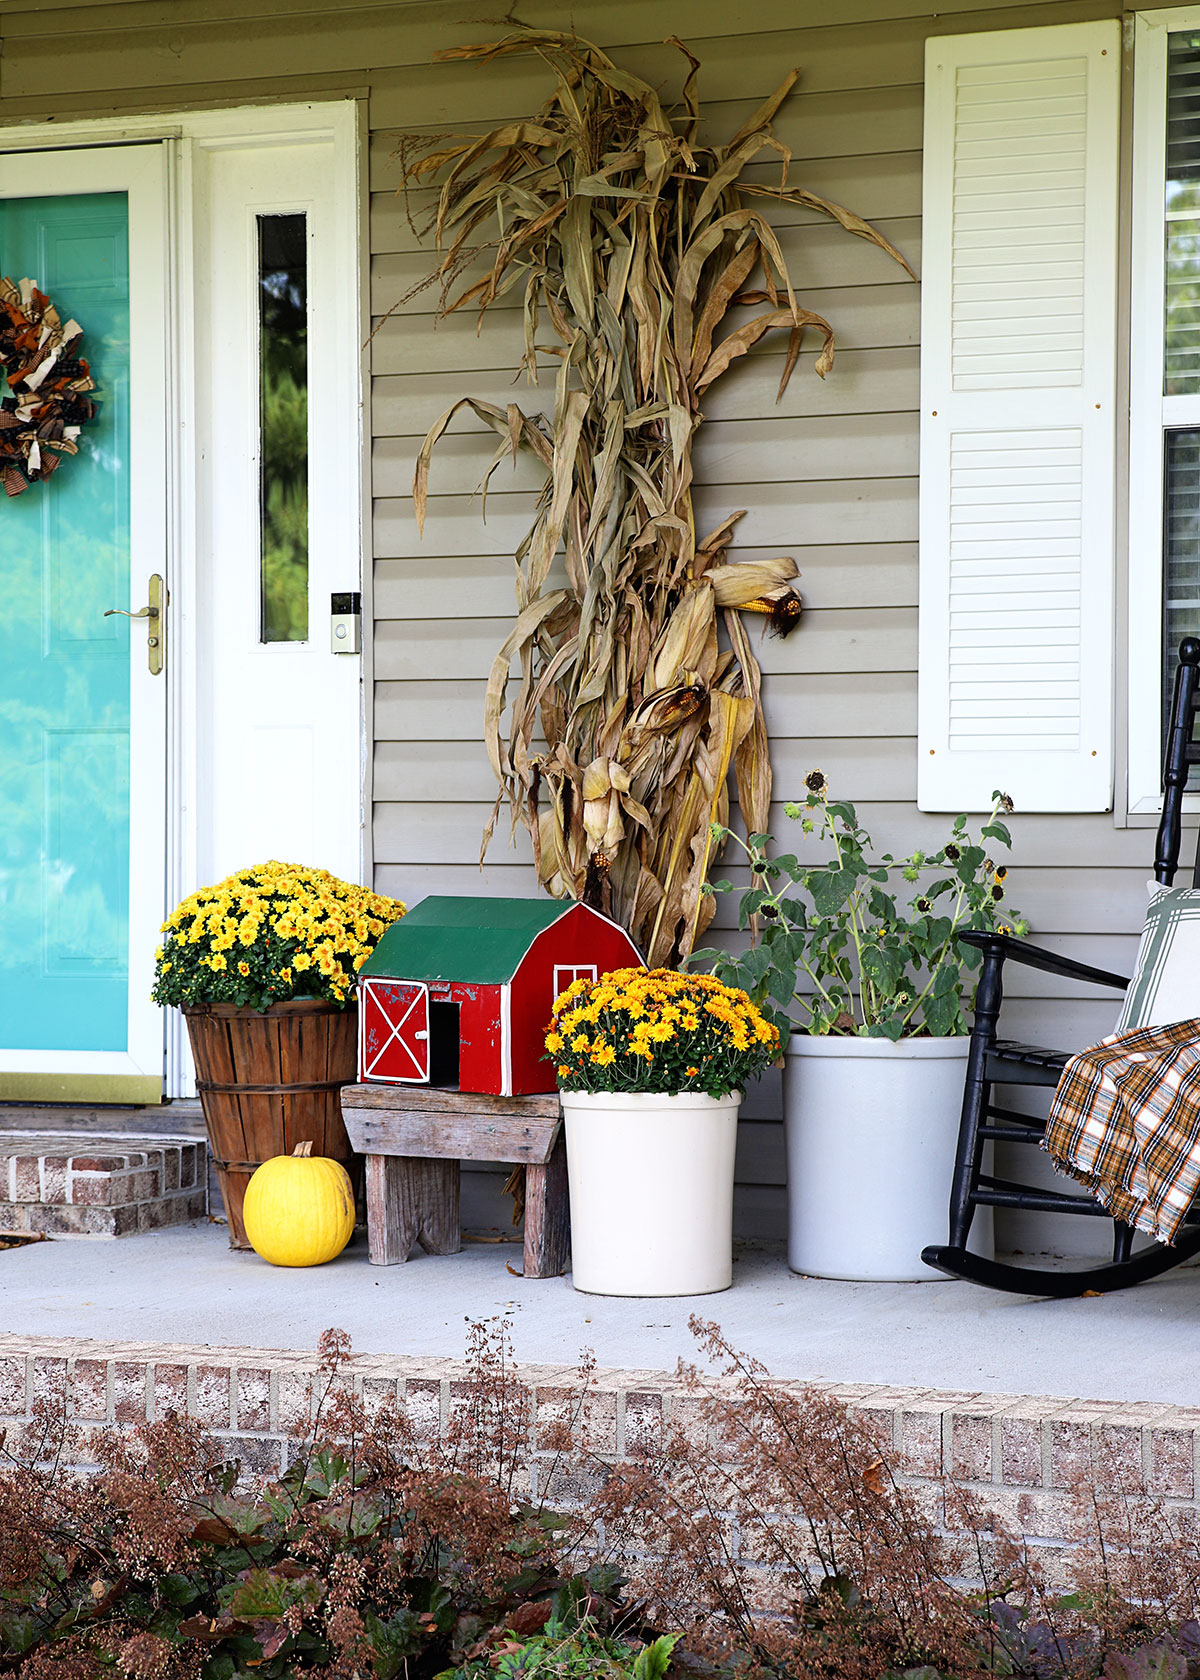
I'm going to say my little red barn fall porch decor this year is halfway between the two. It does have cornstalks and a pumpkin, but it's certainly not puking fall decor all over the place like some other years.
Some very traditional fall porches from the past would be:
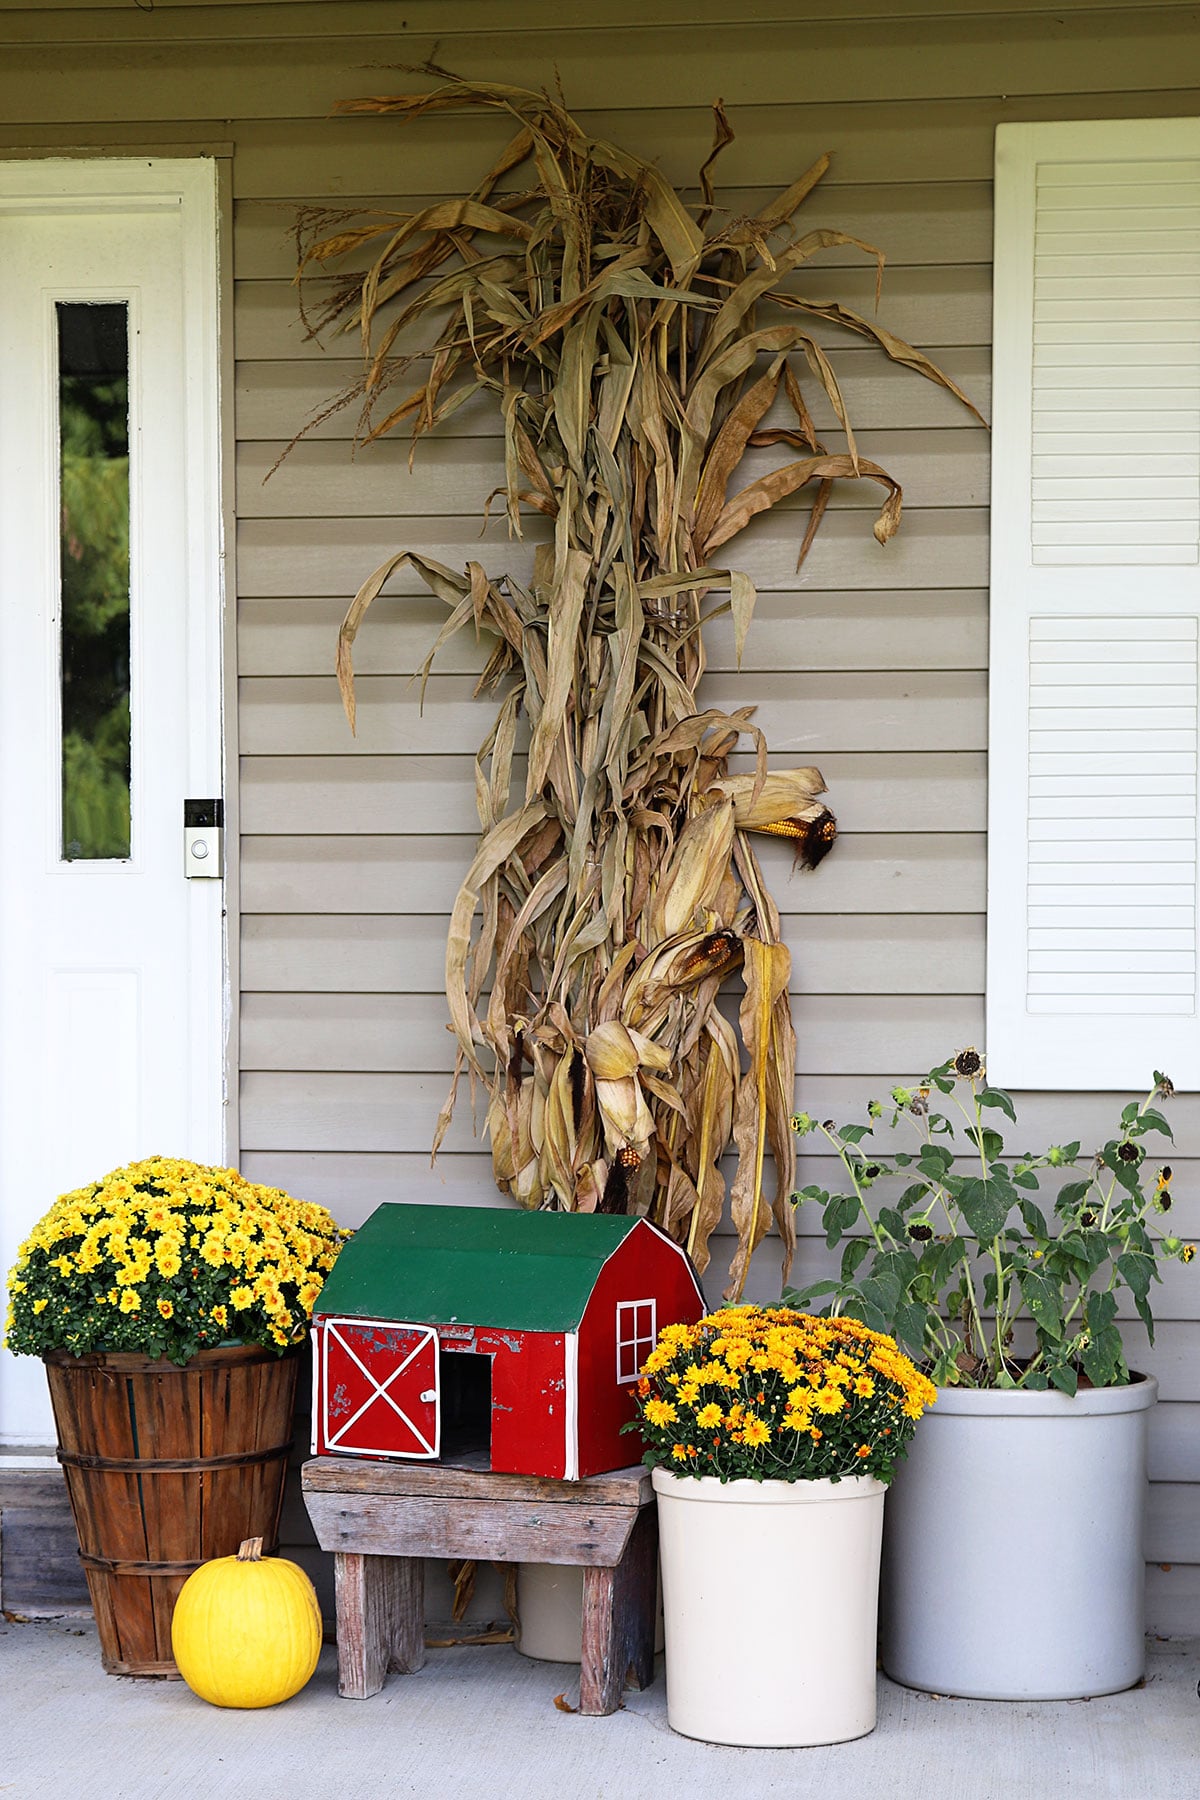
The whole theme of the porch started with this handmade little red barn I found in the "junk" section at a local antique mall. It's where they throw stuff that the vendors have slashed the price on and are normally broken, rusty or just plain ugly.
In other words, my favorite area to shop.
In my mind, I imagine it having been made by a doting grandpa for his cute little grandkids. It's a little beat up, but as soon as I saw it I immediately knew I wanted to use it on my fall porch. Somehow.
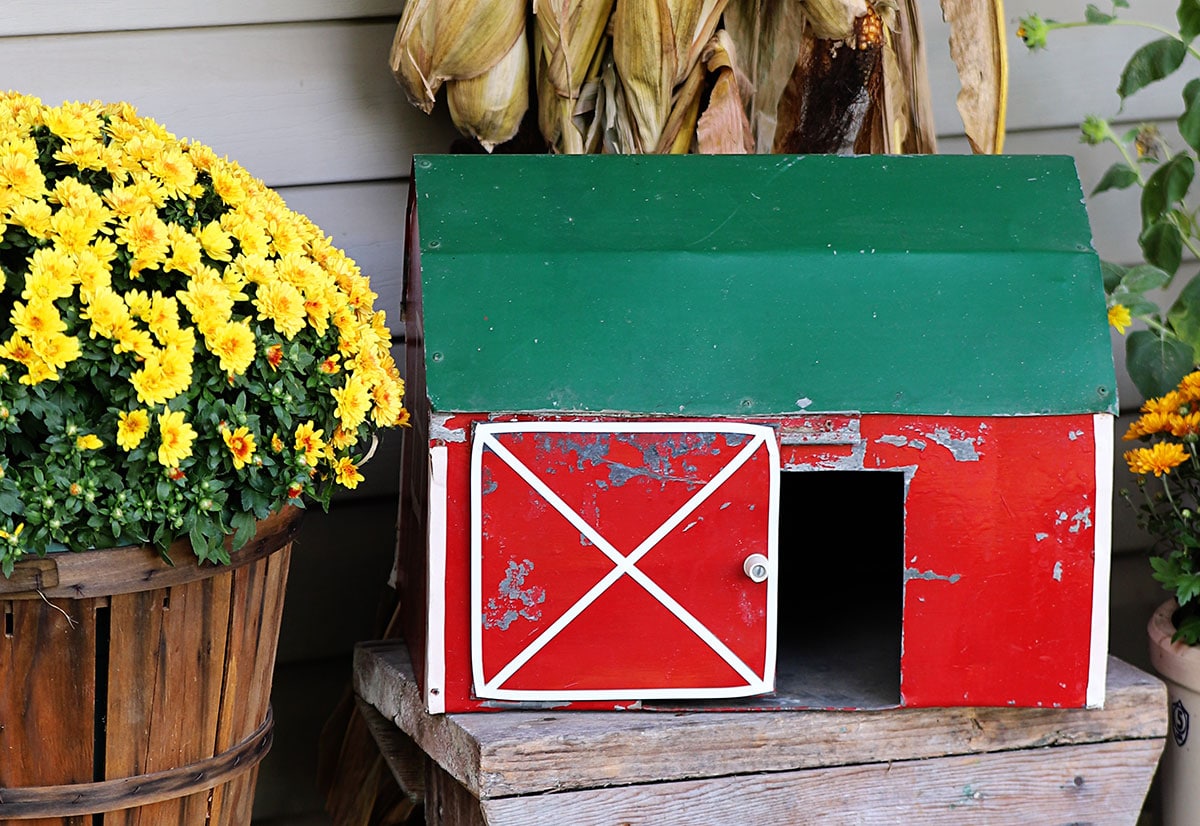
And then we have some mums in a bushel basket. This is the same bushel basket (aka peach basket) I first showed you on my How To Make Winter Porch Pots post way back in 2016.
So all these years later, the baskets are still going strong.
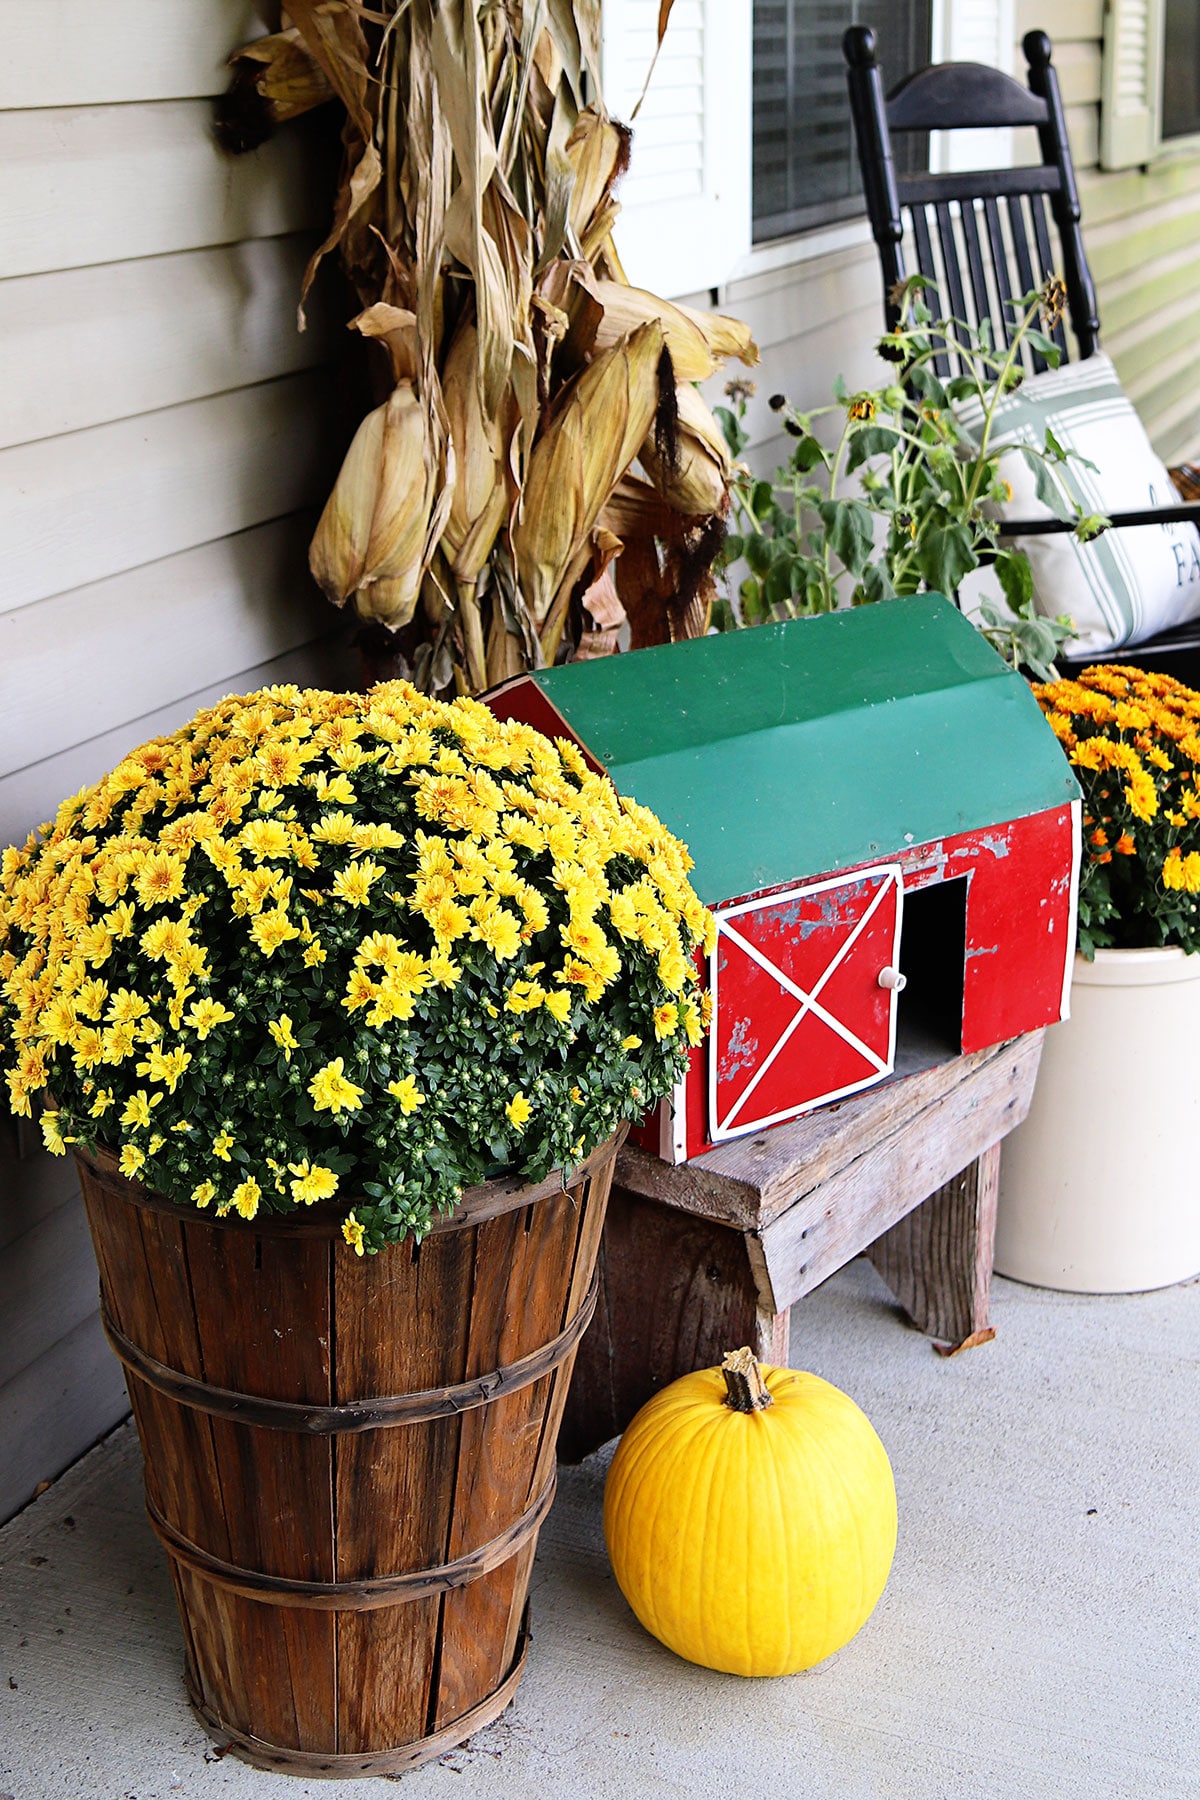
The only thing I've done to them in the last 5 years is I very lightly sprayed them down with a power washer last year. It was as much to get the cobwebs off them as to brighten them up a tad. Like most wood left outside year-round, the original brown color had darkened to more of a dirty gray color.
I cannot stress VERY LIGHTLY using the power washer enough though - I used the lowest setting and stayed back at least 8 feet. I was picturing the baskets bursting into 5,000 splinters, so I was being extra careful with them.
But it appears bushel baskets are made to be sturdy.
Another mum is in one of the crocks with the larger crock filled with a scraggly Sunfinity® Sunflower.
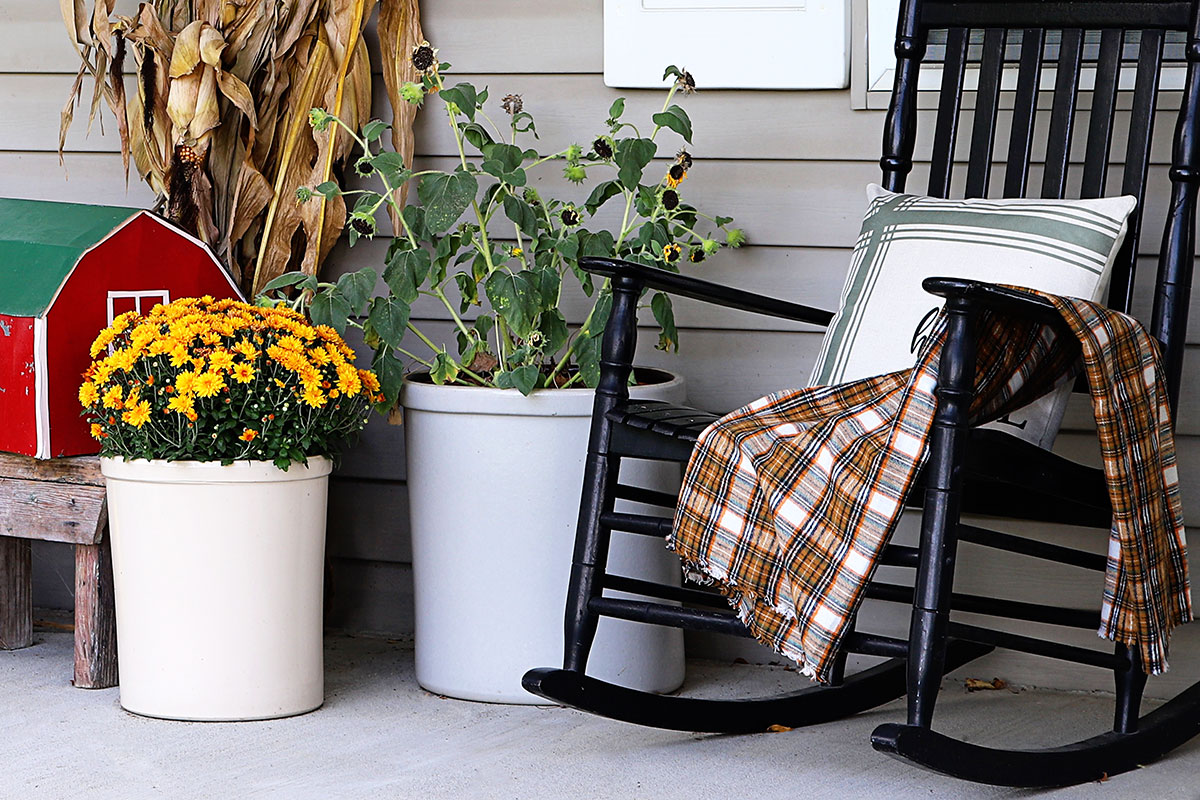
The Sunfinity®Sunflower is an annual and is a bushy, branching type of plant. It produces quite a few flowers on each plant, although the flowers are much smaller than traditional tall single stalk sunflowers.
The plant instructions say the flowers will stay around until after the 1st hard frost, which is why I was so confident in adding it to my fall porch!
It should have been STUNNING. And when I initially bought it, it was.
The sunflower lasted less than a week before the pretty yellow petals promptly fell off and I was left with just the stems! Womp. Womp.
In happier news, I am really loving my cornstalks this year. Even though it may be a little odd to love a piece of dried up farm field, I think it's fun they have so many actual corncobs left on them.
I sprayed the cobs down with my Homemade Squirrel Repellent Recipe. It keeps the resident chipmunks and squirrels from feasting on them.
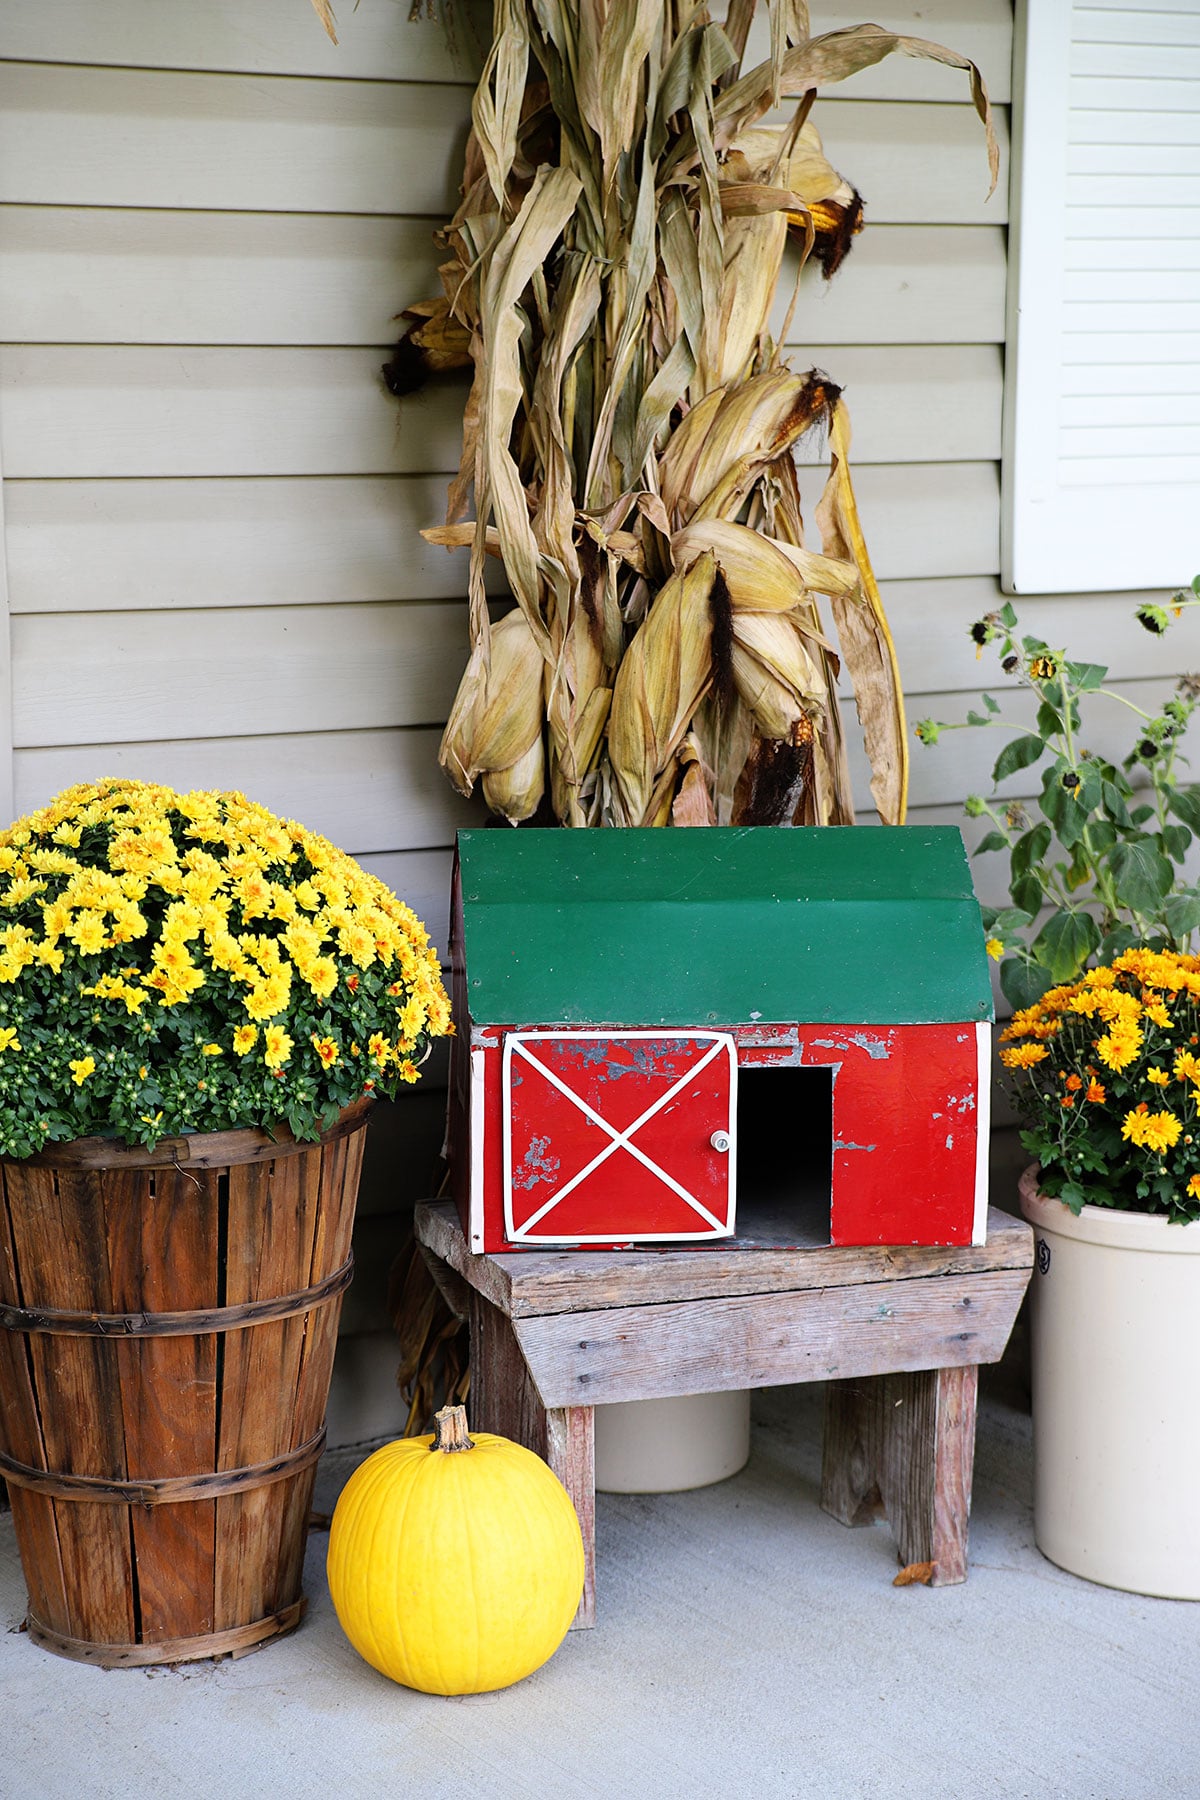
Yes, that is a yellow pumpkin. Your eyes are not deceiving you.
Of course, I used my DIY rag wreath that I showed you how to make last month. I still love that thing and am thinking of making a Christmas version!
And finishing off the decor we have some cheap pillow covers from Amazon and two fall throws.
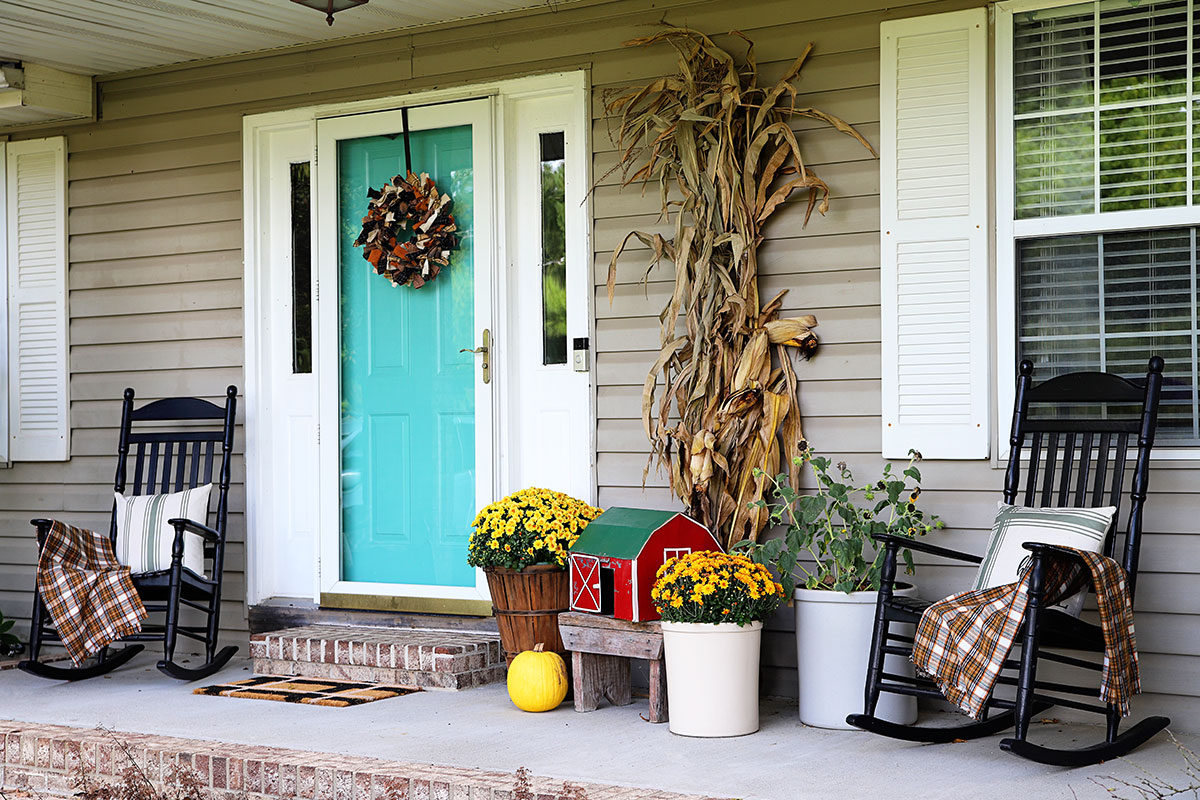
We don't actually sit on the porch in the fall, so the "throws" are just decorative (they are really just cuts of inexpensive flannel fabric folded into thirds). I didn't want to waste real, more pricey, blankets outside.
Oh, and I almost forgot. To the left of the porch I stacked some pumpkins in my birdbath.
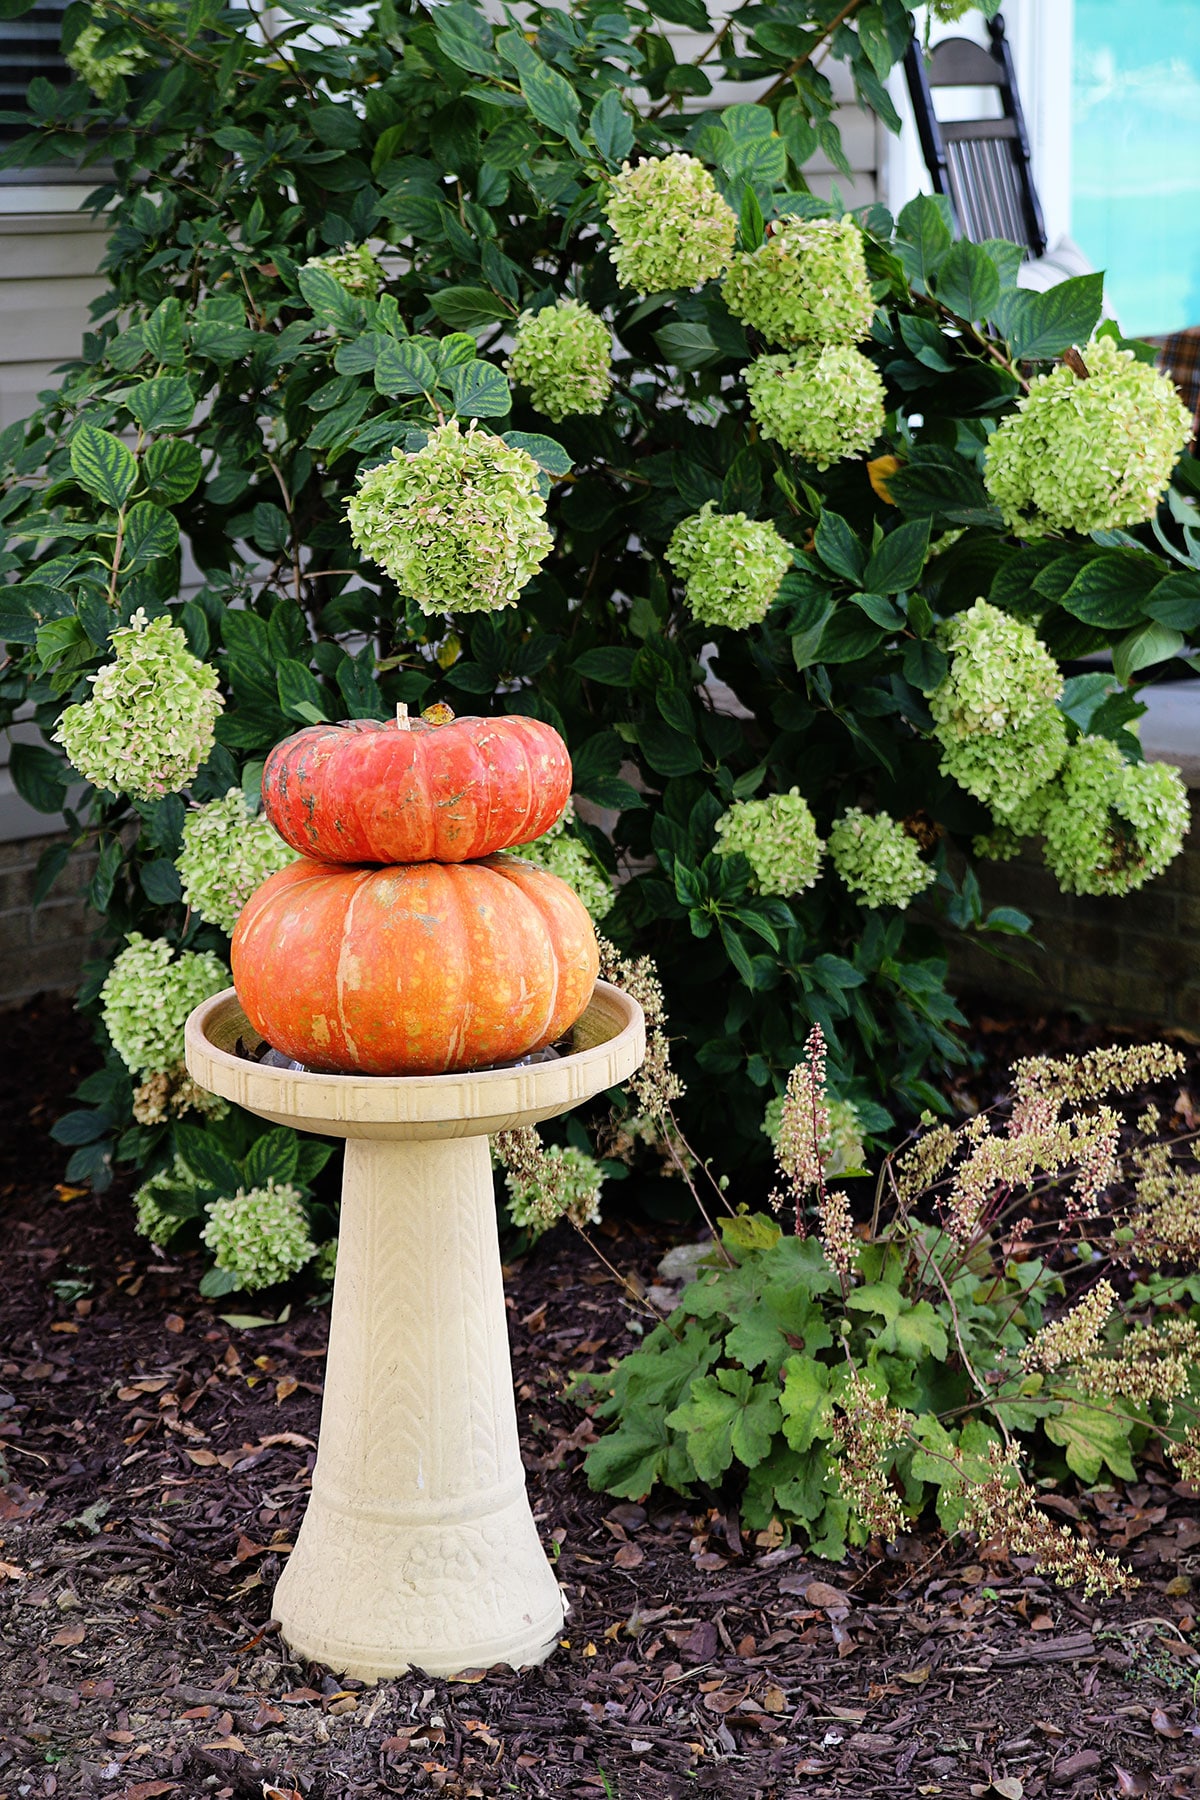
I do have a little plastic plant tray turned upside down in the bottom of the birdbath, so if it rains the pumpkins won't be setting in water.
YEARS ago I had a carved Jack o'lantern in my birdbath, but this year I figured just stacking them in there would allow them to last all season. I sprayed them with the Squirrel Repellent also, just in case.
What new fun things have you tried on your porch this year? Any gardening failures?



Florence
Like everyone else has said, I love that barn!! How could anyone not sell that is beyond me. I'm wondering what else was in that pile, LOL. Anyway your porch always looks so inviting, I can't imagine why you don't' sit out there.
Nana Diana
LOVE that little red barn. It's always fun to find something that is 'trash' to someone else and have it become a treasure in your own home. Your porch looks great. I have lots to do outside yet and didn't get a lot of FALL on this year. Life has been crazy.
Hope you have a really good week, Pam.
Jenny
Why DON’T you sit out there a little bit? It looks so inviting!
Carolyn CarolynDinger
Love the little red barn. Fall is my favorite , so many colors of mums to choose from. Beautiful.
Jeannie
Love that sweet little red barn! Your porch is so pretty & welcoming. Like the pumpkins in the bird bath. I could do that!
Diane
It is LOVELY, Pam! Did you make the pretty wreath that adorns your front door? From what I can see, gorgeous! 🙂
Pamela Martin
Your use of the word PUKING make me laugh sooo hard. I found a wide plaid scarf at my dollar store that i have used hanging by my front door. Really great for fall.
Dorothy Mungarro
I just love all of your hydrangeas.
Debra Oliver
Absolutely perfect fall porch. not "puking" at all. And besides sometimes "puking" can be a good thing if you like a lot of fun stuff for the holidays!! That red barn is just adorable. I can just imagine the little horses, cows, and chickens that probably came with it originally. Love it all.
Jo J
That little red barn looks right at home on your porch!
Pam Kessler
Thank you! As soon as I saw it I knew it was for me!