Learn how to store peony buds so you can enjoy them later in the year. Peonies are too gorgeous to just enjoy for a week or two in May.
I love peonies so much so that I wrote How To Grow Peonies - Your Complete Guide a few years ago. It's one of my most popular articles this time of year.
I just wish peony season lasted longer though!
At the first sign of peony buds in early May, I wait rather impatiently for them to do their show! I'll run outside every single morning in my jammies to check to see if they've popped out yet. Even when I know they won't really bloom for a couple more days. Or weeks.
It's a sickness I have. Peony-itis.
Here in the Midwest, they normally bloom late in May or the 1st week of June, depending on the variety. And I am rewarded with lots and lots of blooms. Almost an excess of blooms (can there ever be too many peonies in your life?). But only for a week or two.
And then poof they're gone.
And I'm left waiting another 50 weeks for another glorious burst of flowers!
But I have found a way to store some of my blooms before they are fully open, so I can enjoy them later and extend my peony season a bit.
Storing Peony Buds In The Refrigerator To Extend Bloom Time

Picking The Right Peony Blooms To Save For Later
Not all buds are created equal.
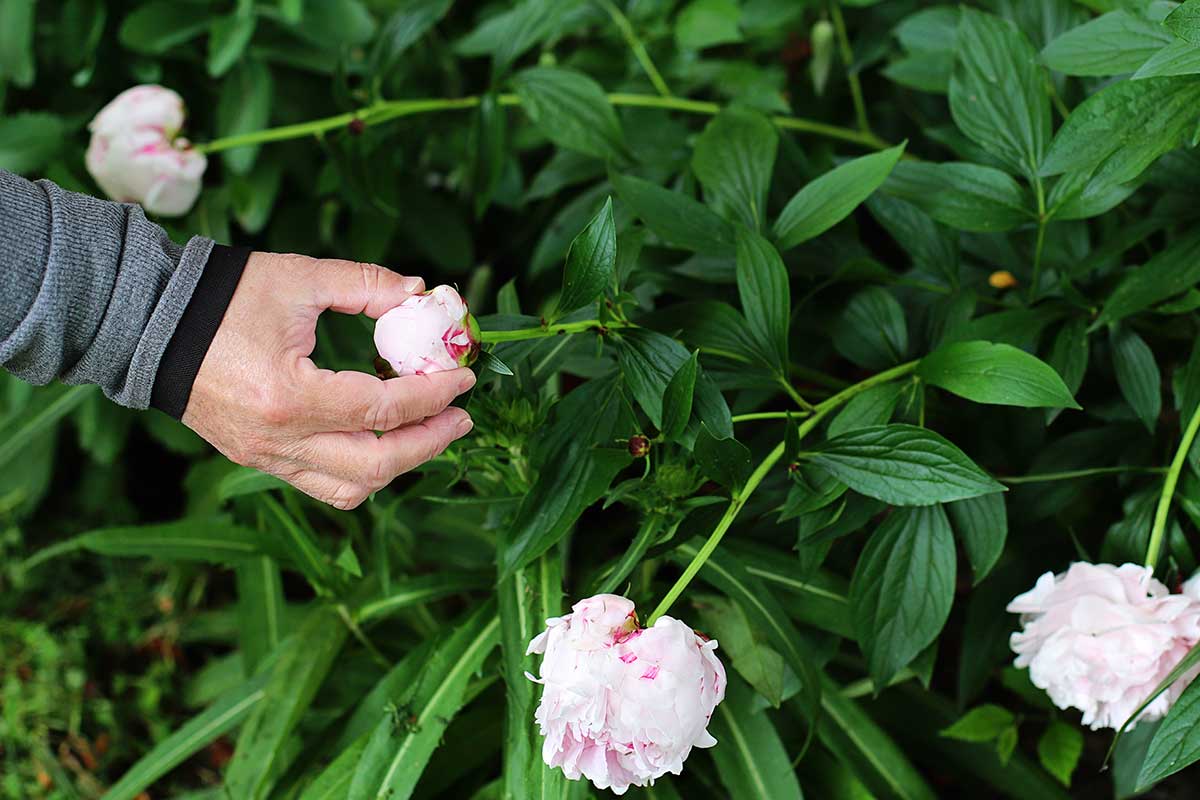
You want to cut your peony stems while they are still in bud form and before they have come out in full bloom. If you take the bud between your fingers it should feel like a soft marshmallow.
If it feels like a hard marble it is too soon to cut the stem as your chances of it blooming later are greatly reduced.
On the other hand, if the petals are too loose and have started to unfurl already, you will only be able to store them in your refrigerator for a few days. Which is fine if you want to use them this weekend for an event, but that's not really what we're looking for here.
Below is a video I made last year showing the different stages of peony blooms. It was actually made with cutting peonies for vases in mind, but is still a great visual example of the different bud stages for what we're discussing here.
Storing Peony Buds In The Refrigerator
- Cut Peony Buds
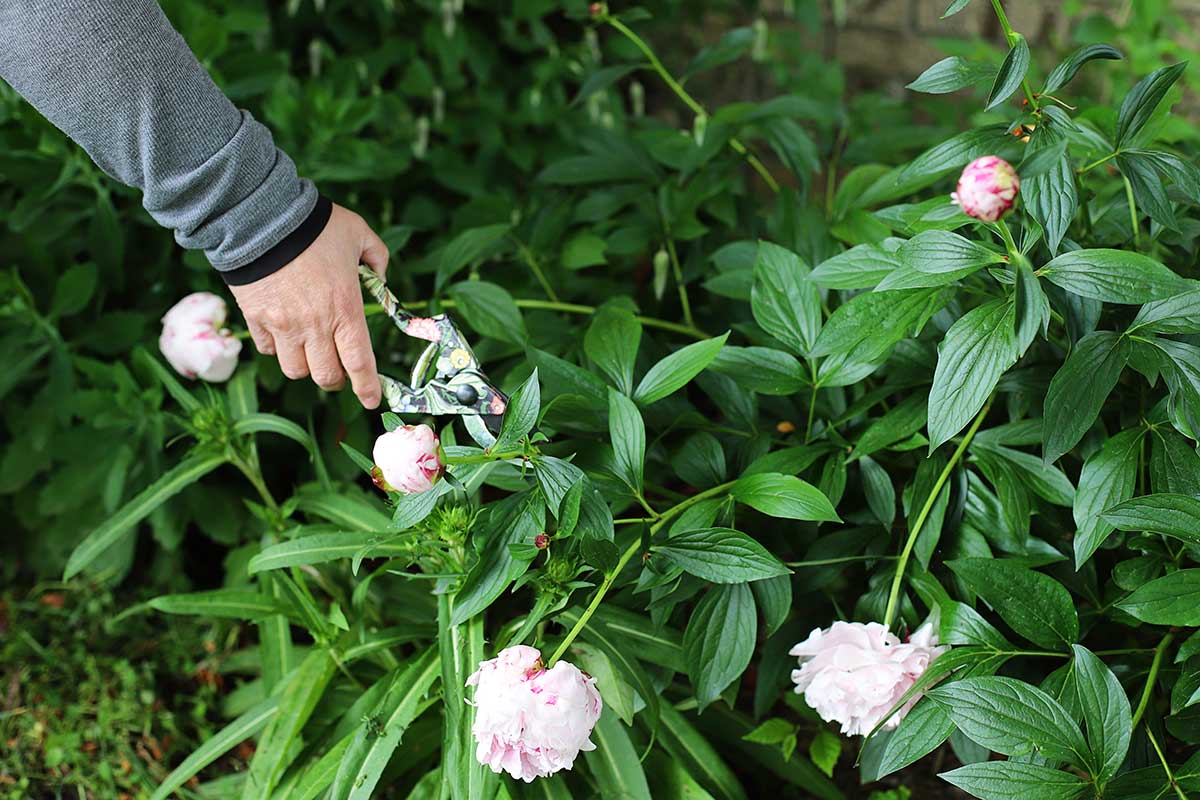
Using garden pruners or sharp scissors, cut your peony stems to your desired length. I normally cut my peony stems to 12-16".
You want to cut them an inch or two longer than you want them to ultimately be, because you will be cutting off a bit more again later in the process.
Just don't cut the stem off at ground level, because the bush needs to some leaves left on it to continue to store energy for next season's crop of blooms. - Remove Leaves
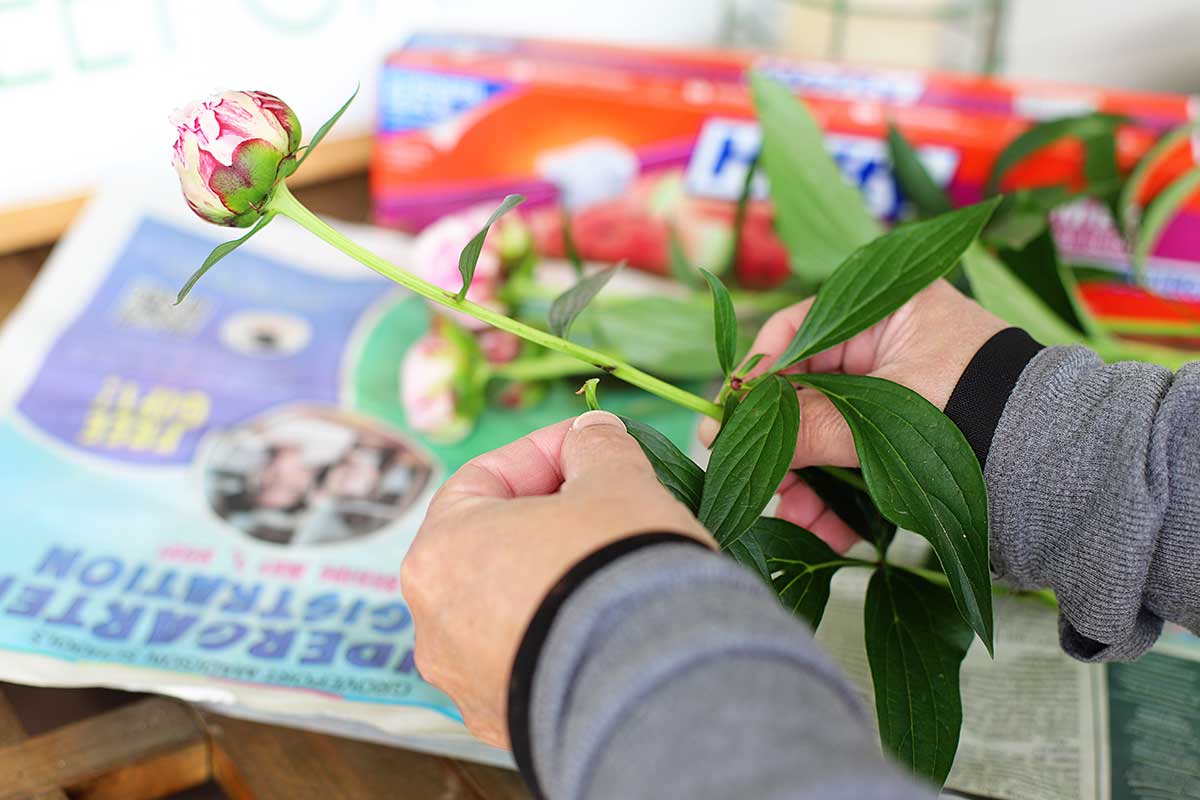
Remove most of the leaves from the stems. This reduces the chance for excessive moisture accumulating when you store them.
Excess moisture can cause mushy, diseased peonies and nobody wants that! - Wrap Stems In Newspaper
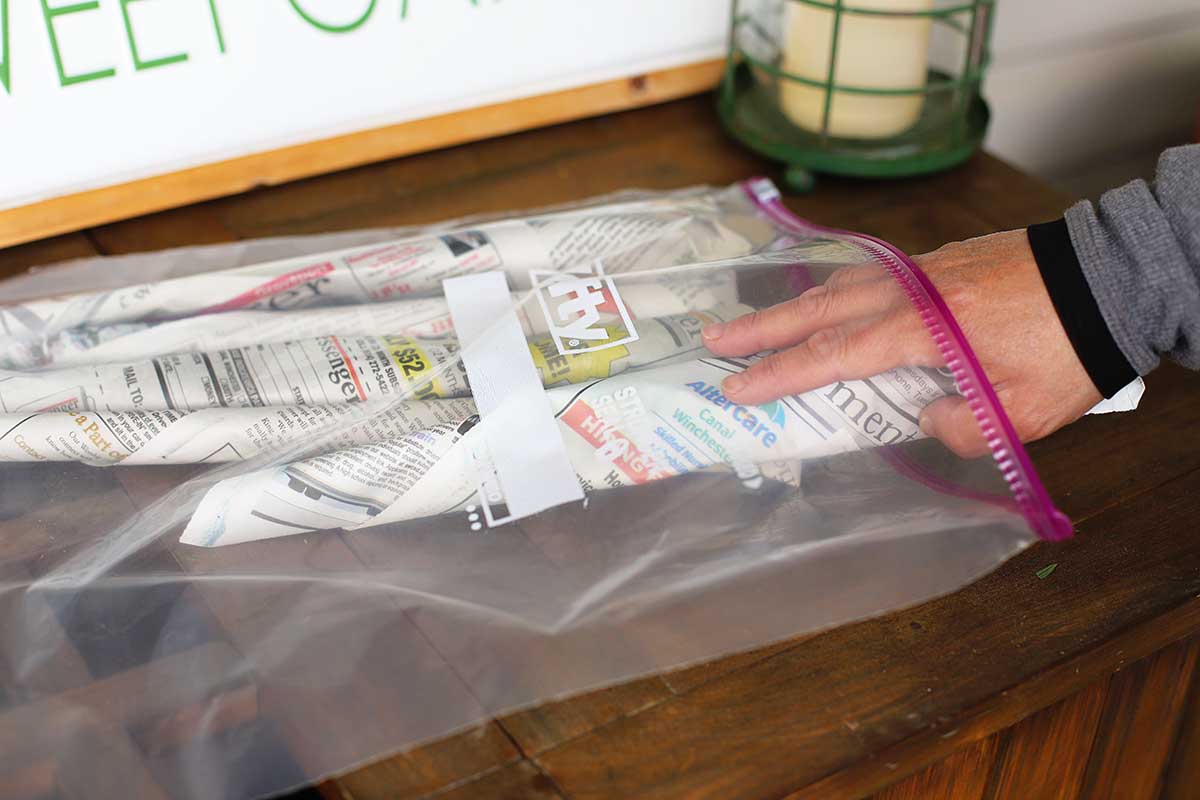
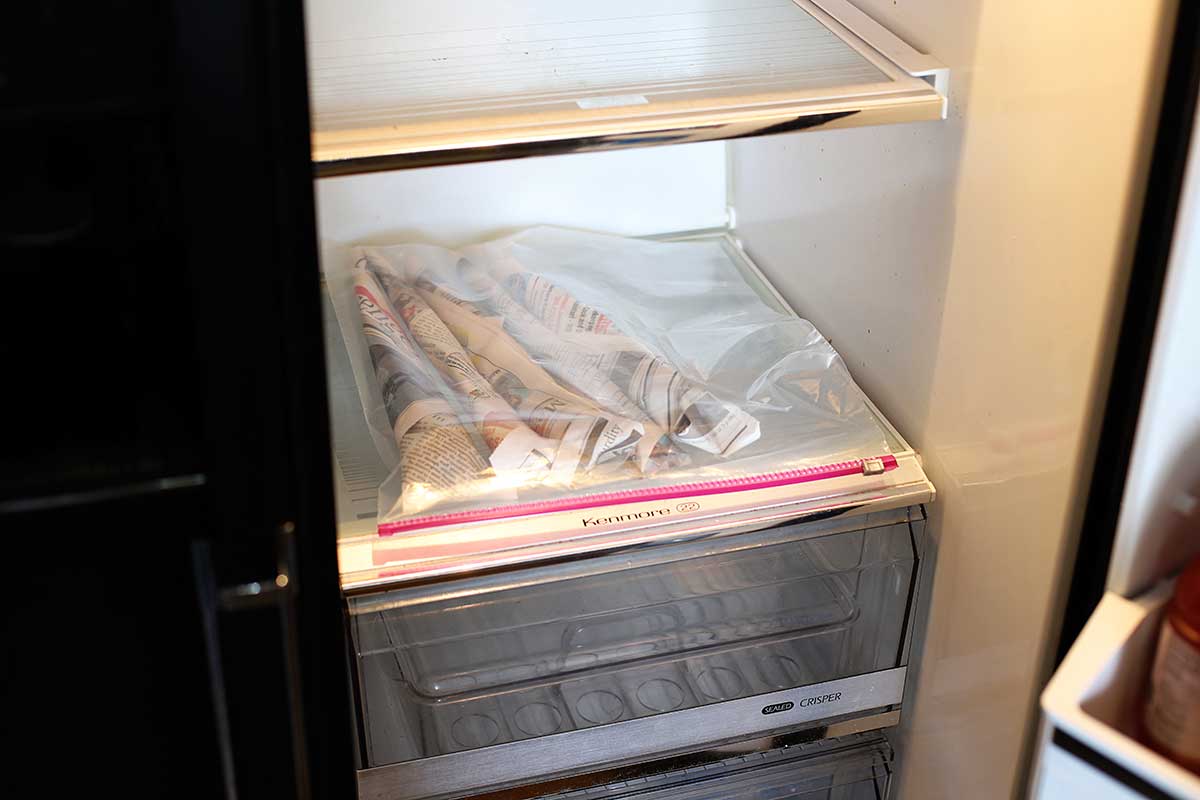
After you've removed your leaves, roll your peony stems in a sheet of newspaper. The newspaper keeps the stems from getting condensation on them from the plastic bags, which you will see in the next step.
Cover the entire stem, bud and all, and tape the newspaper ends down. - Put Wrapped Stems In Plastic Bag
Lay your wrapped peony stems side by side in a jumbo sized food storage bag.
Plastic wrap can be used in a pinch if you are careful to duct tape the wrap together so it doesn't "unstick" itself.
NOTE: Nothing else goes in the bag. Do not put any water or wet paper towels are anything like that. The peonies don't want extra moisture right now.
- Place Bag In Refrigerator
Lay your bag flat in your refrigerator.
If you are refrigerating a lot of stems, you can lay more bags on top of each other, since peony stems aren't THAT heavy. - Bringing Peony Buds Out Of Storage To Enjoy Them
Remove your buds from their wrapping, cut 1-2" off the ends of the stems as the ends will be dried at this point and put the flowers in a vase of room temperature water.
It may take a a day or two for the blooms to start to open up, since the stems need time to warm up from being in the fridge and the buds are once again just starting their opening process.
Frequently Asked Questions:
You can store buds for a few weeks or even up to 3 months in the refrigerator.
Florists who do this on a regular basis can store them for much longer, but they can regulate their temperatures better than we can.
You should cut at least a few extra ones, more than you are actually wanting for your arrangement, to account for any buds that don't open properly.
Even with ones I take straight out of my garden and straight into a vase, there's always a few, that for some reason, don't open all the way.
My How To Grow Peonies - A Complete Guide is a great place to learn more about them.



Julie
Looks like good info but so many ads in your video impossible to watch
Debbi in CT
I have purchased different color peonies from retail stores the past 3 years that I didn't get to plant due to health issues. I can now do it . Do you think they are still viable to plant? They have experienced CT winters sitting on a window sill in a none heated area. but haven't had any water. Actually they are still in their original plastic bags.It is spring time. I can either put them in the ground or in some pots until fall. What do you advise? Thank you
Debbi in CT
MMoore
Hi does this storage method work for Tree Peonies too?
Many thanks,
Michele
Debra Oliver
This is really amazing, and I've never heard of this before. Lucky you to have some lovely blooms!
Marg Johnson
This is a must try! I have never heard of it before.Thank you so much.
Kristine Curtis
Thank you for all the info on peonies. Do you have any suggestions for avoiding powdery mildew on my peonies? Thank you!
Carolyn CarolynDinger
Great information, going to a peony farm later in week. John has been cleaning out a flower bed to put in one or two bushes. He just does not know it yet.🤭
Suzie
Great post. Thank you.