Figuring out what plant arrangements go together in flower containers can be confusing! Let's take the guess work out of container gardening with some gorgeous mixed flower pot ideas to brighten up your summer porch and patio.
I normally pot up at least a few combination planters to give a little pop of color to my front porch and back deck. Sure, you can put just put one type of plant in each flower pot (yawn), but by using a variety of plants in a single pot you can create a little portable garden with loads of texture and color.
I thought I'd give you an idea what I have done in the past, so it might inspire you when getting your containers planted up this year.
BTW, I garden in zone 6a (Central Ohio), but most of these ideas would work pretty much anywhere.
Tips For Planting In Containers
1. More Is Better
Normally when you plant in the ground, you want to pay attention to the spacing requirements for your plants (normally found on the back of the tags that came with the plants). But when you are planting a container you want it to be full and lush and practically decadent. Don't skimp on the plants.
2. Similar Sun And Water Requirements
Pay attention to plant tags. OK, I realize I just told you not to, but the thing you need to keep an eye out for is planting shade plants with other shade plants. Planting full-sun plants with other full-sun plants. Same with water requirements - plants that like moist soil will not be happy with plants that don't like wet feet.
3. Thriller, Filler & Spiller
You generally want to have at least 3 types of plants in each container - a thriller, a filler and a spiller. The thriller is your main plant, a real showstopper and normally a taller vertical plant. It is normally planted in the middle of the pot. The filler is secondary plants to fill up the space and make a complimentary statement to the main attraction. Fillers are normally mounded in shape. And the spiller is something that cascades over the side of the planter to give additional interest and soften the hard edges of the pot.
4. Use Good Soil
I like to use either Miracle Grow Potting Soil With Moisture Control or Espoma Organic Potting Mix. (I've linked to them on Amazon so you can see what the bags look like, but you should be able to find both at your local garden center, grocery store or hardware store). Do not use garden soil or dirt from your backyard to fill the pots as the soil will be too dense and not have adequate drainage for pots. You need light and airy potting soil to allow you plants to easily spread out and root deeply.
5. Make A Plan
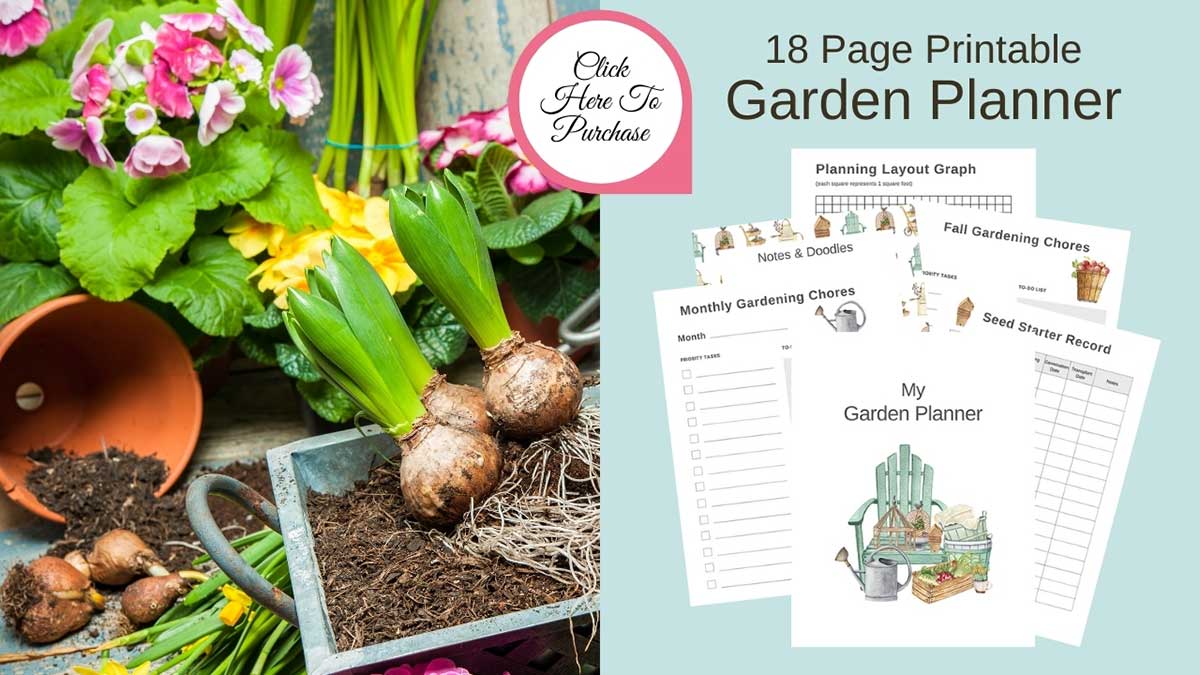
Yes, it's awesome to walk into a garden center and roam from aisle to aisle grabbing whatever looks pretty. Been there, done that. But that's a recipe for buying a whole lot of plants that may or may not work well together in your planters. If you don't want to get home and spend hours scratching your head about what to plant where, it's better to have a plan in place and stick to it when at the store. I like to use a piece of graph paper to draw out my pot designs similar to what's included in my Printable Garden Planner.
And while you're at it, keep in mind where your containers are going to be placed. No sense buying a lot of pretty shade plants if the container is going to sit out in the blazing hot sun most of the day.
Bonus Tip
Plants do occasionally die. Don't take it personally, it happens to even the most experience gardener. If one of your plants in your mixed container garden dies early in the season there's still time to swap out the dead one for a living one. That way you won't have a big gaping hole in your flower pot design.
OK, now onto the main course.
Favorite Mixed Container Garden Ideas
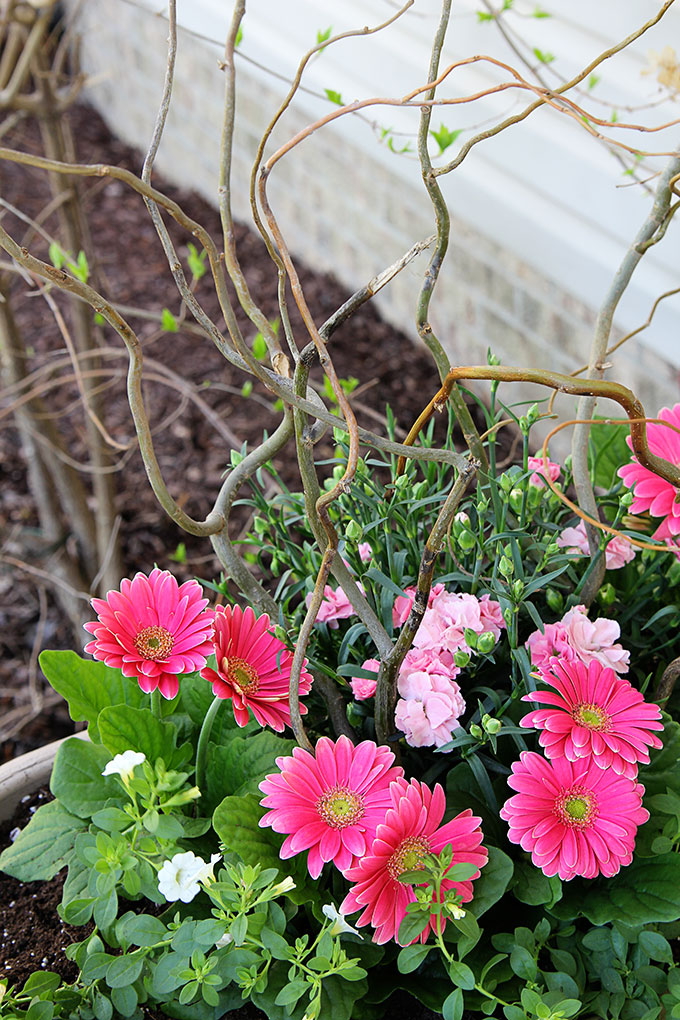
Gerbera Daisy Container Recipe
In my 5 Easy Steps To Beautiful Garden Planters I showed you my Gerbera Daisy combination planter.
With twigs. Because twigs elevate anything.
Plants used:
- 3 White Callie™ Calibrachoa (commonly called million bells)
- 6 Hot pink Jaguar™ Gerbera Daisy
- 1 Light pink Sunflor® Orinoco Dianthus (also known as pinks or carnations)
Which may seem like a lot of flowers to plant in one container, but this is a long planter with plenty of room. For a typical round 12-14" container or urn I would cut the Gerbera Daisies back to 3, maybe 4 if you want to push it.
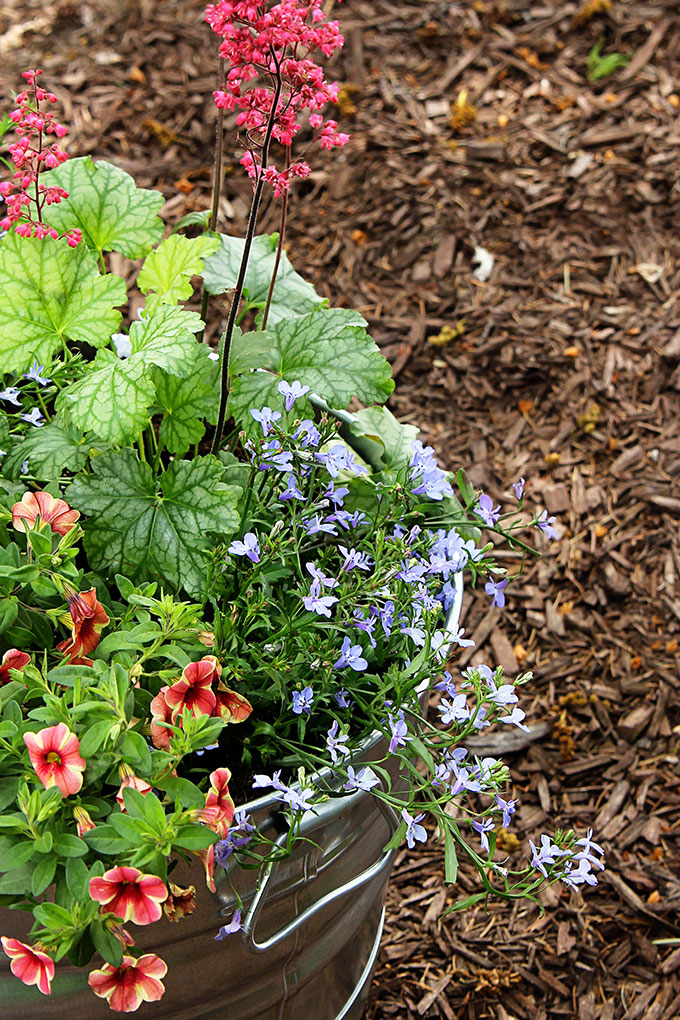
Colorful Coral Bells Container Recipe
Another variety of Calibrachoa is the star in my Container Gardening Made Easy post, where I also show you how I prepare my galvanized tubs to become planters.
Plants used:
- 1 Paris Heuchera (also known as Coral Bells) with deep rose-pink spikes and colorful foliage
- 2 Lavender colored Techno® Heat Lobelia
- 3 Aloha Kona Calibrachoa (commonly called million bells) I'm not 100% sure of the name of the color but it's a gorgeous cherry red rimmed with yellow
The lobelia I used was a Techno® Heat variety that holds up well all summer long, as opposed to the old-school varieties that used to barely limp along by July and August.
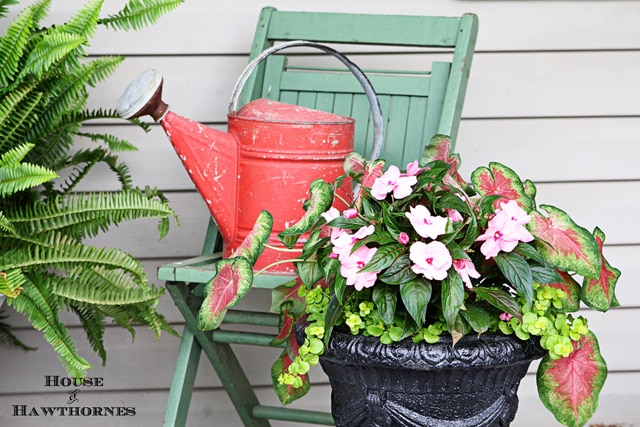
New Guinea Impatiens Container Recipe
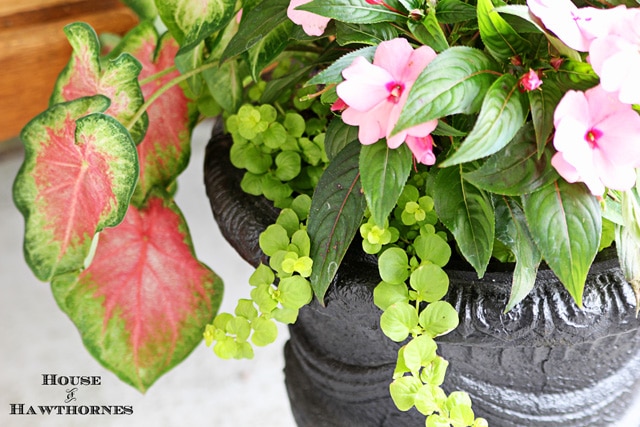
A gorgeous pink option for a partially shaded area is the super colorful New Guinea Impatiens Combo Planter.
The New Guinea impatiens can handle MUCH more sun than typical impatiens can, so feel free to try this one in an area that gets sun most of the day with just some afternoon shade.
Plants used:
- 1 Heat To Heart® Rose Glow Caladium
- 1 large hot pink New Guinea Impatiens
- 2 chartreuse green Creeping Jenny (Lysimachia)
A note about creeping Jenny. They can become a little invasive if planted in the ground, so I only use it in planters and even then try to keep it from trailing off into the flower beds.
Canna And Supertunia Container Planter
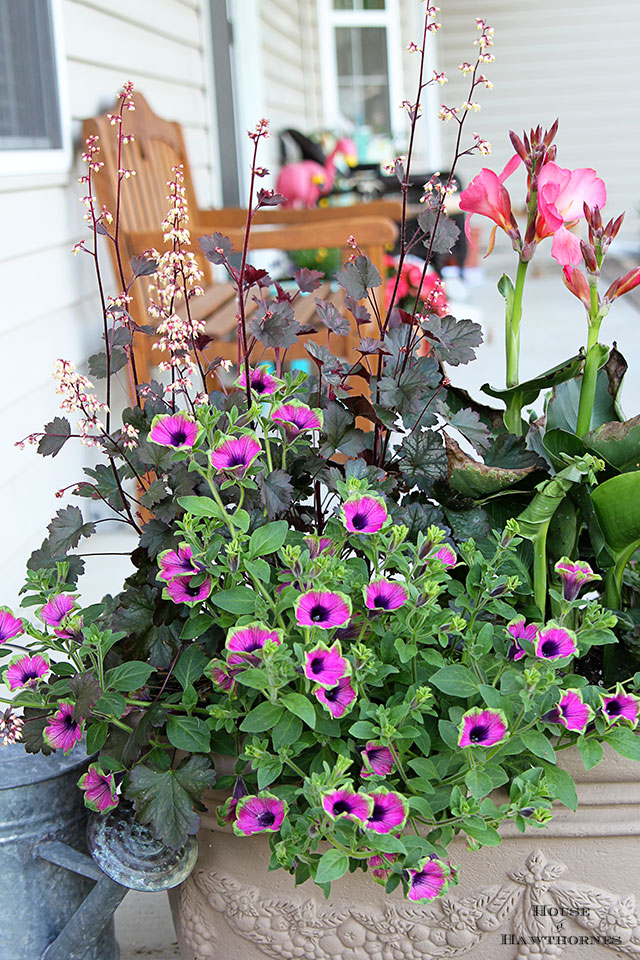
In my Summer Planter On Steroids article I show you how I mixed the tall and stately canna with supertunias and coral bells.
Plants used:
- 1 Tropical Rose Canna
- 2 Chartreuse and violet purple Supertunia® Pretty Much Picasso
- 2 Harvest Burgundy™ Coral Bells (also known as Heuchera)
Honestly, this was the first time I had ever planted a canna and I was surprised at how well I liked it. The plant branched out beautifully over the summer, added GORGEOUS color to the pot and was a repeat bloomer throughout the entire season.
Sweet Potato Vine and Supertunia Container Planter
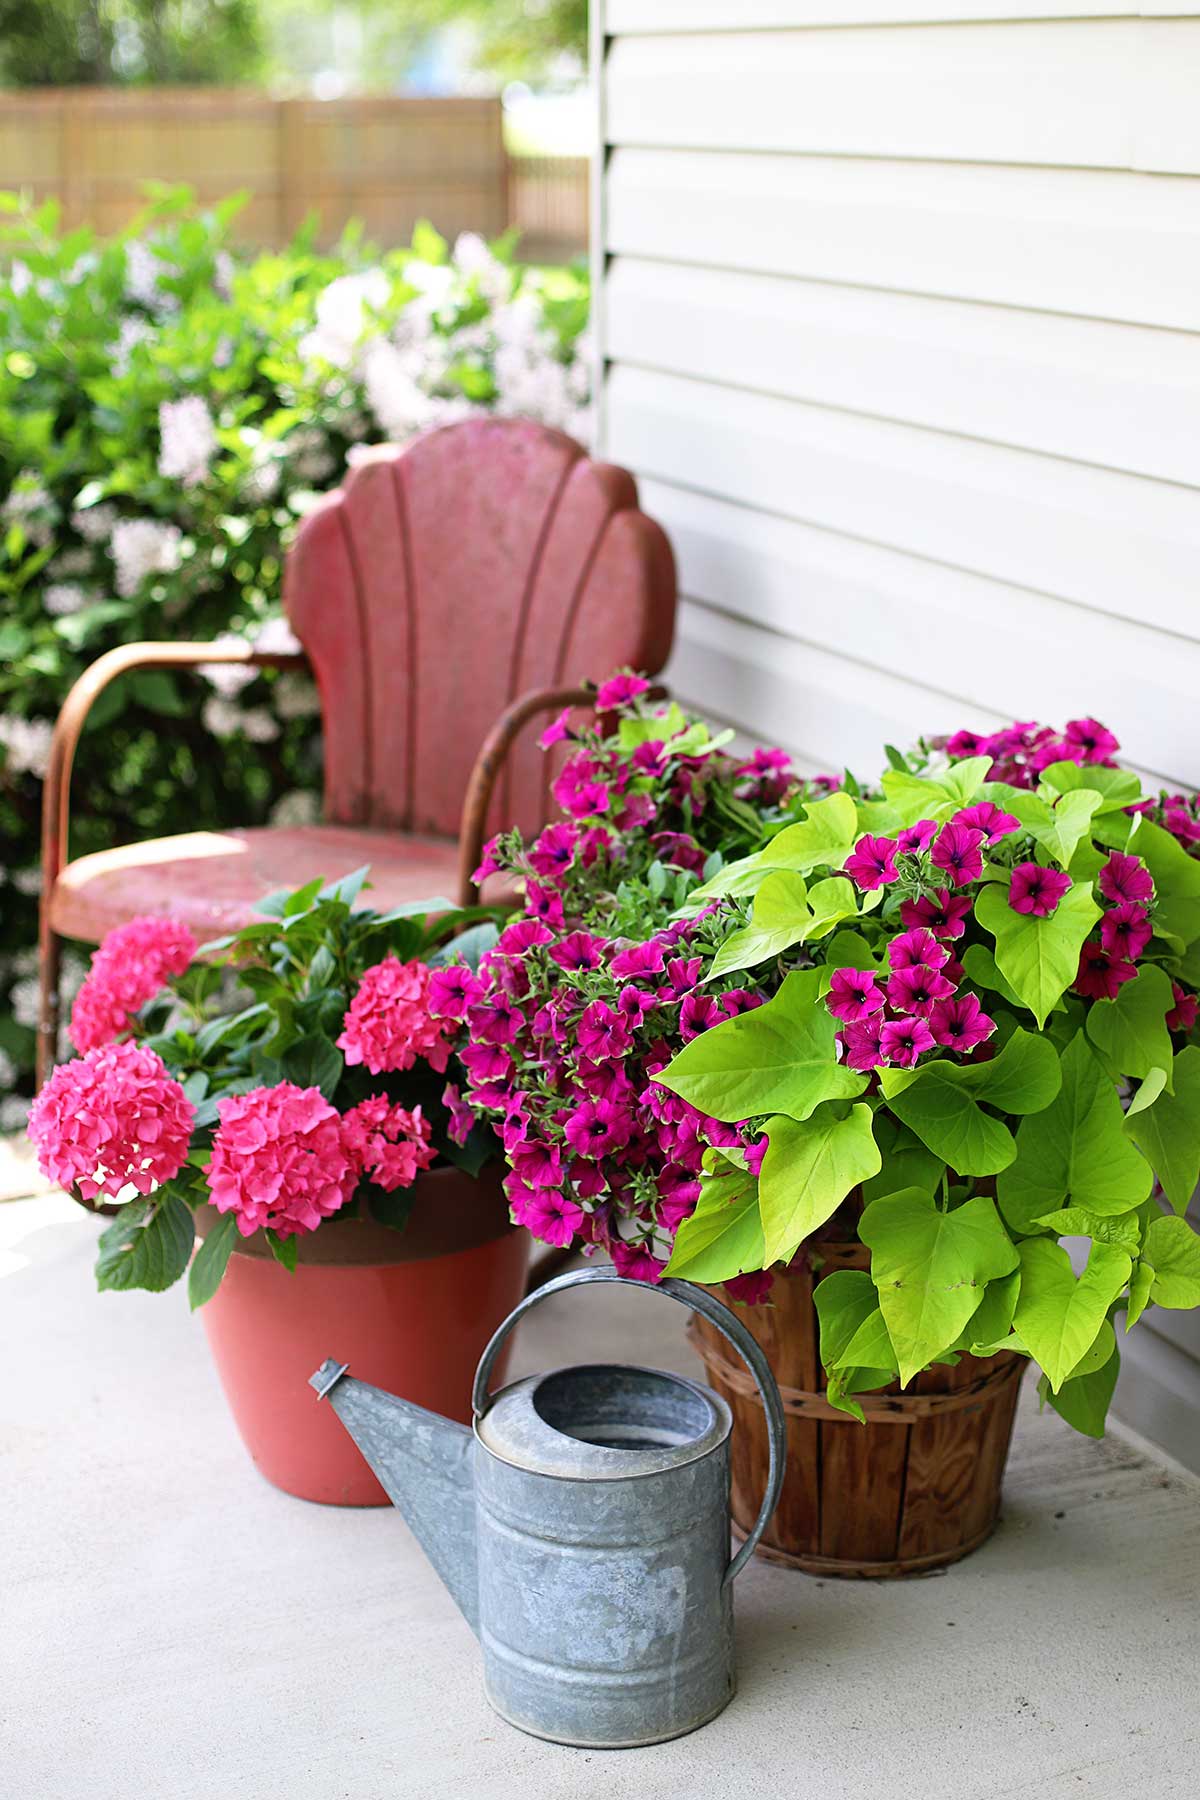
This one is new for 2021, mixing the BRIGHT chartreuse color of a sweet potato vine with the coordinating lovely colors of Supertunia.
Both of these two plants just grow like crazy. In a good way. By the end of the summer they both will be trailing down onto the porch deck.
Plants used:
- 4 Supertunia® Picasso In Purple®
- 2 chartreuse Proven Accents® Margarita Sweet Potato Vine
The potted hydrangea beside it is a Hydrangea Lime Lovebird. It is supposed to rebloom prolifically from summer through fall, so we'll see. So far I know it does like to drink up the water quickly and will start to wilt at the first sign of dryness. Although it does bounce right back after watering.
If you're interested in growing hydrangea in pots I wrote a whole entire article on How To Grow Hydrangea In Pots a few years ago. Lots of tips on planting them and how to over-winter them in colder climates.
Gomphrena Container Recipe
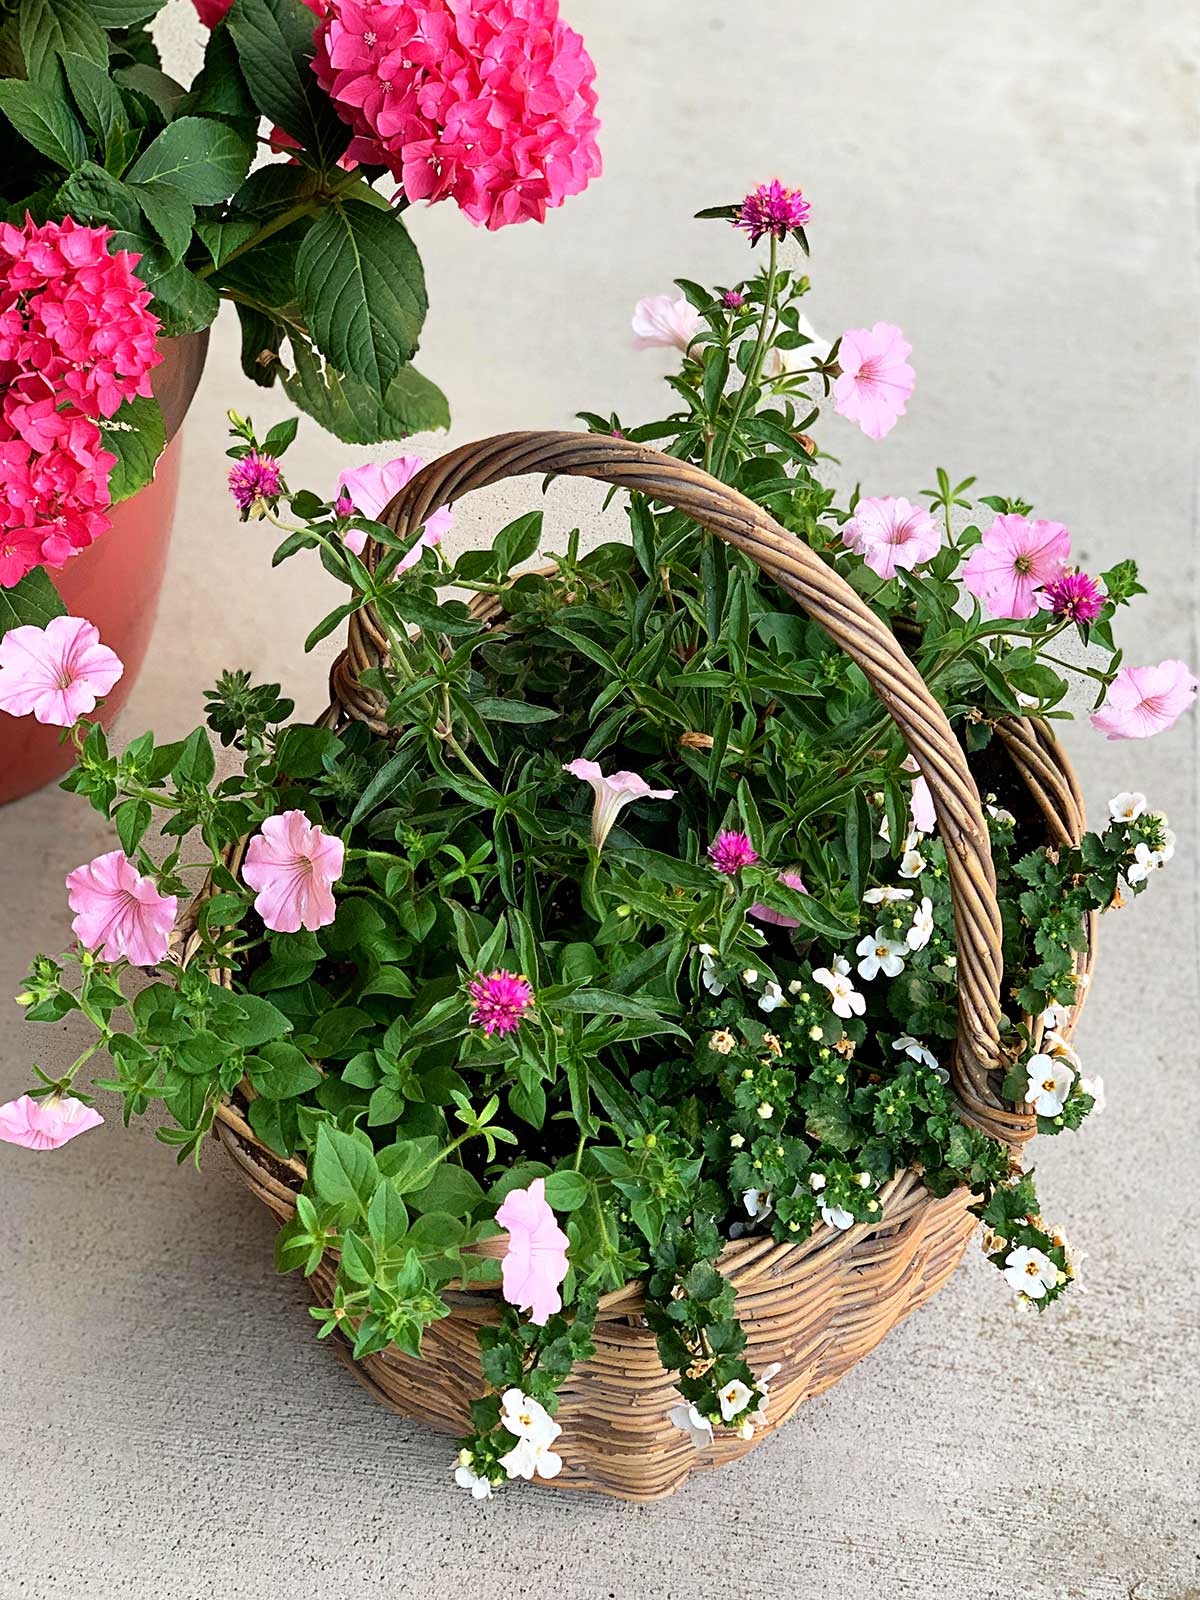
Another new one for 2021 is this basket planter full of pink and white wonderfulness.
Plants used:
- 1 Truffula™ Pink Globe Amaranth in the middle (aka Gomphrena)
- 2 Supertunia® Vista Bubblegum
- 2 Snowstorm® Snow Globe® Bacopa
- 1 Blue My Mind® Dwarf Morning Glory
Whenever I find a nice sturdy basket at the thrift stores I pick them up to use as planters. If you aren't aware, thrift stores are where baskets go to die. You can find them in all shapes and sizes for anywhere from 25 cents to $2.00 a piece.
I prefer the ones with handles so they can be easily moved about.
To keep the dirt from constantly falling out of the baskets, I line them with a small plastic trash bag. I will cut a few small holes in the bottom of the plastic bag for drainage, then simply add the potting soil. Your soil stays put, but the "pot" can still have adequate drainage.
Geranium Grouping
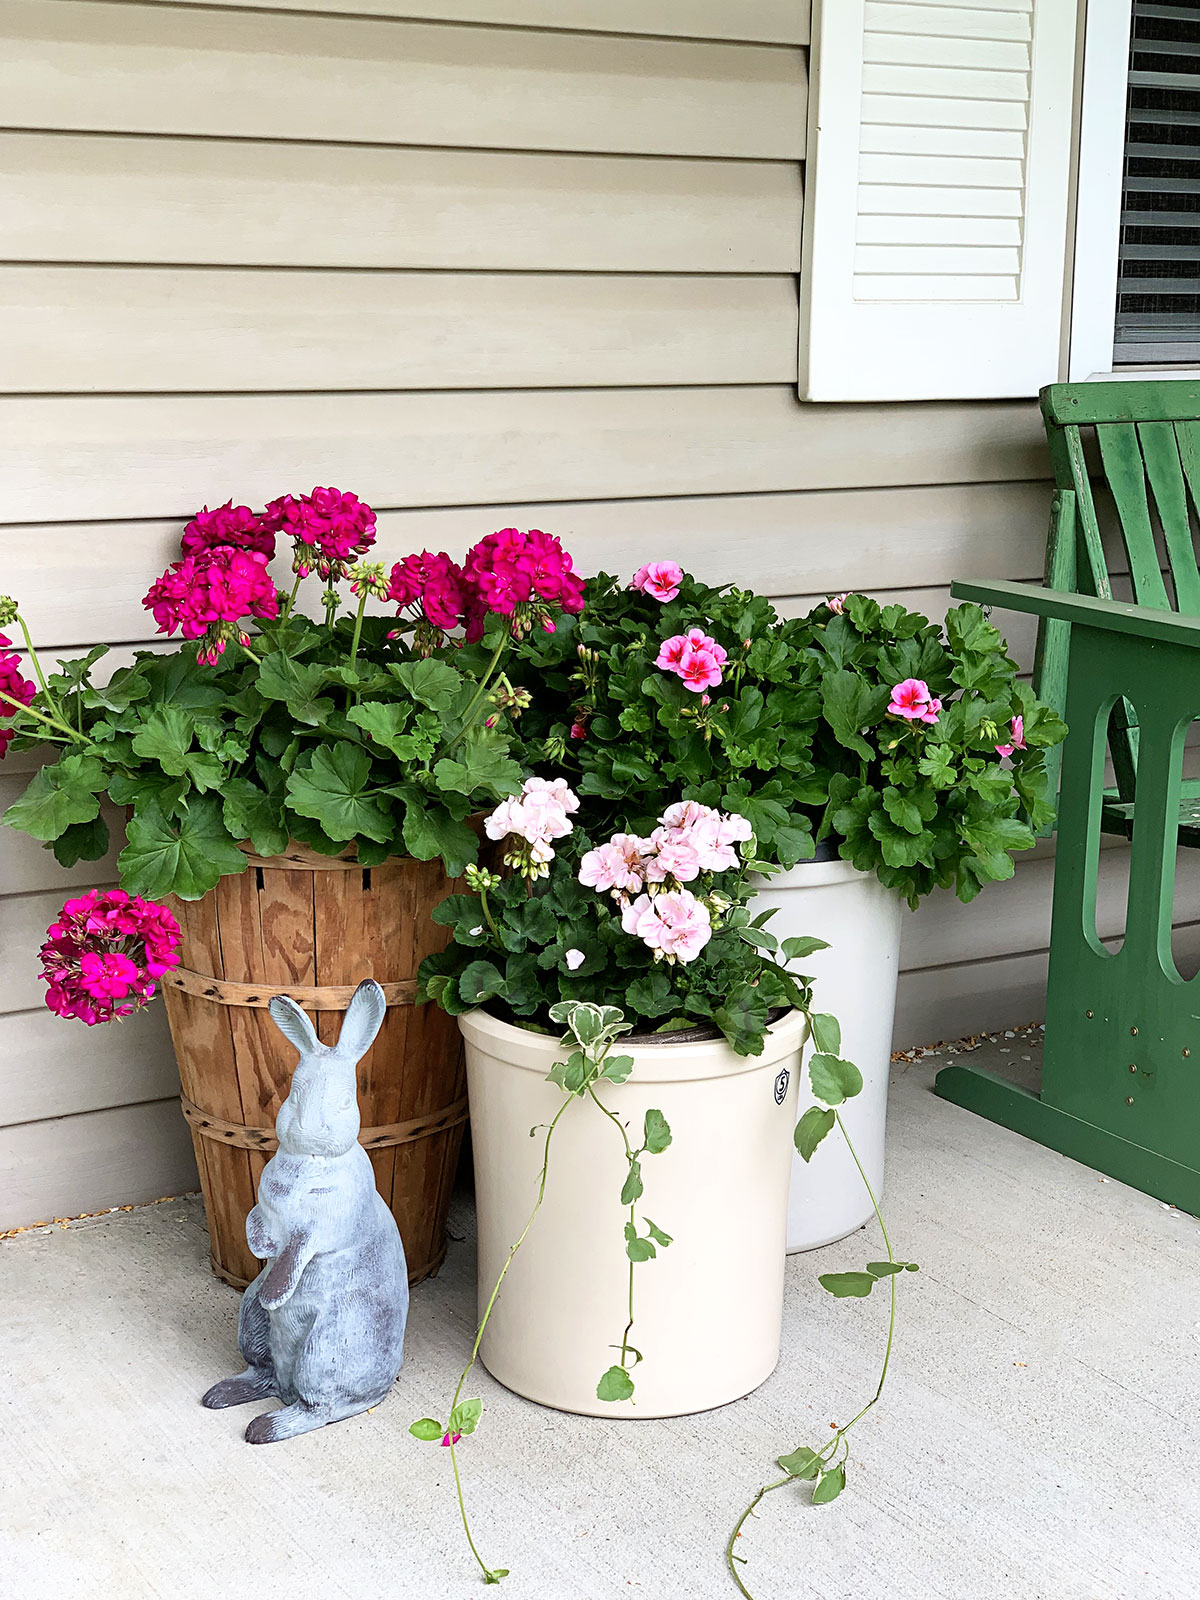
As an added bonus, even though it's not a container planter per se, you can't go wrong with a strong geranium grouping.
Two crocks and a peach basket loaded with geraniums in various shades of pink make for casual summer porch decor.
No fuss, no muss and a lots of color!
Plants used:
- Geranium
- Geranium
- And you guessed it, geranium
Actually, these are all pre-planted store bought pots of geraniums just tucked into the crocks and peach basket. They put on a much better show than if I would have planted them myself.
What's your favorite flower combinations for planters?


Priscilla Niceley
Pam, I just came across your Favorite Plant Combination article (4.13.22). It's just wonderful. I, too, live in Central Ohio (Blacklick). I'm wondering if you truly shop Lowes? Do you frequent other nurseries? Also, are you planning to publish any new favorite plant combinations for '22? Do you garden on your own or go to any gardening groups? You're inspiring. Sorry for all the questions.
I'm planning to move my little container garden to a back part of my yard. I have many nice clay pots and will incorporate some baskets as you've shown. My dear friend just purchased a couple antique benches for me to use to tier the look. This endeavor is new. I always do annuals and focused on thrill, fill, spill starting last year. You take it all to a new level.
Thank you so much.
Paulette
This was very helpful! I've never thought think to combine what would be perennials in our zone with what are annuals. In my mind, perennials go in the ground while annuals go in pots. But why not mix them together in a container? Thanks for the inspiration!
Diane
Love all the combinations Pam! Gorgeous! Once again, thank you for such timely information. Haven't gone out to purchase any flowers yet, but now I'm most inspired!
Carol
Great pointers. They are all lush and healthy looking.
Jo-Anne
Thank you for this! I'm definitely a visual learner, so I find picking plants for my planters difficult because I want to see what they all look like together beforehand. I love the sweet potato vine and supertunia combination with the additional hydrangea next to it.
Donna
Loved browsing these combos. Thanks!!