

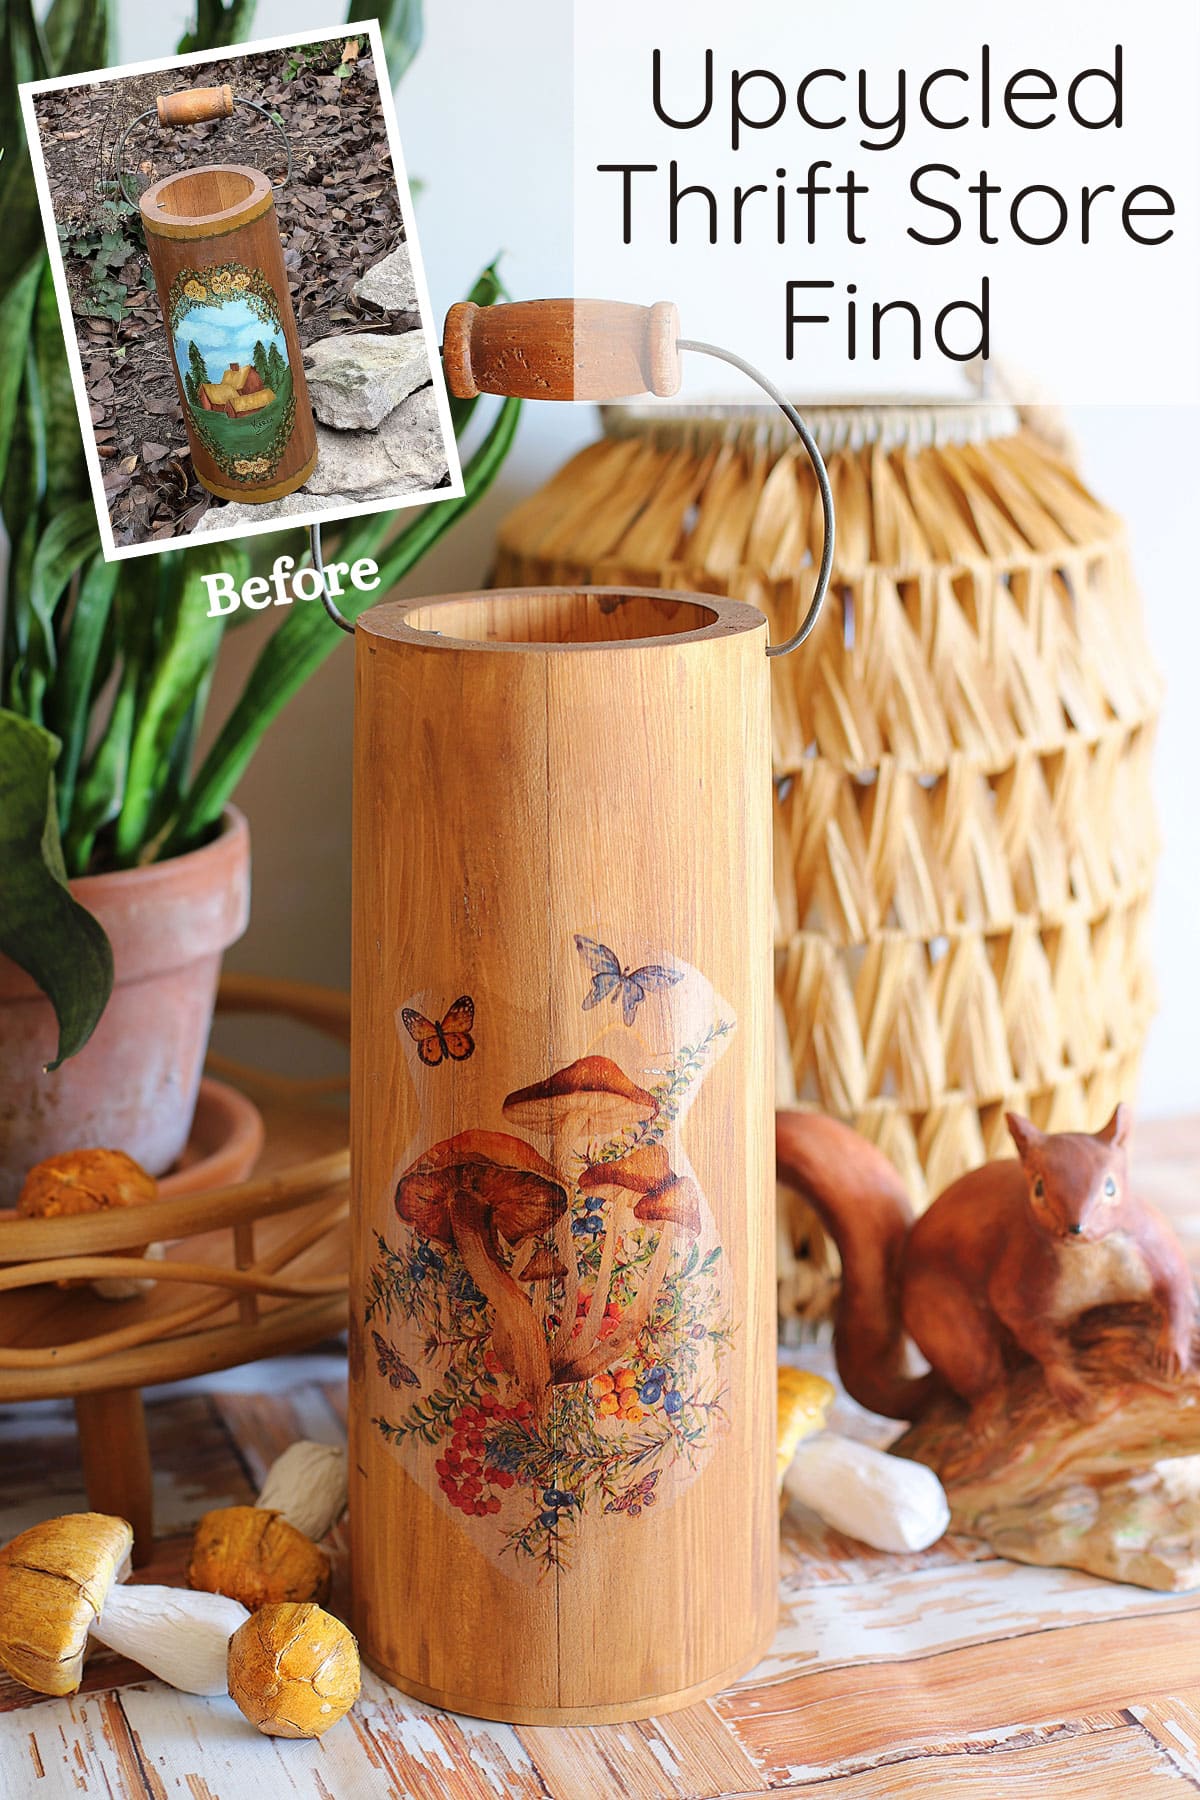
I found this wooden bucket at the thrift store. It was only $1.99 which made it ripe for a makeover.
I'm not sure exactly what you call this. It's similar to a firkin or even a wooden ice cream churn bucket, but it's really a lot more narrow than both of those things (roughly 12" x 5").
And there's no spout for it to hang on a tree, so don't think it was a sap bucket.
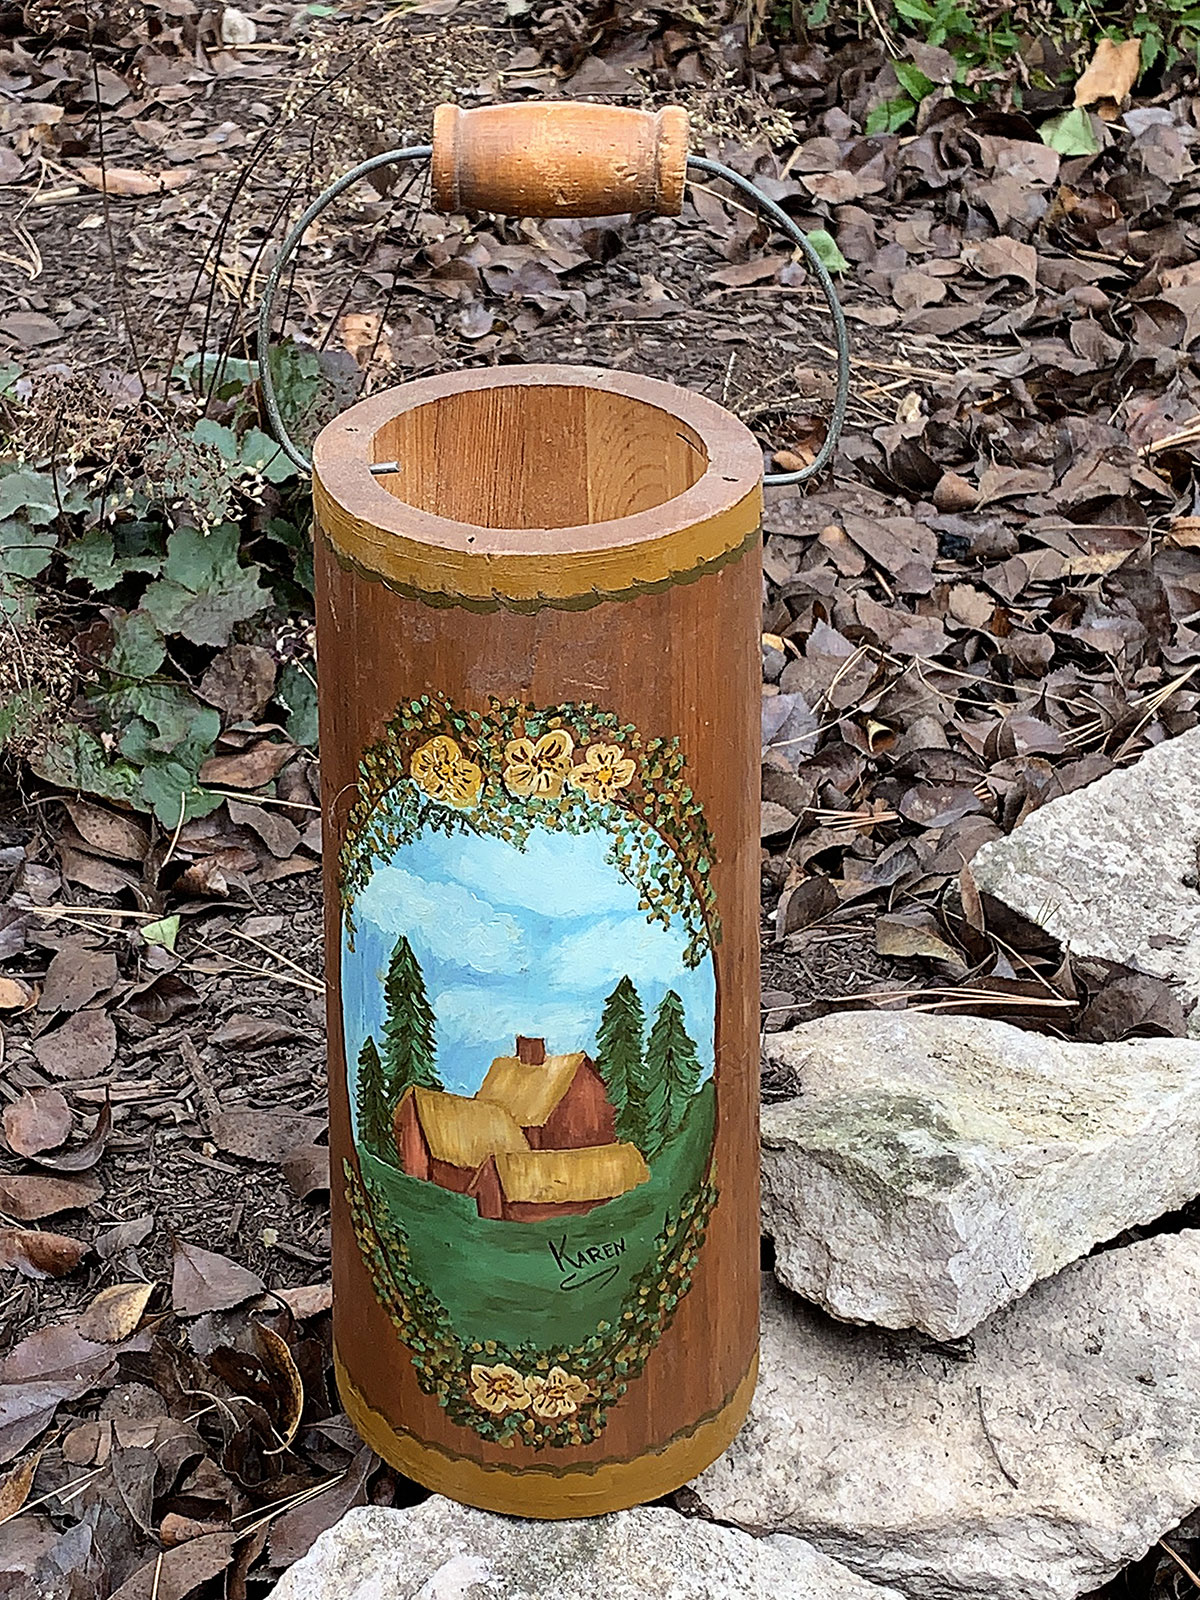
Whatever it started out life as I'm just going to call it a wooden bucket from now on to make things easier.
These instructions would work for any of the 5,000 wooden decor pieces you run across at the thrift store. Decorative cutting boards, wooden mail holders, and signs with Live, Love, Laugh written on them. Just about anything.
Oh look, there's another scene on the backside.
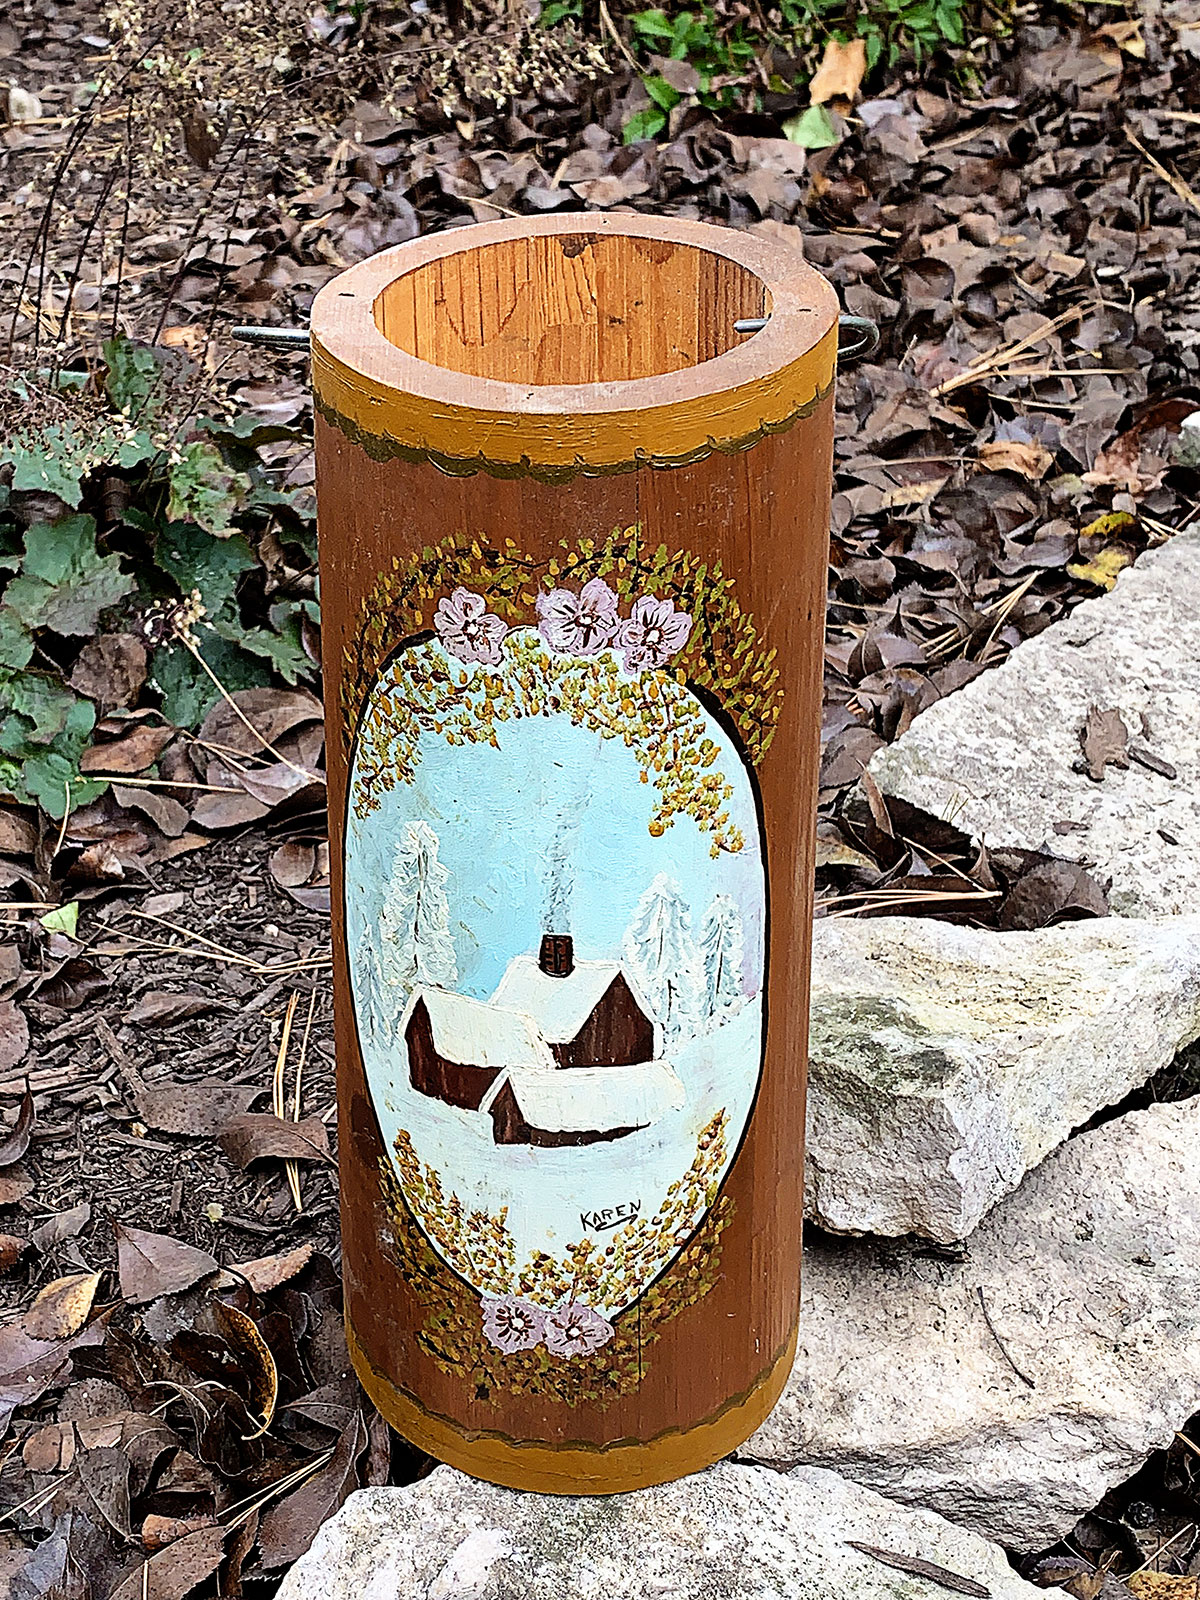
Yep, Karen painted both sides.
Not sure if she would agree, but it needed an update. Karen if you're reading this, please forgive me for what I'm about to do.
✨ BTW, today is Thrift Store Decor Wednesday, so make sure you hang around to the end of the post to see the rest of the team's thrift store repurposes for the month!
Table Of Contents
How To Enhance Wooden Decor With DIY Waterslide Decals
Safety Gear
If you are going to sand old artwork off your wooden bucket or take it down to bare wood, you should use proper safety gear.
- Eye Protection if sanding
- Gloves if sanding (do what I say, not what I do)
- A respirator-type mask since you never really know how old the paint on vintage items is
(This post contains some affiliate links for your convenience. You can read my full disclosure policy here.)
Supplies
- Old wooden bucket or really any old wooden item from the thrift store
- Sanding Block or handheld electric sander
- Inkjet Printer or Laser Printer (this is similar to the compact inkjet printer I use)
- CLEAR Waterslide Paper for INKJET Printers or CLEAR Waterslide Paper for LASER Printers depending on the type of printer you have
- Clear Acrylic Spray Sealer if using an inkjet printer
- Wood Stain*
- Scissors
- Sponge Painting Brush
- Paper Towels
- Shallow Bowl
- Roughly 2 Cups of Warm Water
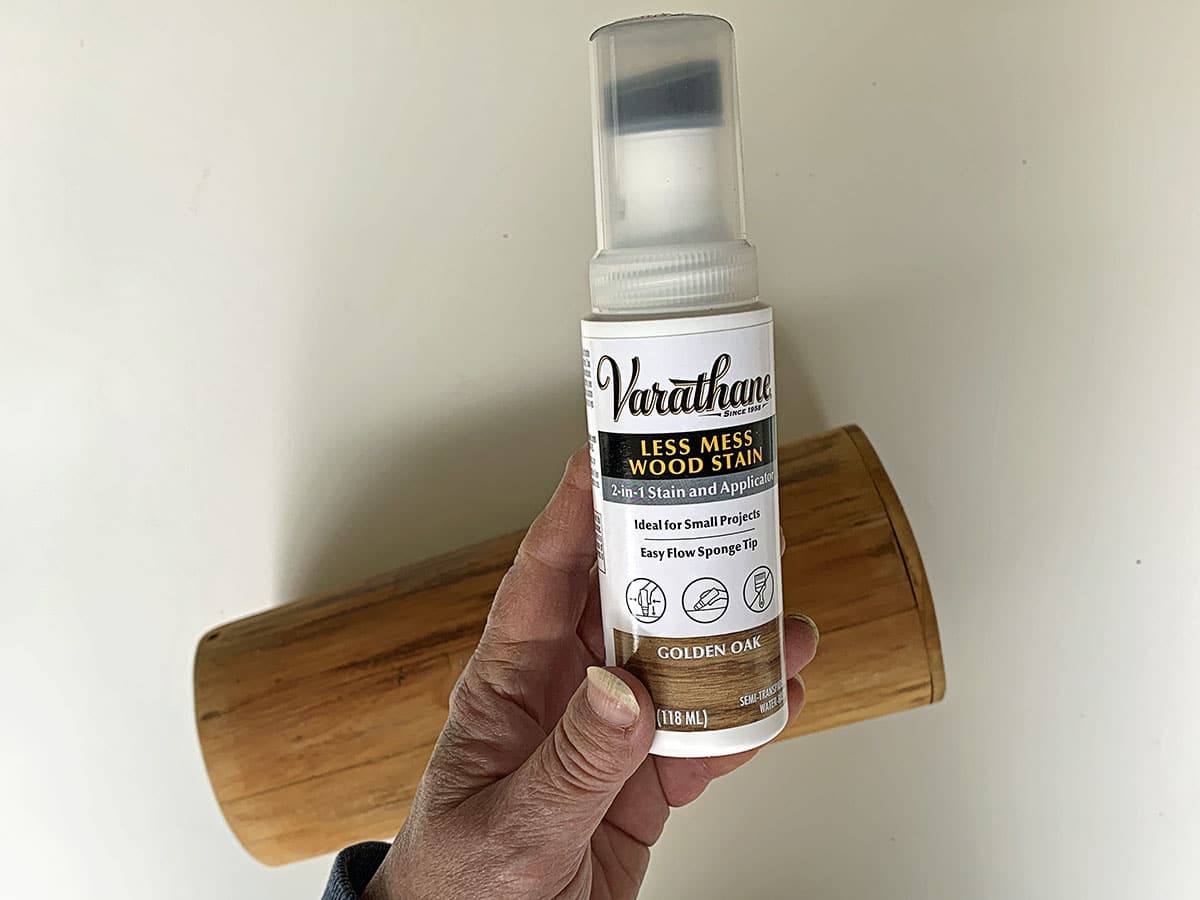
*I used Varathane's Less Mess Wood Stain with the sponge applicator top in the color Golden Oak. VERY easy to use and I love the color! It's a water-based stain so it was a super easy cleanup too.
How To Prepare Your Wooden Decor Piece
Before using the waterslide decals I needed to get rid of Karen's artwork. I decided to sand it rather than just paint over it because I was sort of digging the natural wood look of the piece.
And besides, if I just painted over top of the design it would have lots of bumps in the finished paint due to that style of painting. Tole painting?
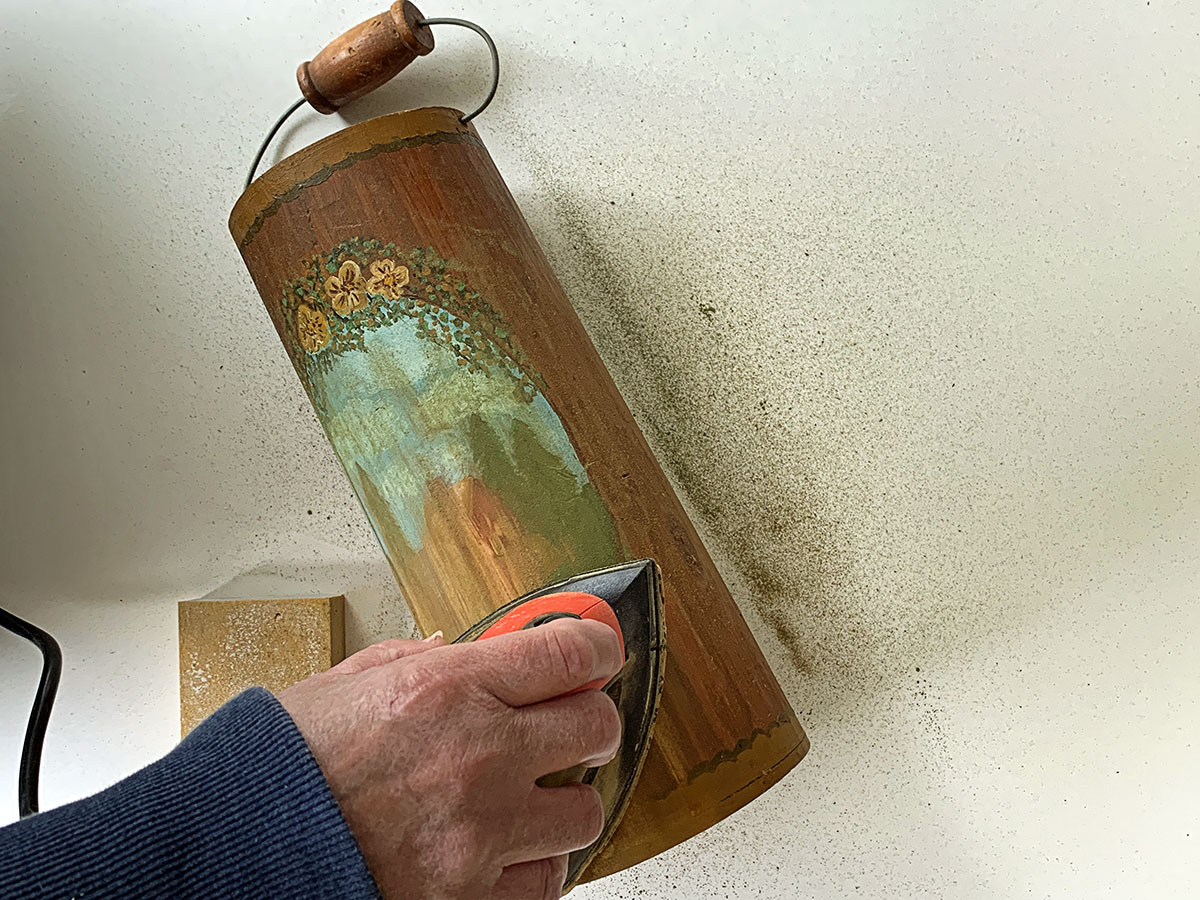
So I used my Black And Decker Mouse Sander with 120 grit sandpaper. I've had my sander for probably 20 years, but they have similar updated ones on Amazon that even have dust collectors on them. And I really could have used a dust collector by the time I was done.
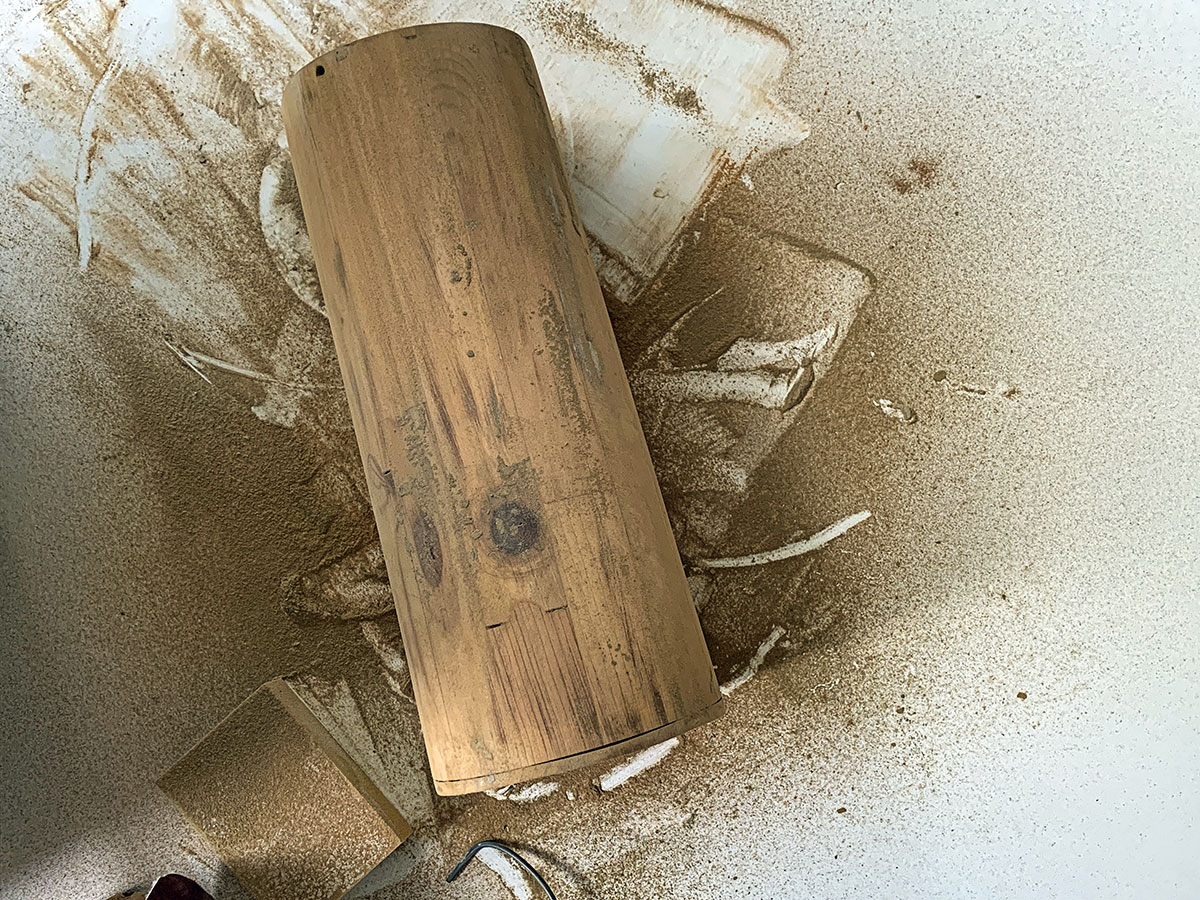
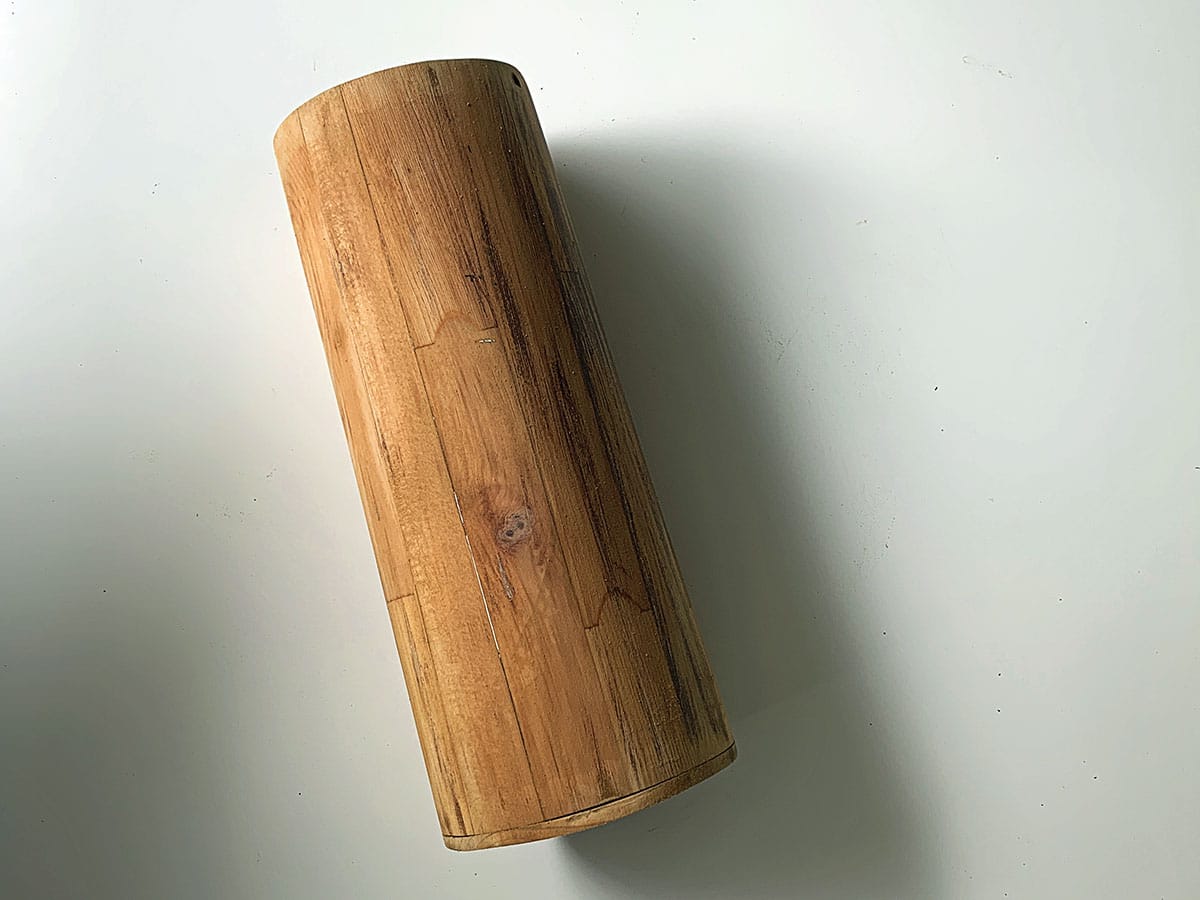
I wiped off all the dust with a damp paper towel and was left with a very plain, but quite pretty, wooden piece.
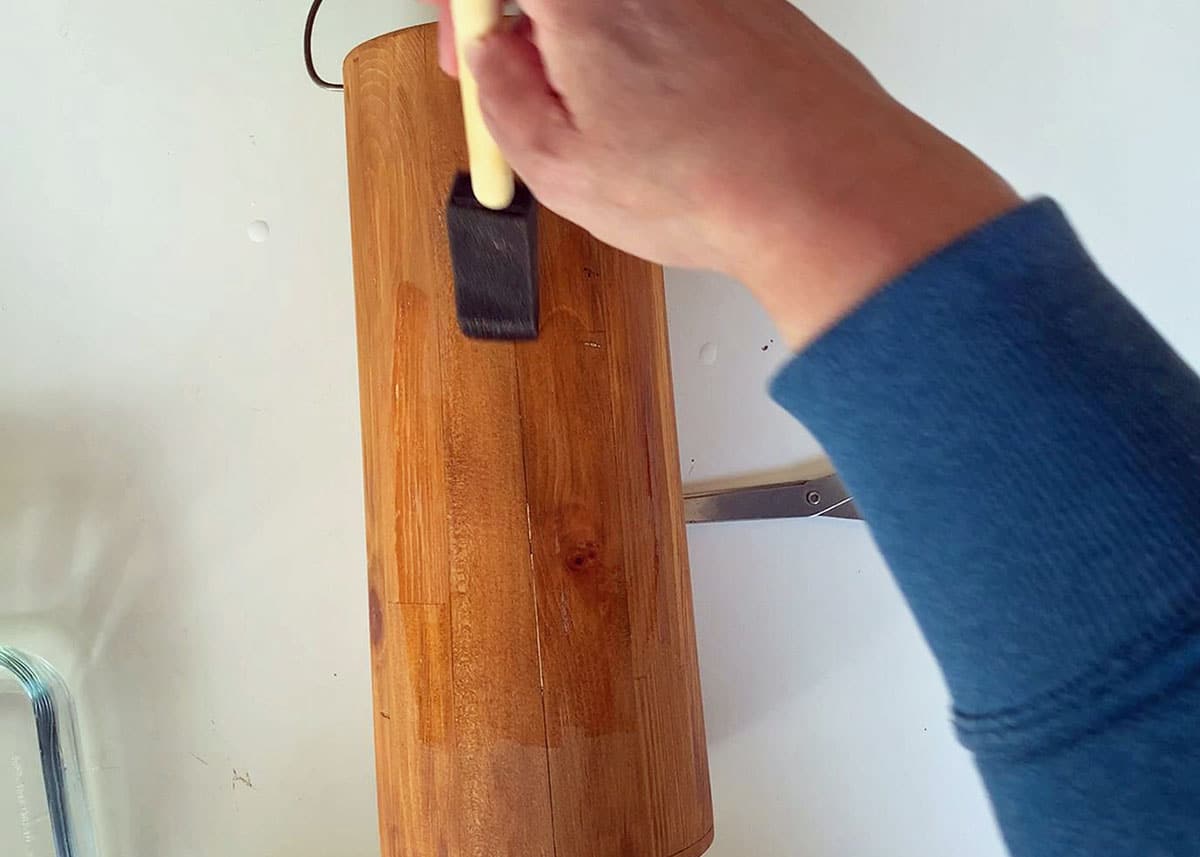
I applied the stain to the wooden surface and wiped it down with a paper towel after a few minutes to grab any excess stain. If needed, you can add a second coat after 2 hours of drying time.
I was very happy with the very light blondish color after one coat so I did not add a second one. The finished color reminds me of my bowls in the How To Bleached Wooden Bowls project.
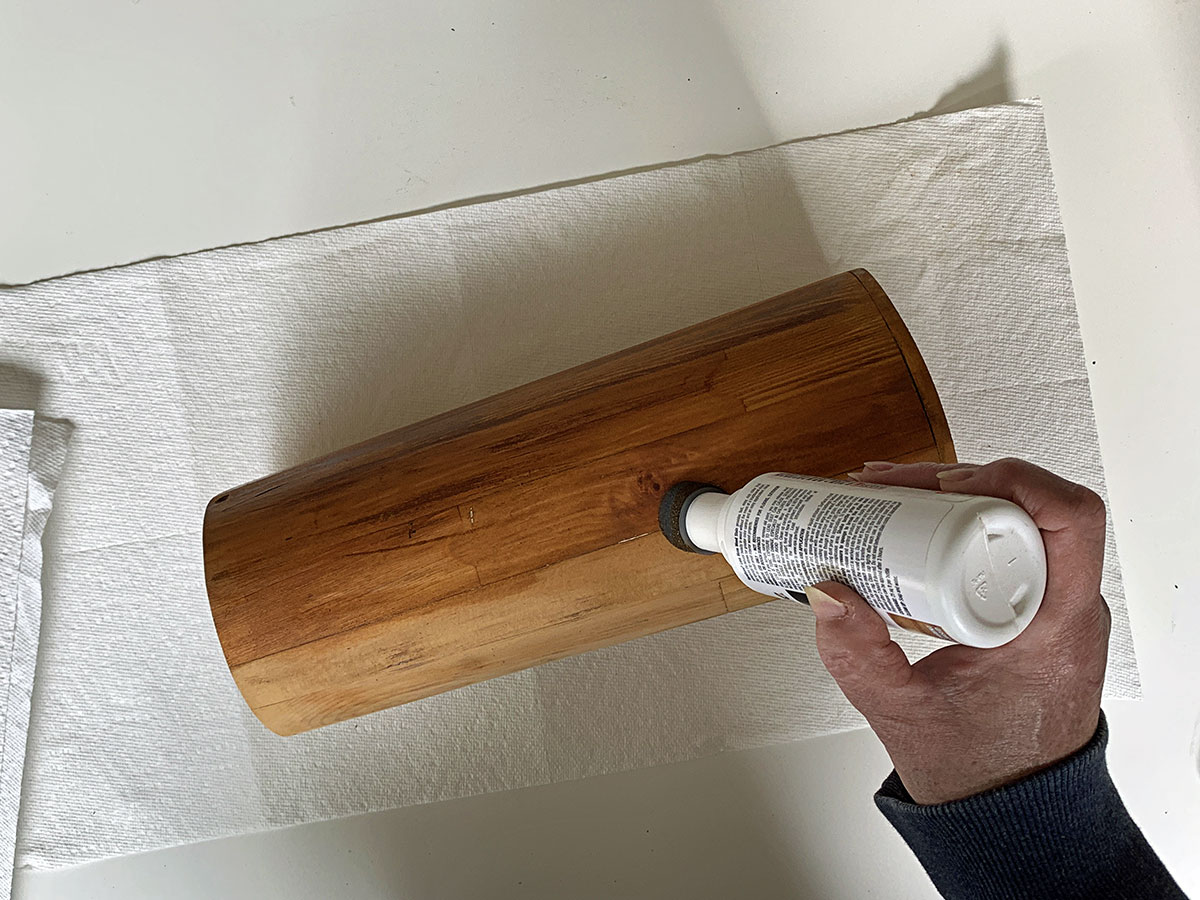
I hate to go on and on about stains, but the sponge applicator top on this little bottle of wood stain was Heaven! It made the job so easy and was so much less messy than traditional stain.
I give it two thumbs up!
How To Make Your Own Waterslide Decals
Create your design using Canva, Picmonkey, or any other program you prefer.
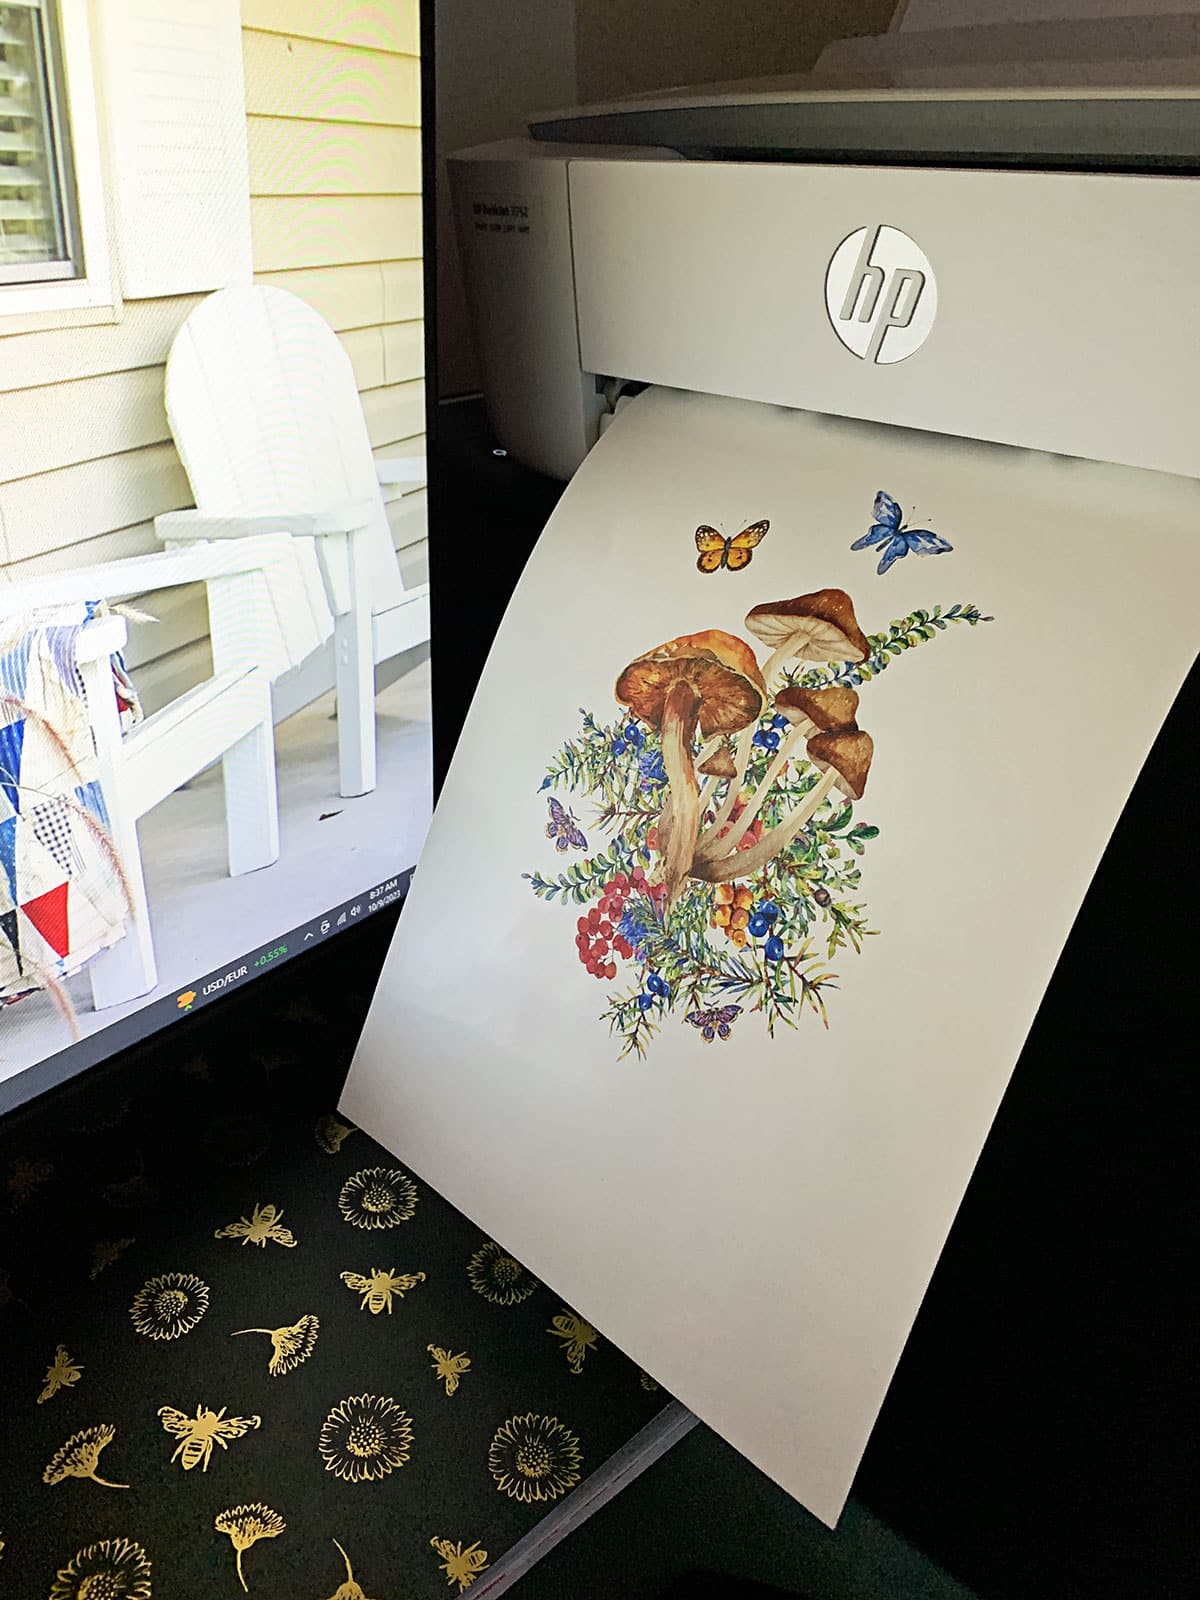
Print out your design making sure you are printing on the shiny side of the paper. The side that feels a little rough like normal paper is actually the back side and not where you want to print.
If you are using an inkjet printer let the ink dry for at least 15 minutes. Do not touch the ink even after it's dried because it is easily smudged.
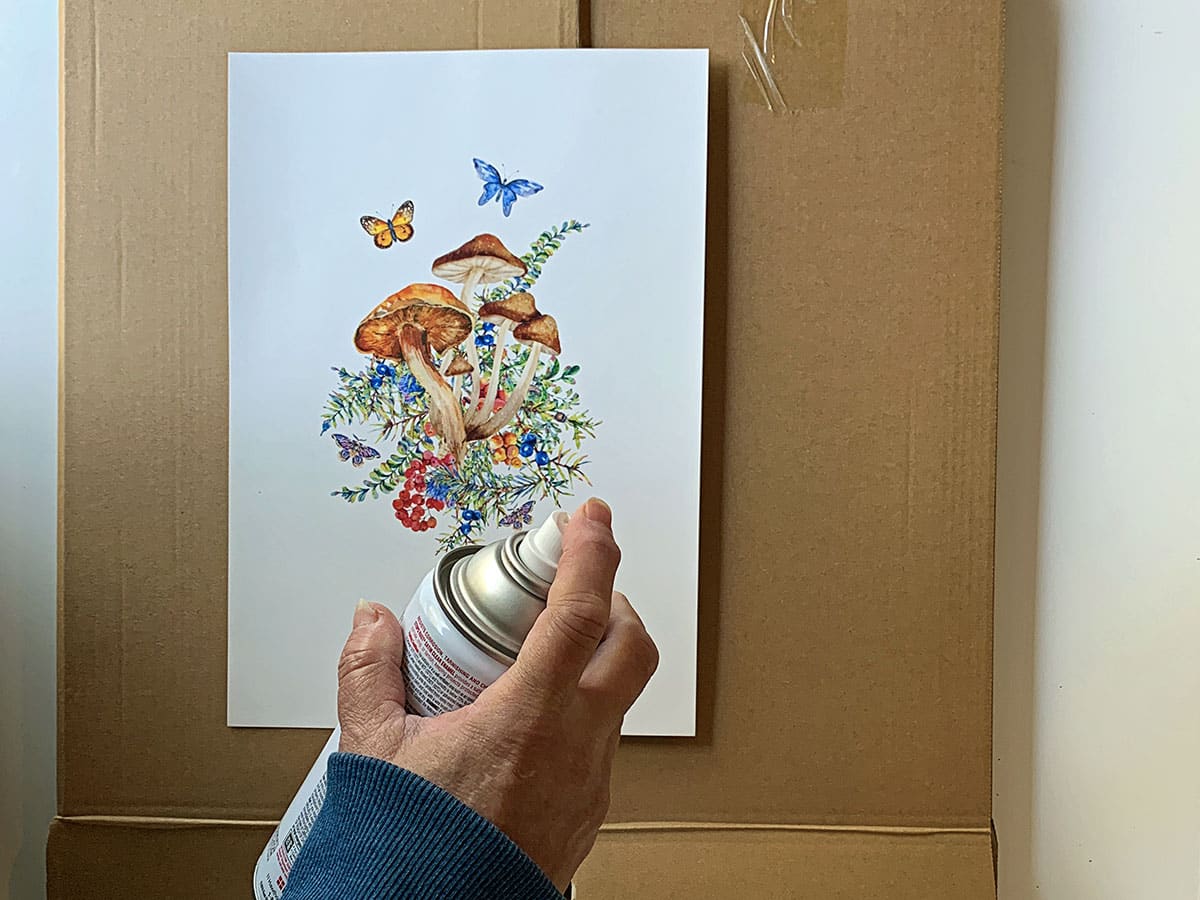
After the 15-minute ink drying time you want to spray the page with 3 light coats of your acrylic sealer allowing it to dry for 30 minutes between each coat.
After the 3rd coat is dried (30 minutes after spraying it) you can go on to the next step).
The sealer sets the ink so it will not run when you submerge it in water. Otherwise, the ink just sets on top of the glossy paper.
If you are using a laser jet printer with laser jet decal paper you do not have to seal it.
Then you just need to cut out around your design and you are ready to start applying the decal.
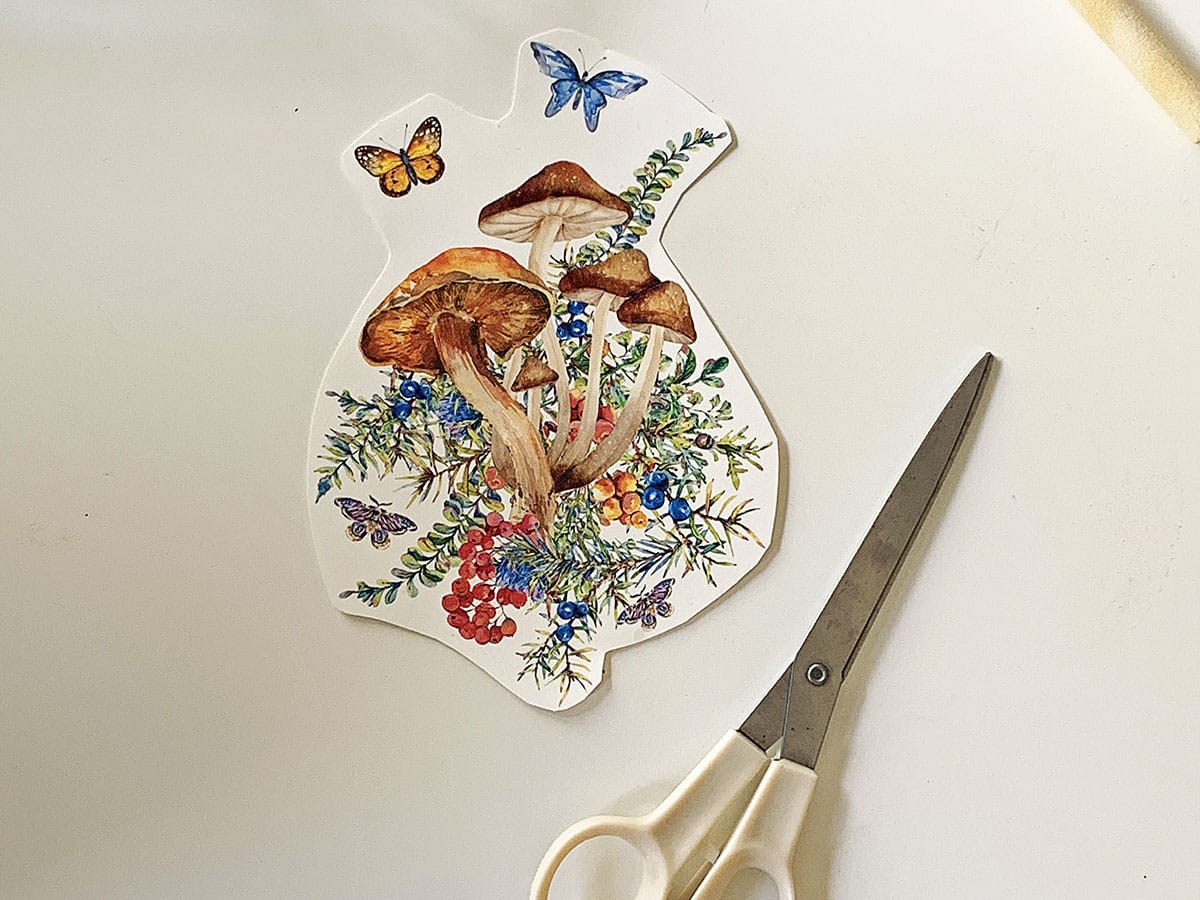
When cutting it out you want to roughly follow the shape of the design staying within ½ - 1 inch from the edges of the ink. But you do not have to cut around each little leaf, berry, and butterfly.
Applying Your Decal
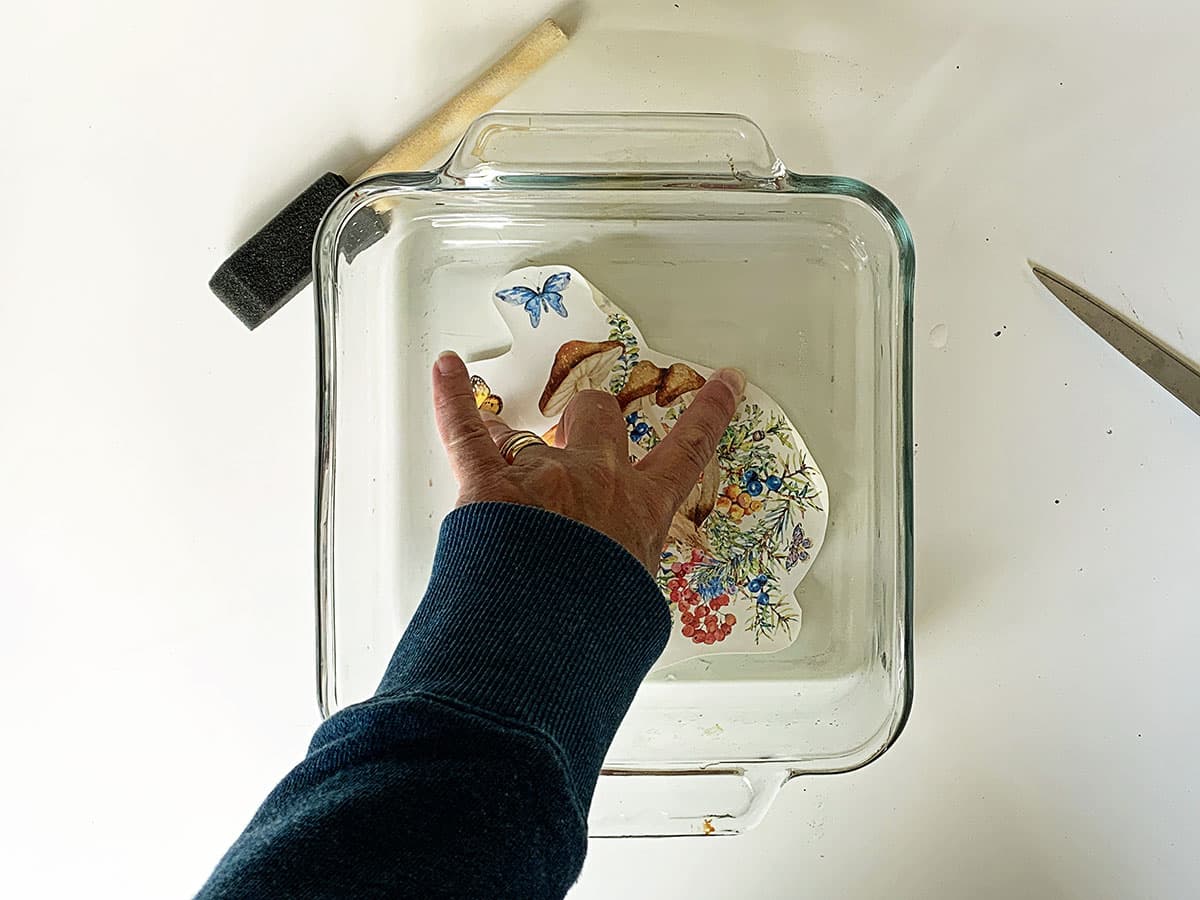
Submerge your waterslide decal in a shallow bowl of water. You need just enough water to fully cover the decal, so no more than 2 cups should do.
Hold the decal down in the water for 30-45 seconds keeping it as flat as you can. The edges will want to curl up on themselves, so you're going to have to manually help it stay flat.
Using the sponge paintbrush brush on a light layer of water where the decal will sit. This helps the decal to be able to be easily repositioned if needed.
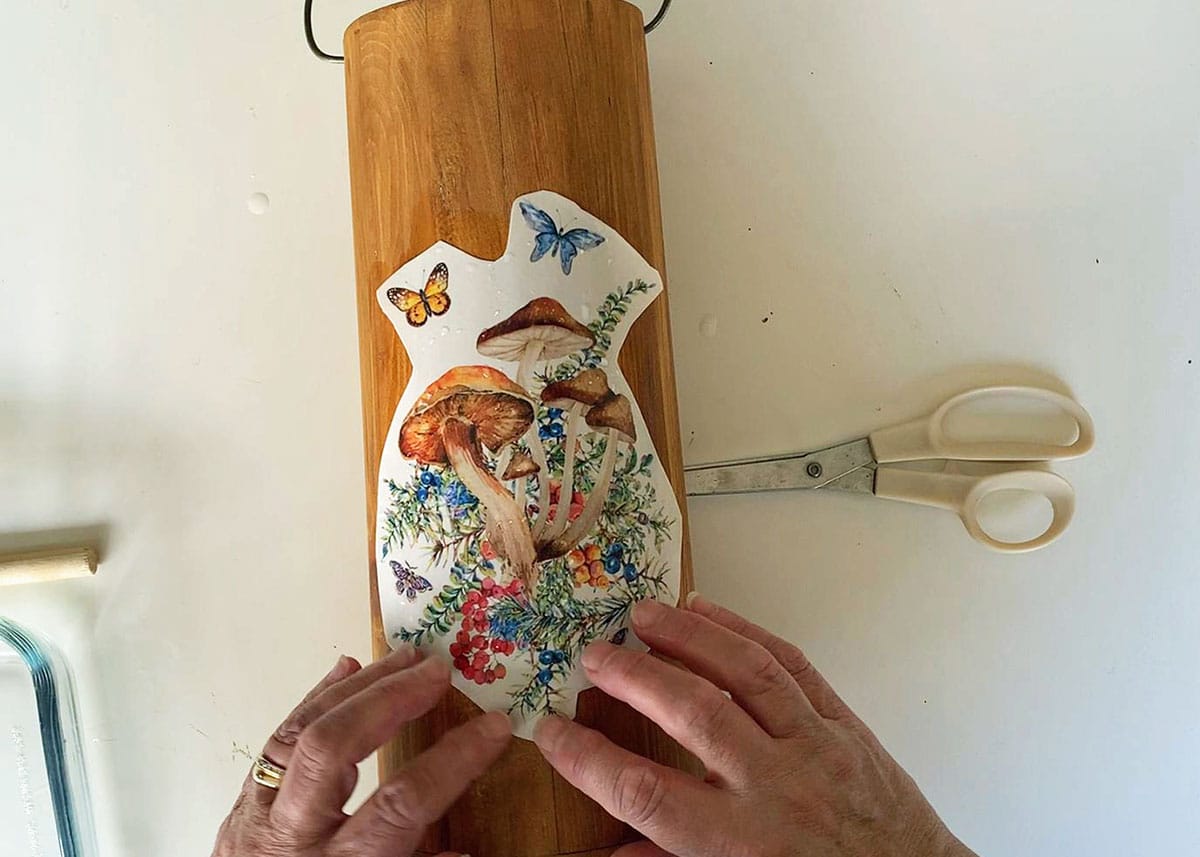
Apply the waterslide decal to the wood pressing down firmly making sure the decal paper makes full contact.
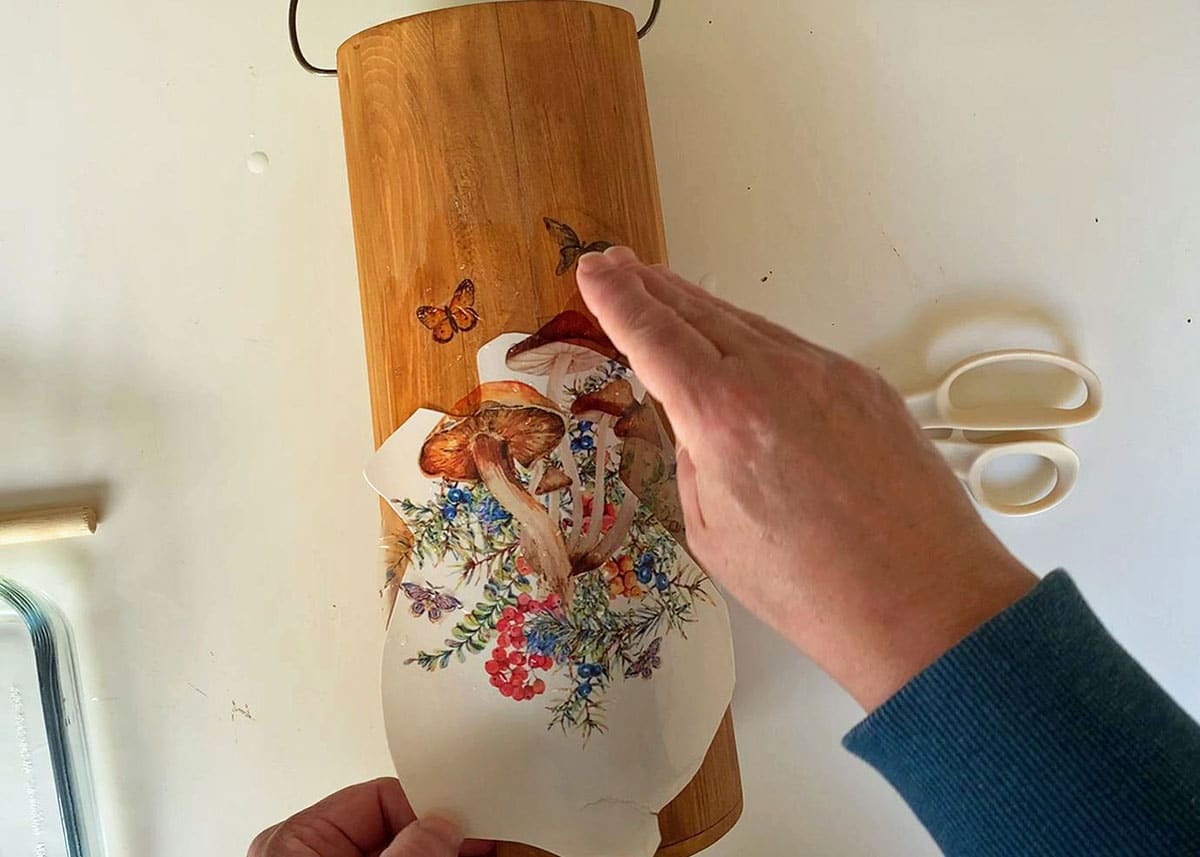
Slowly slide the paper backing from beneath the decal being careful to not tear the decal.
I found it easiest to slide up the decal a few inches and then use my fingers to hold onto the top of the decal (right hand) and then slide the rest of the paper portion off toward me (left hand).
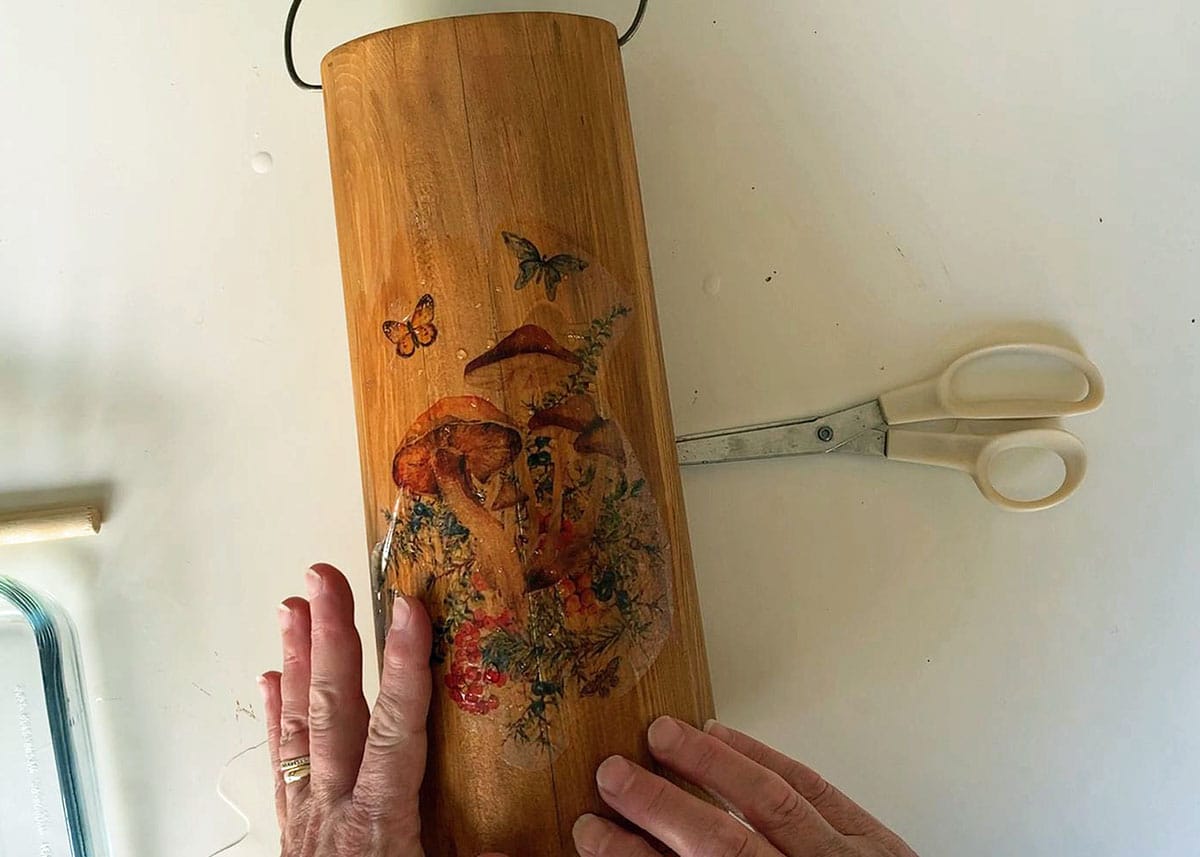
Use your fingers to get rid of air bubbles and smooth out any wrinkles. At this point, the decal is still movable so it can be slightly repositioned if needed.
You can see a large wrinkle close to my left index finger that I was in the process of peeling up and flattening back out.
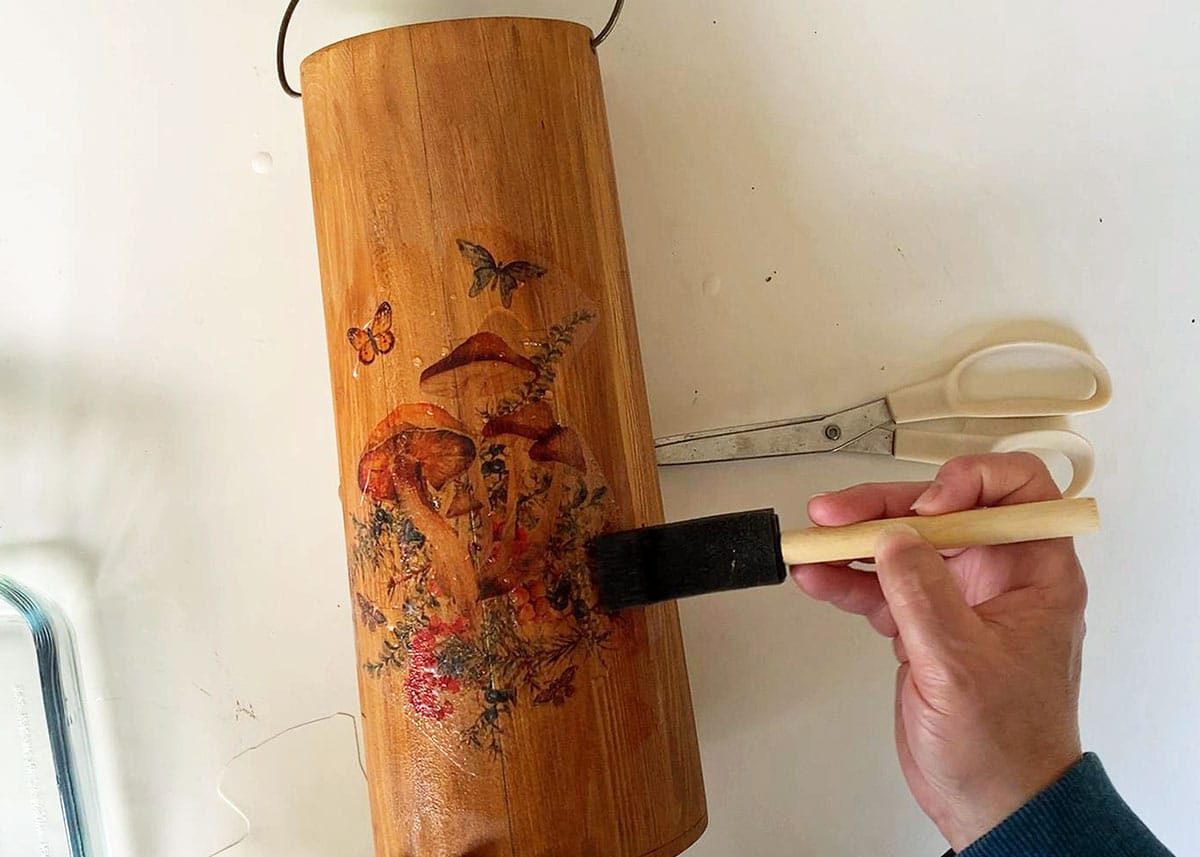
You can also use your wet paintbrush to help smooth out air bubbles.
Gently blot the image dry with a paper towel and allow the item to thoroughly air dry.
It is normally recommended to seal the entire item with another coat of spray sealer once everything is dry. I did not do this step since my item is decorative only and will be rarely handled. Plus I wanted to keep it rustic and didn't want the extra sheen a sealer might add.
But if you are going to put this on a wooden tray for your coffee table that will get lots of coasters and decor thrown on it, I would definitely use a coat of sealer to protect your work.
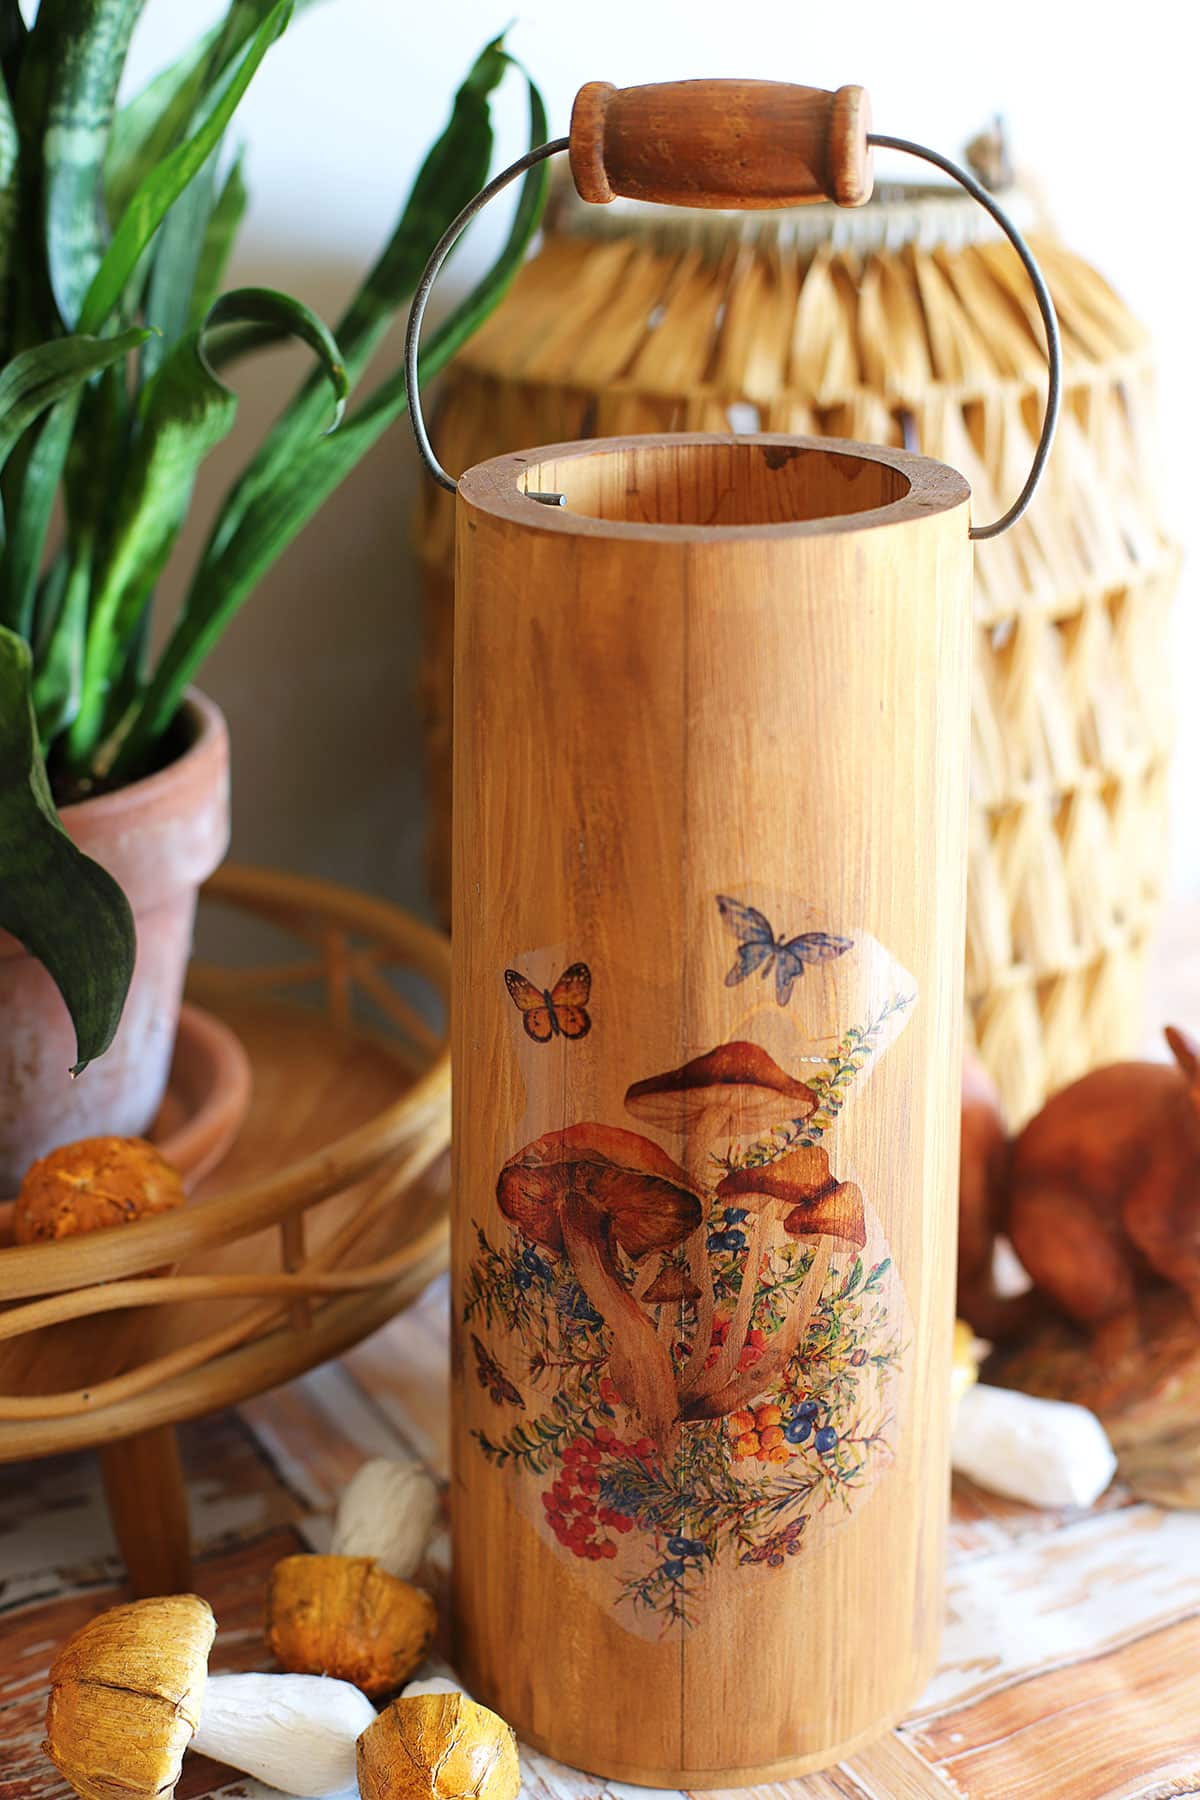
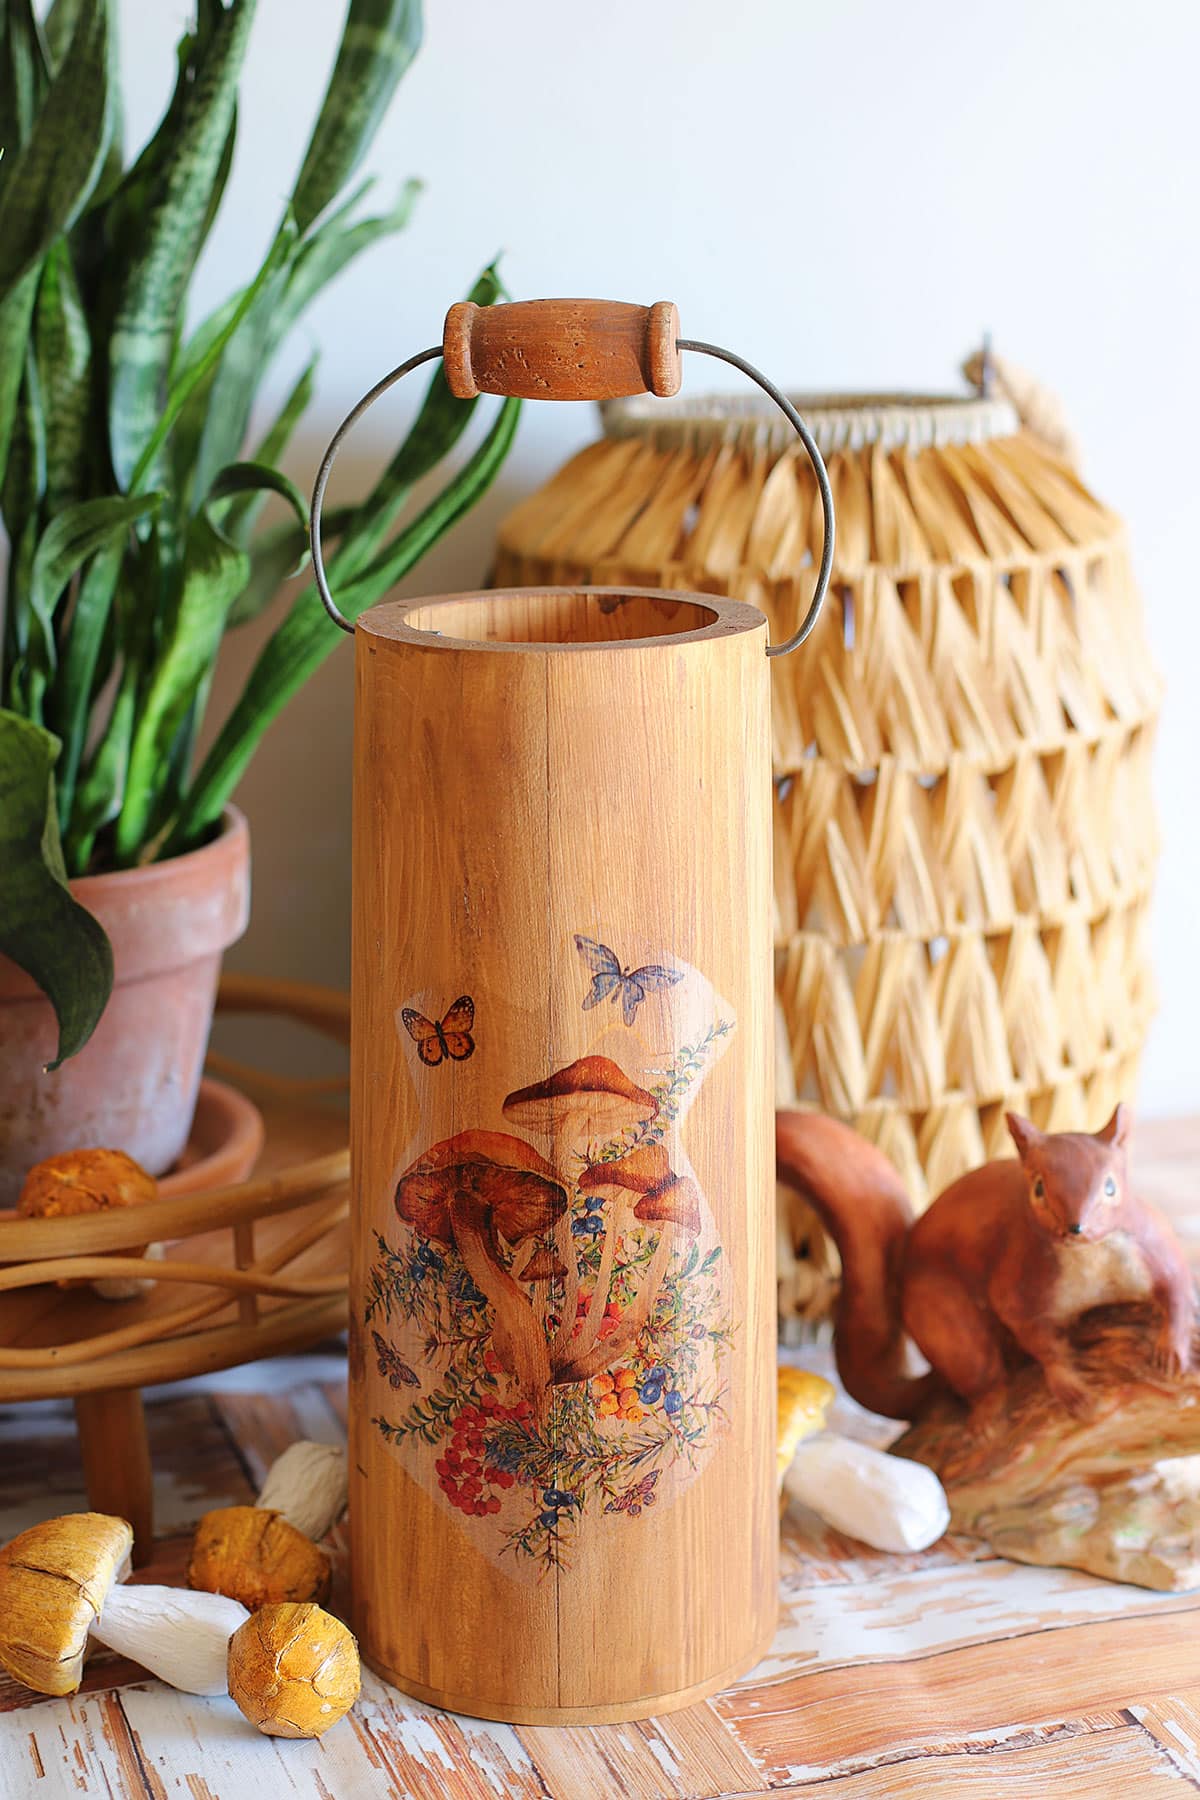
The Mushroom Design
You are free to use my mushroom design for personal use only. You can download it from Box below (it's a place to store large files). You do not have to sign up for Box even though it suggests you do.
Download the mushroom design HERE
I have it set for high definition so the colors come out correctly, so make sure you actually print it as letter size and not billboard size.
Why Use Waterslide Decals
My number one reason for using waterslide decals on this project is I am not a painter. I'm not a traditional artist in any way shape or form, so being able to use premade images is a dream to me!
The problem with store-bought decals is you don't have a lot of choice in designs.
I used to use waterslide decals back in the day, maybe even before you were born, to update cottage-core furniture (although no one called it that at the time).
At that time they tended to be the "cute" 1980s country-style decals. Lots of ducks and geese. Some shabby-chic flowers.
And occasionally you can find original 1950s-style waterslide decals at antique malls or garage sales. They tend to be nursery-themed or fruit-themed. The 1950s housewives were somewhat fixated with fruit for their kitchen decor.
No eggplants though.
But here we are in the 2020s and I was looking for something a little more trendy for the current time. What's more on-trend than mushrooms? They were popular in the 1970s and have enjoyed quite a comeback recently.
Since so many people have their own printers at home and someone invented waterslide decal printing paper, it's just so easy to make your own decals now.
You can use waterslide decals on wood, glass, plastic, ceramic. Lots of people make coffee mugs and tumblers with them.
If you want more information on waterslides including how to make them with a Cricut machine, Angie Holden has you covered with her Waterslide Decals: The Ultimate Guide To Using Them . She's all things crafty and all things Cricut rolled into one and she'll show you how to use them on coffee mugs.
Now let's go see what the other Thrift Store Decor Team members are up to this month!
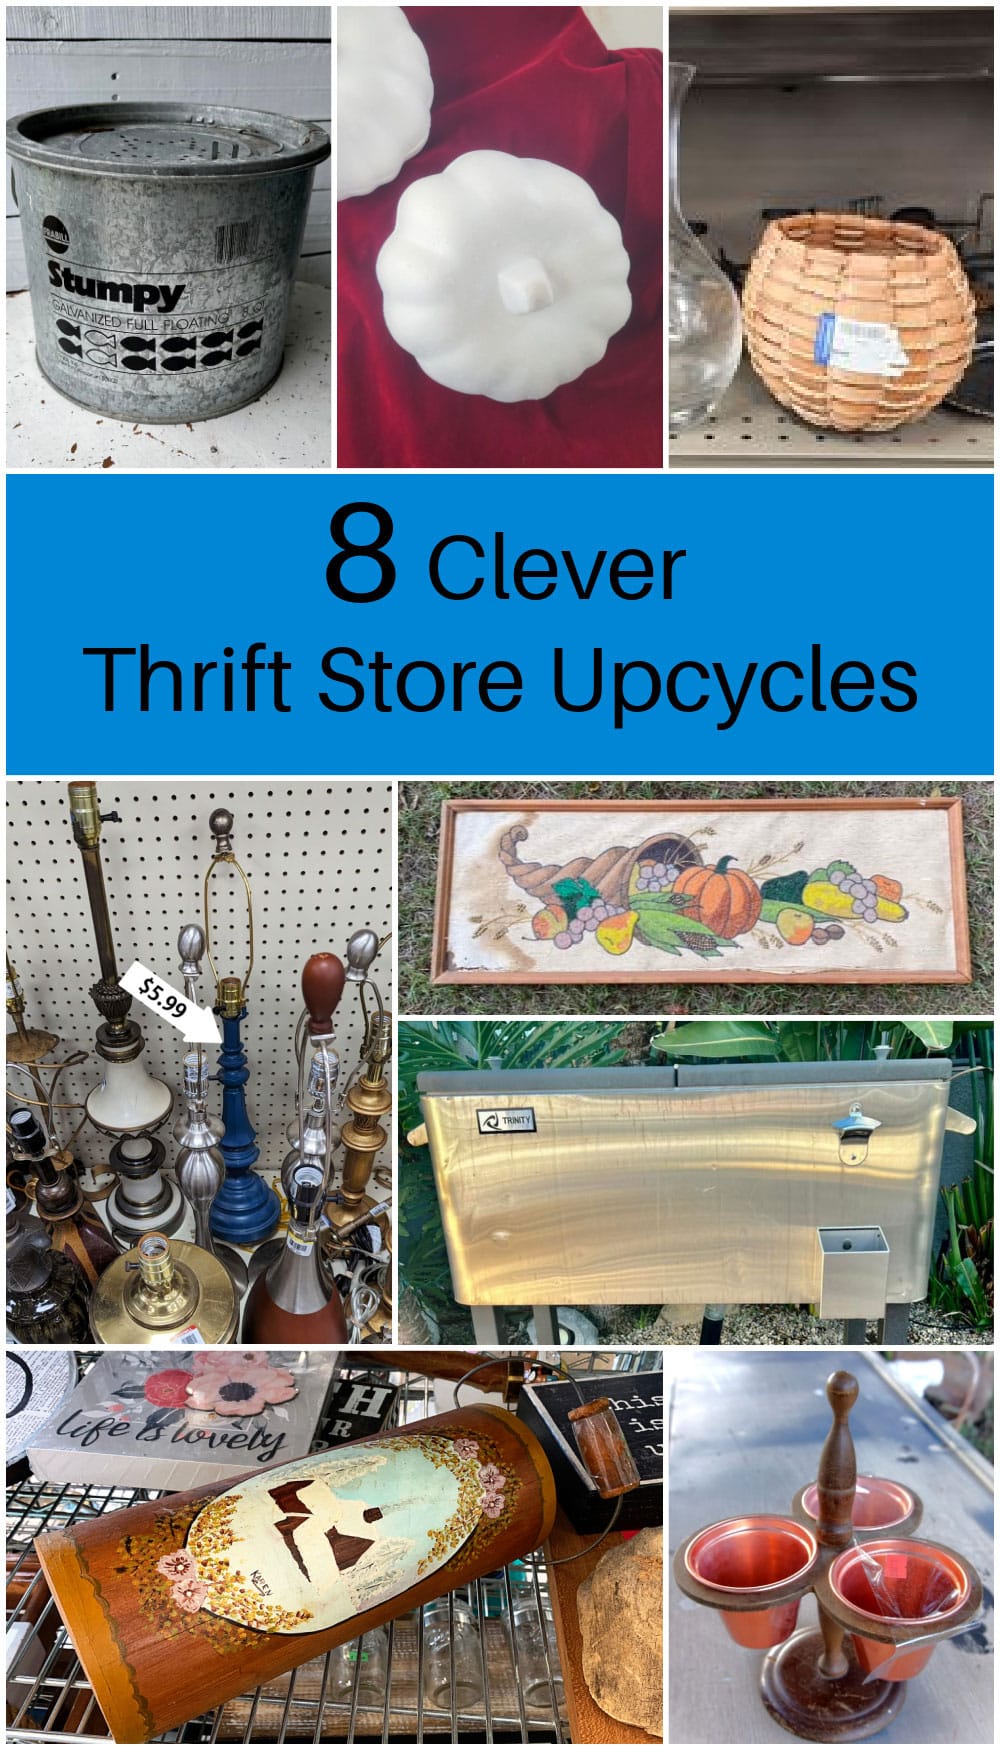
Thrift Store Decor Team Projects
Painting A Thrift Store Lamp - My Repurposed Life
Minnow Bucket Pumpkin With Dollar Tree Stencil - Organized Clutter
Thrift Store DIY Upcycle - Petticoat Junktion
Boho Pumpkin With All-Natural Craft Supplies- Sadie Seasongoods
Update A Rolling Cooler With Spray Paint - My Uncommon Slice of Suburbia
Updating Fall Thrift Store Art - Shop At Blu
DIY Velvet Pumpkins - Domestically Speaking
Vintage Wooden Bucket Makeover - House of Hawthornes (that's me)
Ginene
Hi Pam,
That is a very nice update on the bucket. I've got a pretty big collection of 1950s original waterslide decals myself, but they don't slide off as well as they did in the 1950s as age has made them brittle. I usually cut them off and use ModPodge under and over them. The good thing about that old paper was that the clear parts did disappear on the object. The 1970s mushroom fad was somewhat cartoonish, as I'm sure you know, but the image you used is timeless. I love it.
Maryann
I need to check out those decals - so cool & so many creative ideas. Love how your bucket turned out.
Kristin salazar
This turned out so pretty! I love the mushrooms and I've never heard of water slide decals and need to go see what they are all about! Great project!
Sarah @ Sadie Seasongoods
Ok, that Varathane with the sponge applicator is a GAME CHANGER. It reminds me of the shoe polish with the sponge applicator that I used to use as a kid! How cool is that?
Carlene @ Organized Clutter
I am intrigued by the water slide decal! Never tried one but I think I have to try now! The mushroom decal was perfect on the bucket!