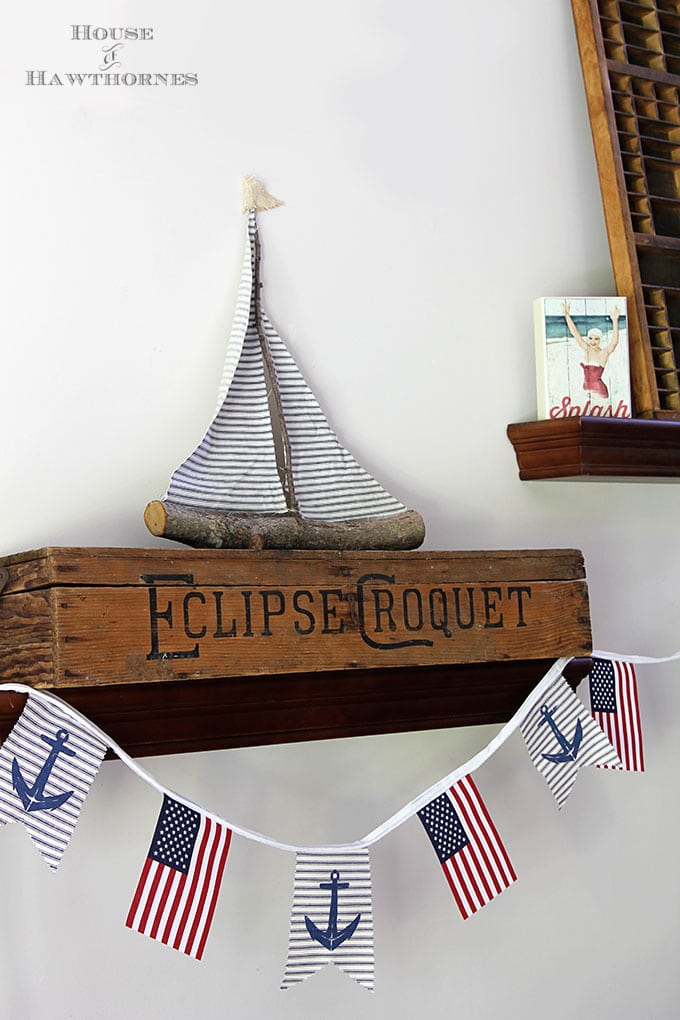
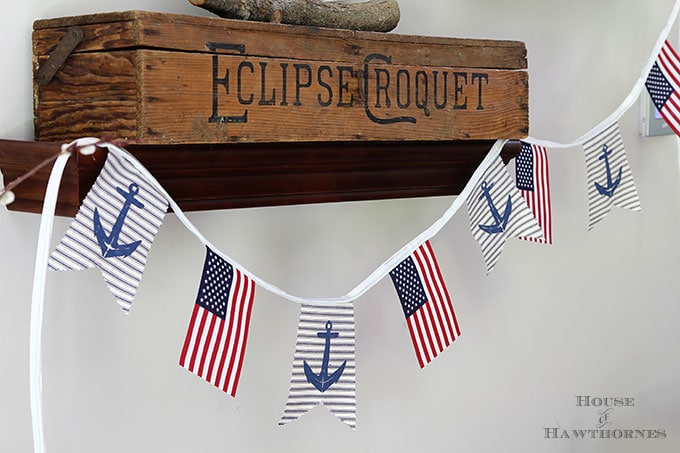
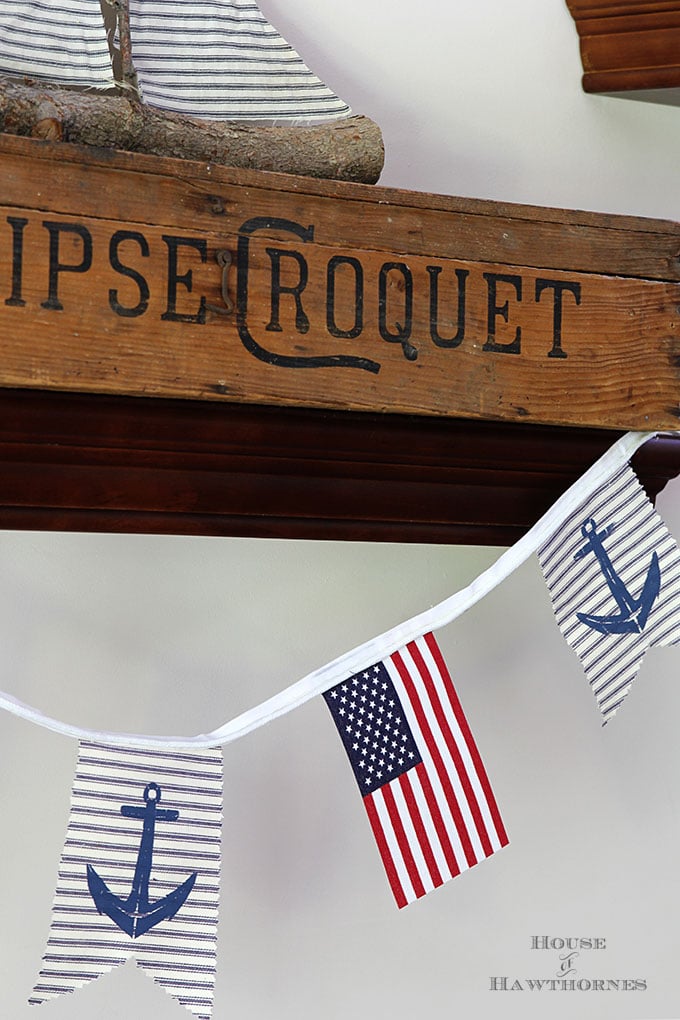
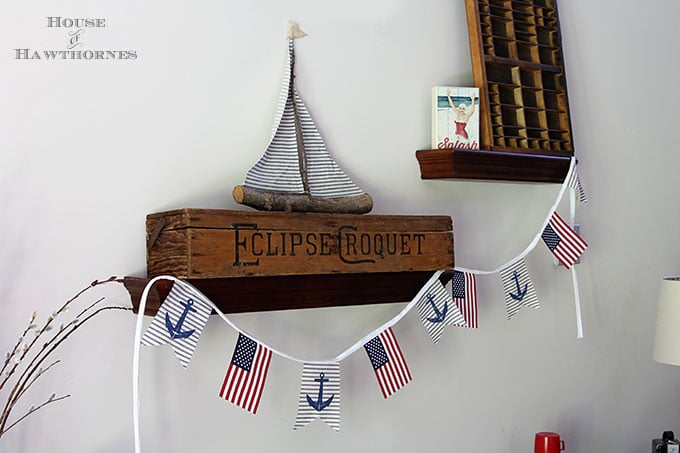
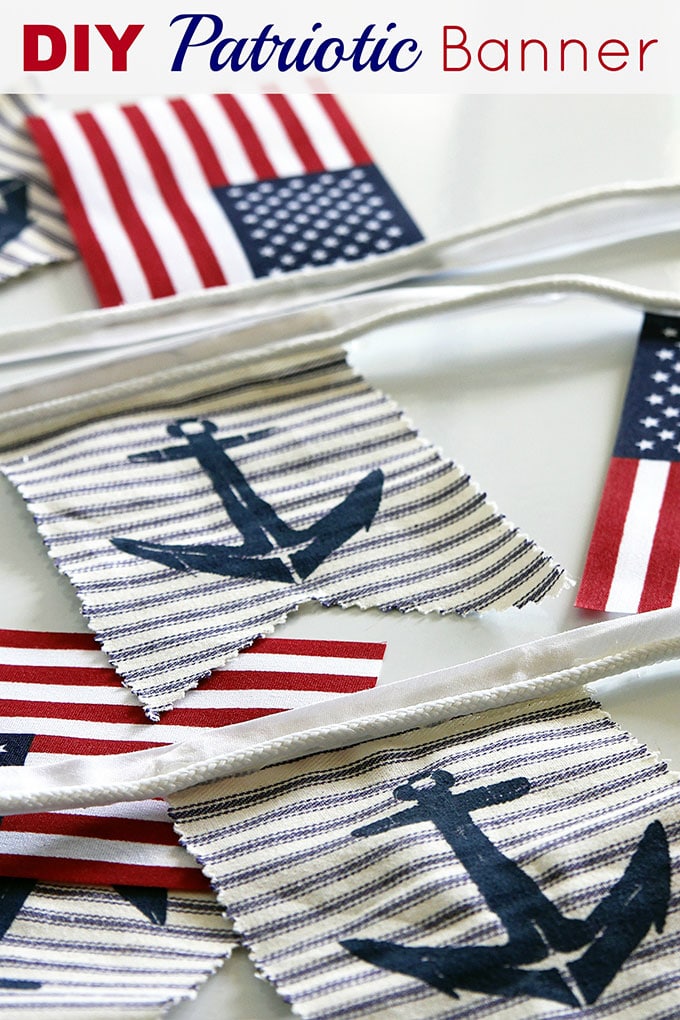
I whipped up this nautical patriotic banner Sunday morning on a whim. I've been wanting to add something patriotic to that sailboat shelf that I showed you in my Sailing Away Into Summer post the other day, but thought it might get too busy with something else on top of the croquet box, so I opted for something hanging below it.
Don't you hate when you're not sure how to decorate your croquet box?
I wasn't going to bother showing a "how-to" thingie on it, because it's pretty self explanatory. But after asking some people on facebook if it was too simple to bother showing a tutorial for, I decided to show you the steps.
It appears that simple is the new black.
Ok, on to the tutorial.
DIY Nautical Patriotic Banner
SUPPLIES NEEDED:
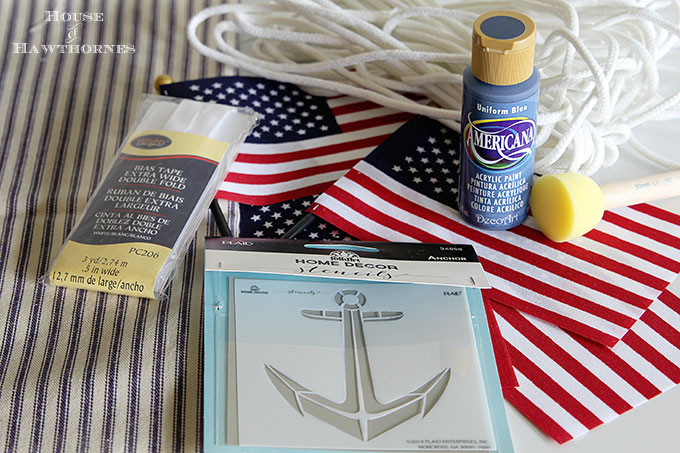
¼ yard Blue and white ticking - found in the utility fabrics area
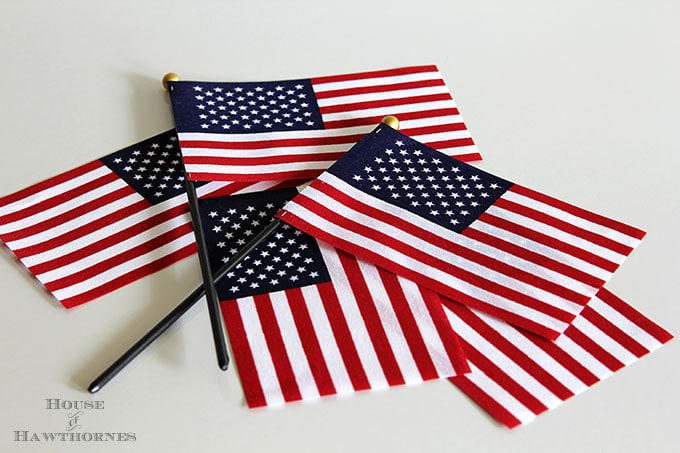
4 Mini flags (4" x 6 ¼")
Blue craft paint - I used Americana brand's Uniform Blue
Foam stencil "brush" (you could use a regular foam brush if you want)
1 pack of Extra Wide Double Fold Bias Tape (3 yards, .5" wide)
An anchor stencil - I used Plaid's Folk Art Home Decor stencil
Hot glue gun
Optional:
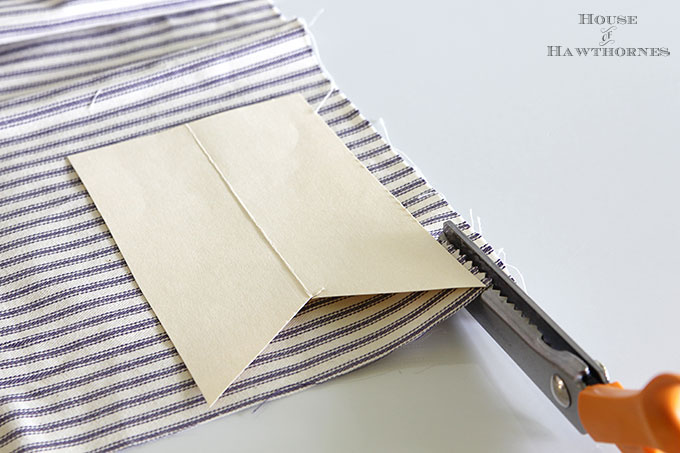
Pinking shears if you want to get all fancy with your cutting
White clothesline rope
Skill Level Required:
Ability to use scissors, dip a brush in paint and safely hold a hot glue gun (that one is trickier than you would think)
I removed my flags from the sticks (they were held on with teeny tiny little staples). I don't recommend using a razor blade utility knife to pry them out. Unless you think your fingers are too long. A fork prong should work.
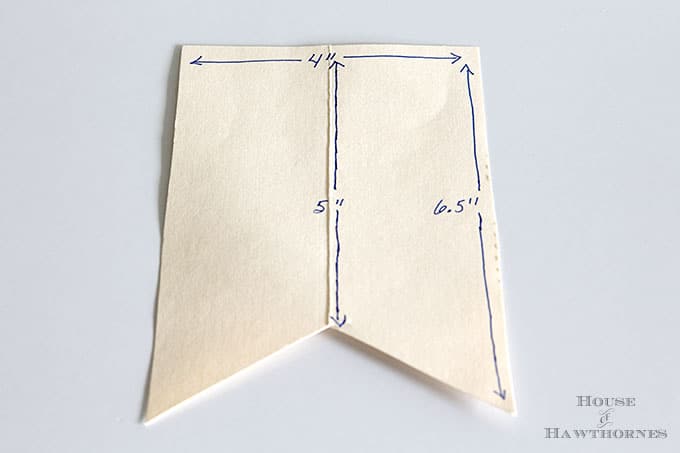
I made a template for my ticking banners so they would be uniform by cutting a big 4" wide and 6 ½" long rectangle out of a file folder. Then I just folded it half lengthwise and cut out my notchy part for the middle.
I laid my template on the ticking and cut out 5 of my banner parts.
My banner has five banners and 4 flags so that it would start and end on a banner part. There is extra bias tape on each end, so you could easily get another flag on each end if you wanted to.
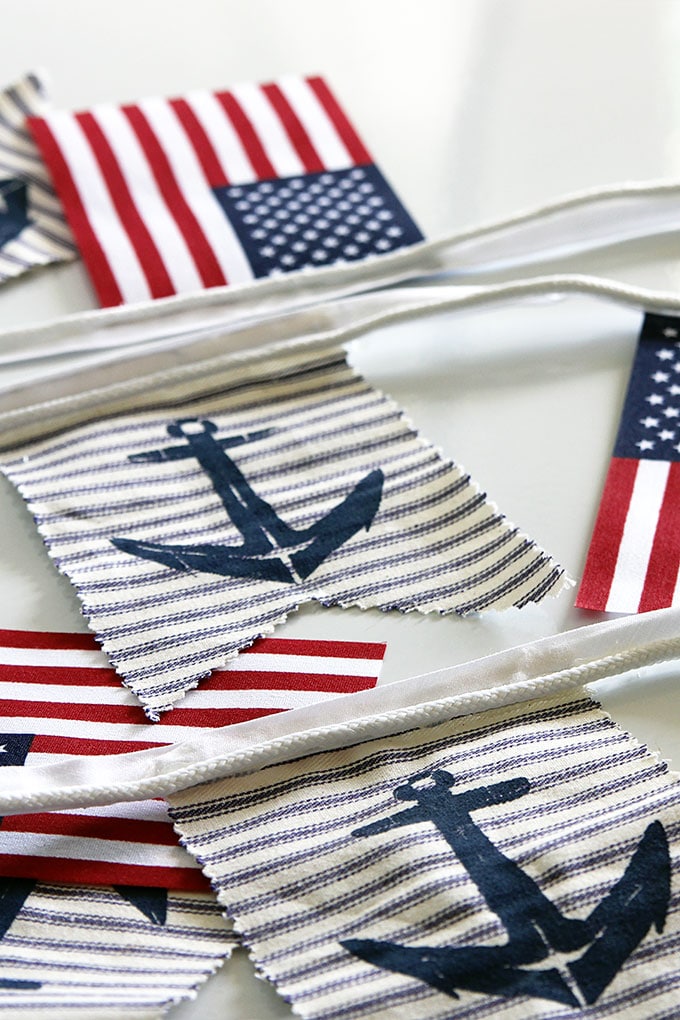
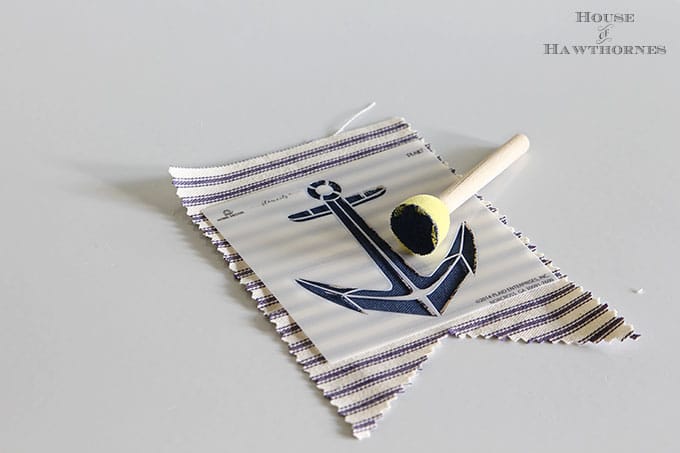
I then took my stencil and the blue craft paint and stenciled my anchors on the ticking.
I ironed the bias tape to get rid of the folds caused by being wound around the cardboard card and laid it out on the counter to eyeball where I wanted my flags and banners to be placed. With my casual eyeballing, I figured it would look good with a 4" spacing between each flag/banner.
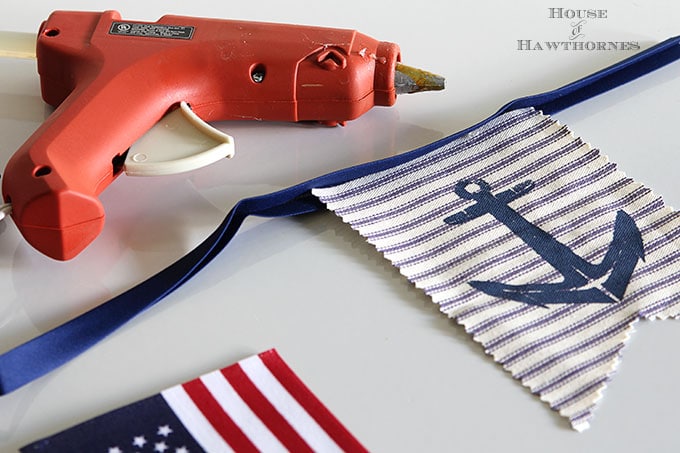
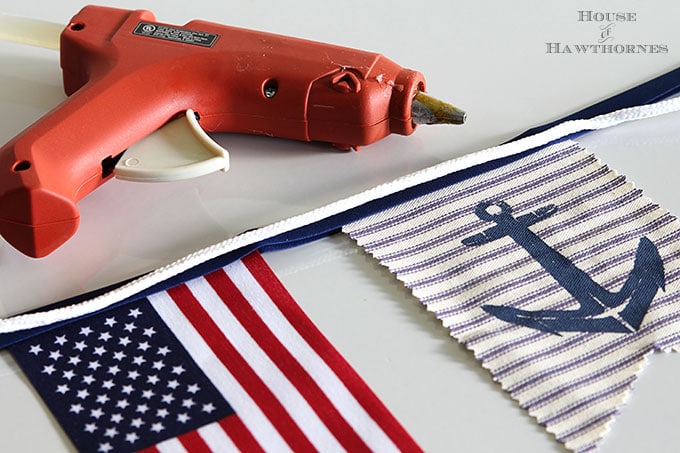
Then I fired up my hot glue gun (I call him Bernie), opened up the fold for the bias tape and slid in the flags/banners. I then ran a bead of hot glue across the tops of the flags/banners and pressed the tape shut.
You can glue all along the entire bias tape, but because Bernie and I have a contentious relationship I just glued where the flags and banners were inserted. The less molten hot glue I come in contact with, the better.
This is totally optional, but if you still have fingertips left you can take clothesline or other small roping and glue it to the top of the banner as an added embellishment.
BTW, I recreated this whole tutorial for you AFTER the fact, so the bias tape used in these photos is blue, when I actually used white for my real one. Blogger magic.
Wait a few minutes for all your glue to dry and your'e good to go.
Other posts that might get your patriotic juices flowing:
Come Sail Away (the tutorial on how I made that twig sailboat)
Last Minute 4th Of July Dessert Ideas


laurel@chippingwithcharm
LOVE it...and you know I am drooling over that croquet box!!
Mickie Ayer
LOVE IT! Thanks for putting your creativity out there!!! For people who go to the craft store and become overwhelmed by the choices, you've put it all together here with a handy tutorial. I applaud your style! Have a lovely week ~ Mickie.
Leslie Harris
Pam this entire vignette is so charming. And you're so right, simple IS the new black at least for people like me. I really appreciated seeing how you did this. So darn cute!
Paula@SweetPea
Love this! Ticking goes perfectly with the American flag and your anchor stamp is the perfect finishing touch.
taryterre
Love that sailboat. The banner is perfect for the 4th of July. Great project.
Jane
The banner is so stinking cute!! I love it and thank you for posting it in time to make before the 4th!!!!
Jane xx
Linda @ Itsy Bits And Pieces
So glad you decided to share it...it really is wonderful! Thanks for sharing!
Pam
Thanks, Linda!
Michele @ The Vintage Vixen
So adorable!!! Thanks for sharing!!!
Pam
Thanks Michele! The 4th Of July is one of my favorite holidays, partly because it's so easy to decorate for!
chris aka monkey
i see some blistered fingers in my future this is cute,cute,cute xx
Pam
I was doing fine until I put the clothesline on 🙂
Emily @ Two Purple Couches
Pam, this is so cute! Love the mix of nautical & patriotic together 🙂
Pam
Thanks Emily! I was just looking at your washi tape project and thought I need to buy me some washi tape with sailboats on it! To add to my ever growing collection of washi tape.
Musings from Kim K.
This is wonderful. I do appreciate a good tutorial too. Well done and it perfectly compliments your vignette.
Pam
Ahh, thank you! Sometimes I wonder if my projects are too "basic". But really when I post a long drawn out project (like my mid-century chair renovation) I just hear crickets 🙂 I think people need quick and easy nowadays. Hope you're enjoying the lake!